REMEMBERING THE EVERYDAY

I just finished uploading the 4th installment of our weekly photo vlog!  I have slowly been improving the quality and content of this series.  This week I made the text a bit larger (and more readable) and also added a new feature – small videos within the scrolling timeline video!  I’m happy with how it turned out!

An entire month of our family’s memories have now been preserved.  Sure, it took a little more effort than what I have previously put forth; But now all these precious photos and videos are presented in a FUN way, and easily accessible instead of being stored and hidden in a computer file.

These little weekly videos simply showcase our lives – no fancy vacations or spectacular adventures.  They may not get thousands (or even hundreds) of views on YouTube, and that’s okay.

It’s not about that.  It’s about us.

They are a reminder of how brave {K} was at her very first checkup in the United States, a glimpse of how the boys used their imaginations and worked together to create some awesome fidget spinners, and a memory of the giant smile I had on my face when Craig raced all the kids on his 37th birthday – just to prove to himself that he was still the fastest.  On those days when it feels like all I do is cook, and clean, and wipe dirty hands for the millionth time – when I feel like ‘just’ a stay at home mom – I can remember that I am also a curator of family memories.

We will hopefully watch these videos in the future and recognize that our lives are full.  Full of love.  Full of togetherness. Full of happiness. Full of the simple everyday.


To see all the videos in this series, click HERE.

SATURDAY SKETCHBOOK: BOYS BEDROOM

Recently, I posted about {D}’s small BEDROOM.  I also mentioned in THIS post that we will be utilizing some of these same concepts in our new house.  All three of our boys will share a room, but each will have a smaller private sleeping nook off of the larger shared ‘communal’ portion.

I wanted to jump in today with a quick sketch of how this space looks in my head at the moment.  It might be easier for some of you to visualize 3D drawings than floor plans.

You can see from this sketch that the shared space is a good size.  It is roughly 9’6″ x 12’0″and should provide plenty of space for the boys to enjoy the things that they love to do.  A corner chair and low bookcase for reading.  A pallet accent wall to house guitars when they aren’t being used (So far, two of our boys are taking guitar lessons.  You can see a recent video of {D} practicing HERE).  There is enough room in the shared area for a large dresser with a hutch, which could house clothing & toys.  Pretty sure there will be a TV in there somewhere too… they like to spend time together playing the PlayStation on occasion.

See those three little doorway openings on the outer walls of the room?  They lead into the sleeping nooks.  One for each boy.  They are each around 7’0″ x 8’6″ – with sloping ceilings that go from about 7′ high at the highest point down to the floor at it’s lowest – so, not huge at all.  But they should get the job done nicely.  Their beds will be on low platforms with the ‘head’ of the beds toward the higher sloping portion of the ceiling.  If I can figure out a way to create some sliding trundle drawers under the bed frame, that will be great.

Each nook will have shelves built into the studs of the wall and a mounted/ hard wired light for reading.  On the opposite wall from the bed, there is space for a small dresser or shelf to house some personal belongings.  The wood floors from the main part of the bedroom will flow into the sleeping nooks, to keep things somewhat consistent – but each boy will be allowed to personalize their space with bedding, rugs, posters, and their collections.

The boys will likely be ages 12, 10 and 8 when we move into the cottage – and just about at that age when they will begin to crave more privacy.  We are hopeful that this solution will give them the best of both worlds – sharing a room with each other, as they have always done, and maintaining some separation.  They were crowded around my shoulder today as I drew these sketches and as of right now they have given me the stamp of approval on this concept.  Here’s hoping they don’t change their minds in the next couple of years!

Happy Saturday everyone!

SIMPLIFIED MEAL PLANNING & SHOPPING FOR BIG FAMILIES

This post could also be titled ‘Our Big Family’s Epic Eating Solution’ – but I thought that might be a bit too dramatic. It IS bound to create an epically long blog post though, so buckle up!

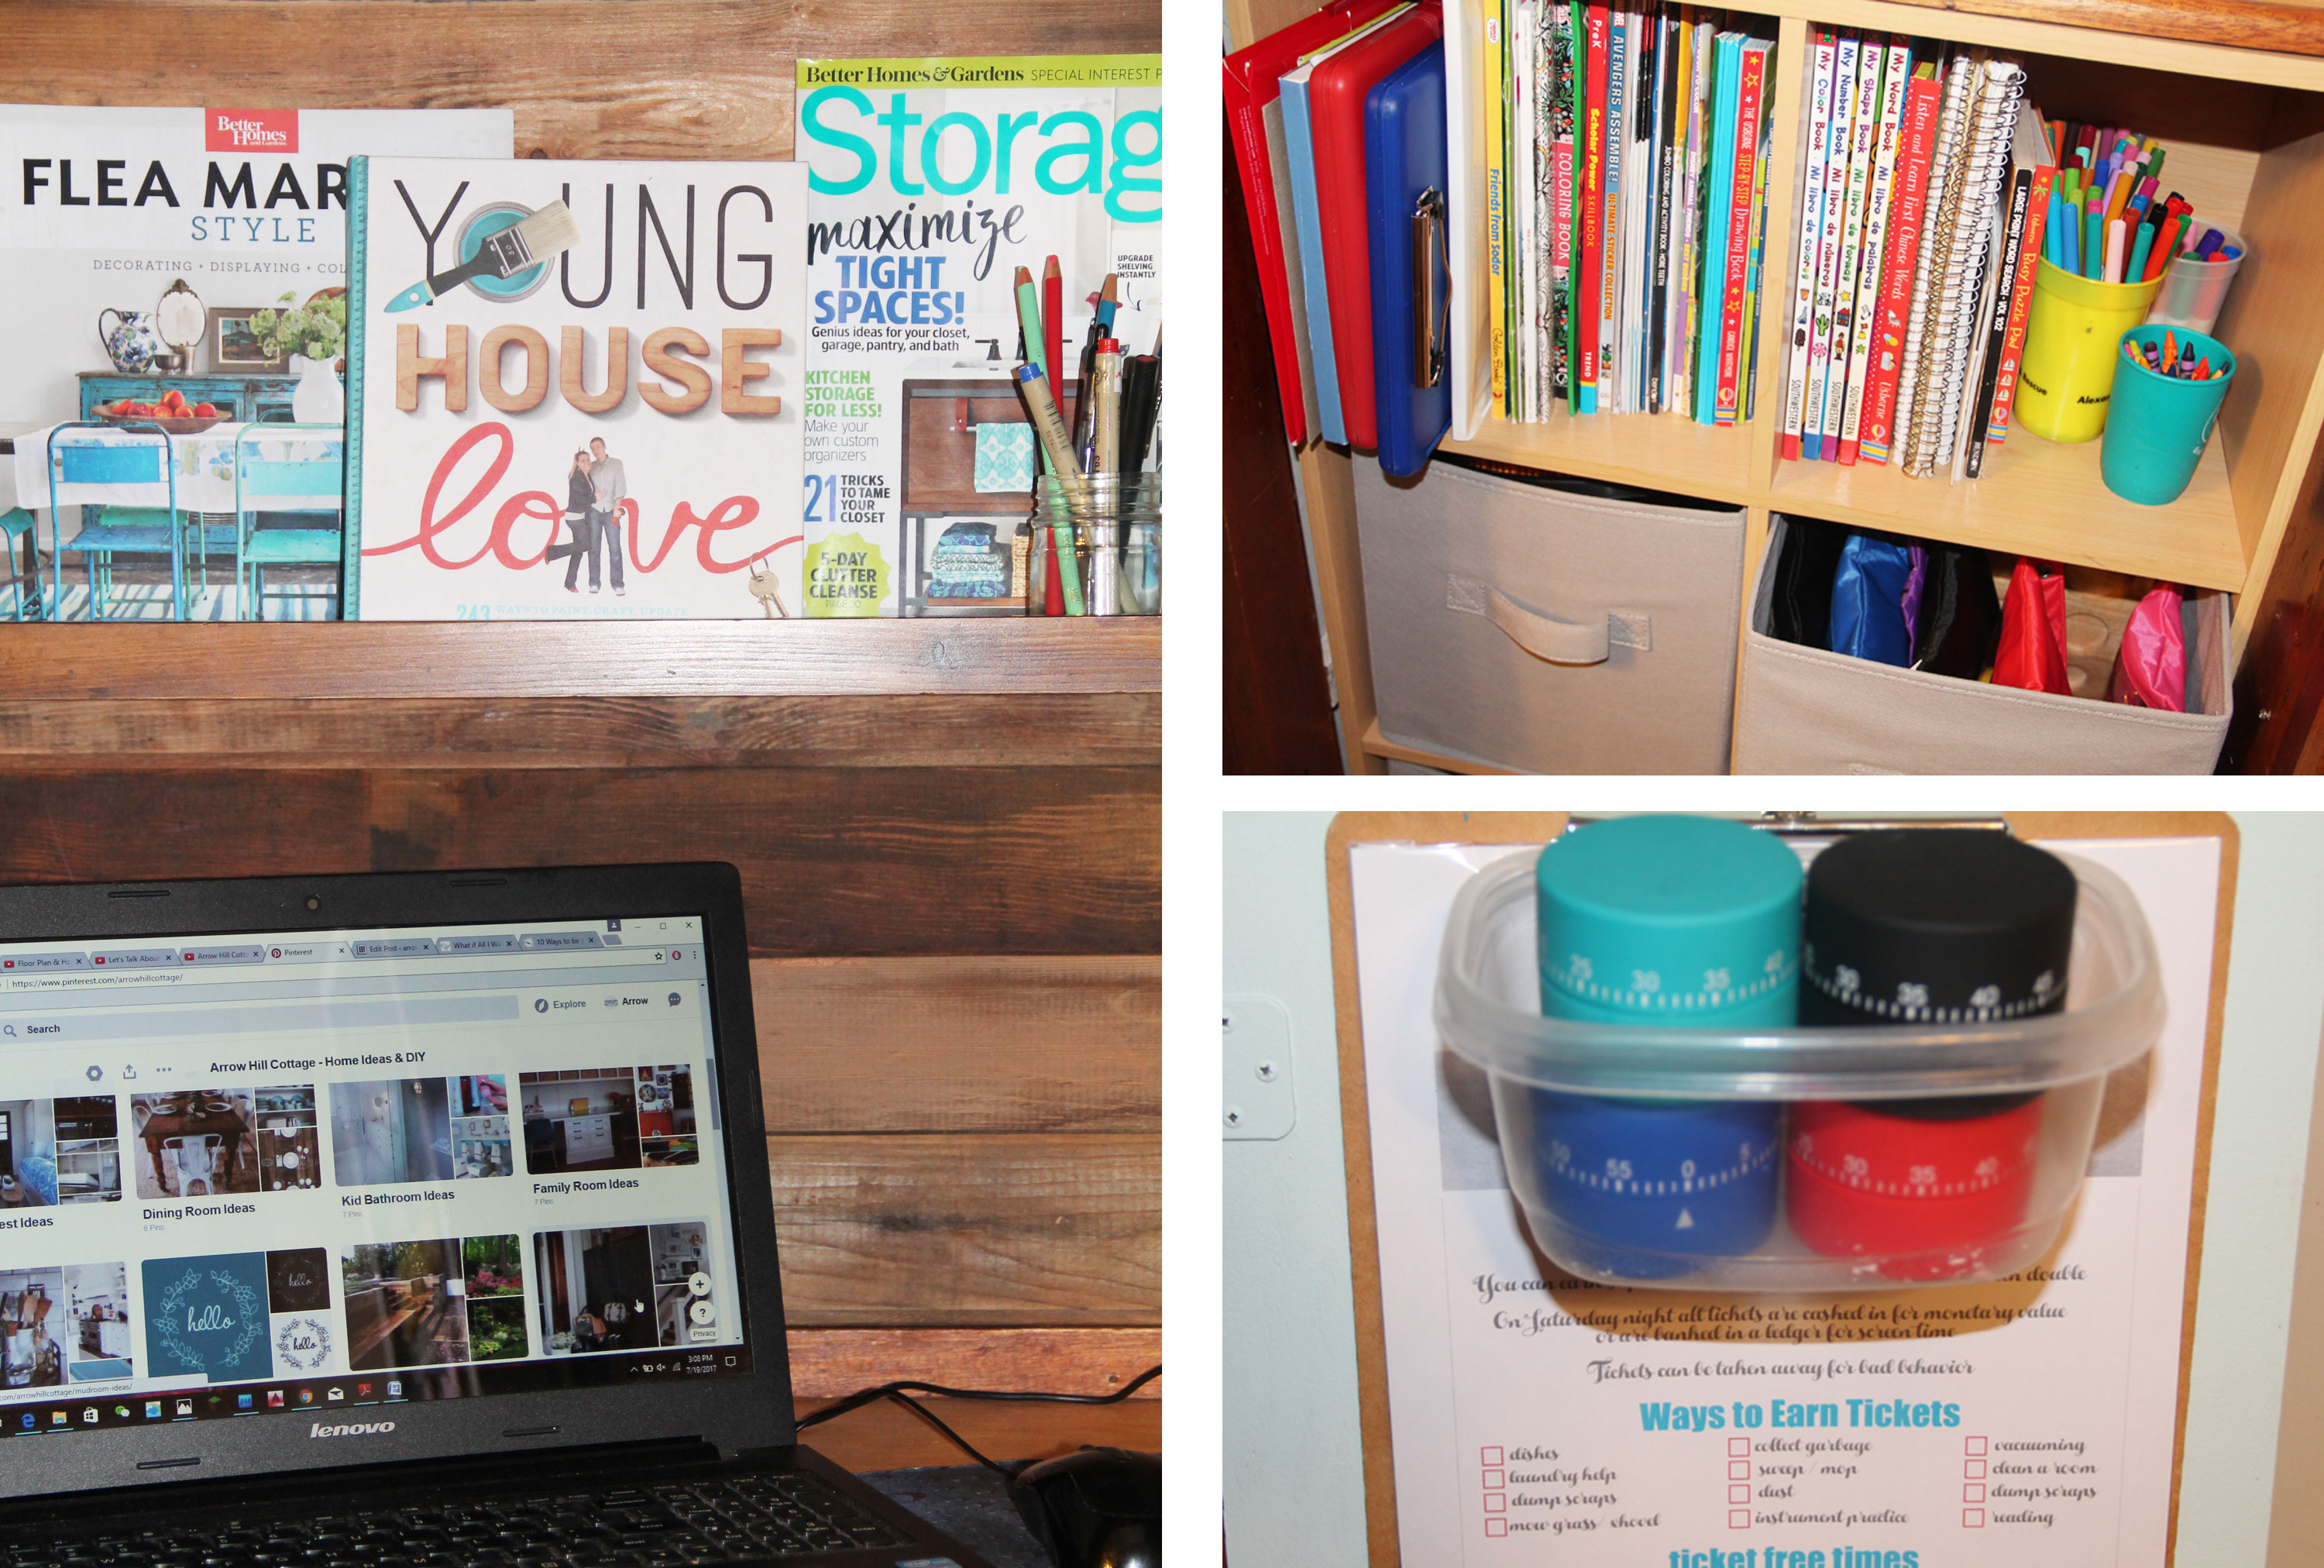
You’ve probably heard it said that in order to raise a large family you need to have one of two personality types:  super organized or super laid back.  I have never been accused of being spontaneous.  In fact, I’m probably about as ‘go with the flow’ as an anchor.  I most definitely fall into the organized category.  And though it is a skill I possessed as a little girl who would keep her bedroom neat and tidy at all times, it has developed through the years and even more so as each child has been added to our family.  Organizing our family’s day, and keeping myself on task to ensure that things run smoothly, is something I take pride in doing.

I personally have a ‘one big chore a day’ mentality – meaning that instead of doing a little bit of the same type of chore multiple days a week, I prefer to do the big chores (laundry, yard work, bathroom cleaning, grocery shopping, etc) only one day a week.  It seems to streamline things for me. When I am done with that big chore, I don’t need to think about it again the rest of the week.  Lately our growing kids (the boys especially) have been eating like they are enrolled in a contest.  If I didn’t have a plan to keep the fridge and cupboards stocked with healthy choices, I’m sure that I would be running to the grocery store every other day.  And time spent in the grocery store is time that could have been used for more important things – like designing. I want to go to the grocery store only once per week MAX.

And so, trying to make eating (and shopping) as efficient as possible, I developed a 4 WEEK MEAL ROTATION system.  Essentially, the rotation is filled with family friendly and healthy meals – meals that I am fairly confident won’t produce any (or many) complaints and will be eaten fully, without waste. Nothing is more deflating than a frowning kid who says ‘I don’t like this!’ to a meal you labored over for what felt like hours.  This system has kind of revolutionized the way I feel about cooking for my crew, and it has made creating the grocery shopping lists SO much easier.

So what exactly is in OUR family’s meal rotation?  Let me tell you…

Our eating philosophy shifted a couple of years ago when Craig and I tried the Whole30.  Though skeptical before we began, and just wanting to shed a few pounds and/or inches, we became hooked during the 30 days. We had more energy, felt in control of our health, and the extra pounds came off.  It just seemed like a common sense way to eat healthy; However, we didn’t feel that eating from such a restricted list of foods would be sustainable over a long period of time.  Sure, we could give up cheese for 30 days… but, forever?  We also weren’t sure it would be safe to incorporate such a strict meal plan for our growing children. And I definitely did NOT want to create two different meals for our family (one for the adults, another for the kids).

I set to work using some of the recipes we had enjoyed during those 30 days and tweaked things here and there to allow for SOME grains and SOME dairy.  I also worked hard to fit in a great variety of meats and produce, to give ourselves and our children the vitamins and minerals we need without the use of supplements.

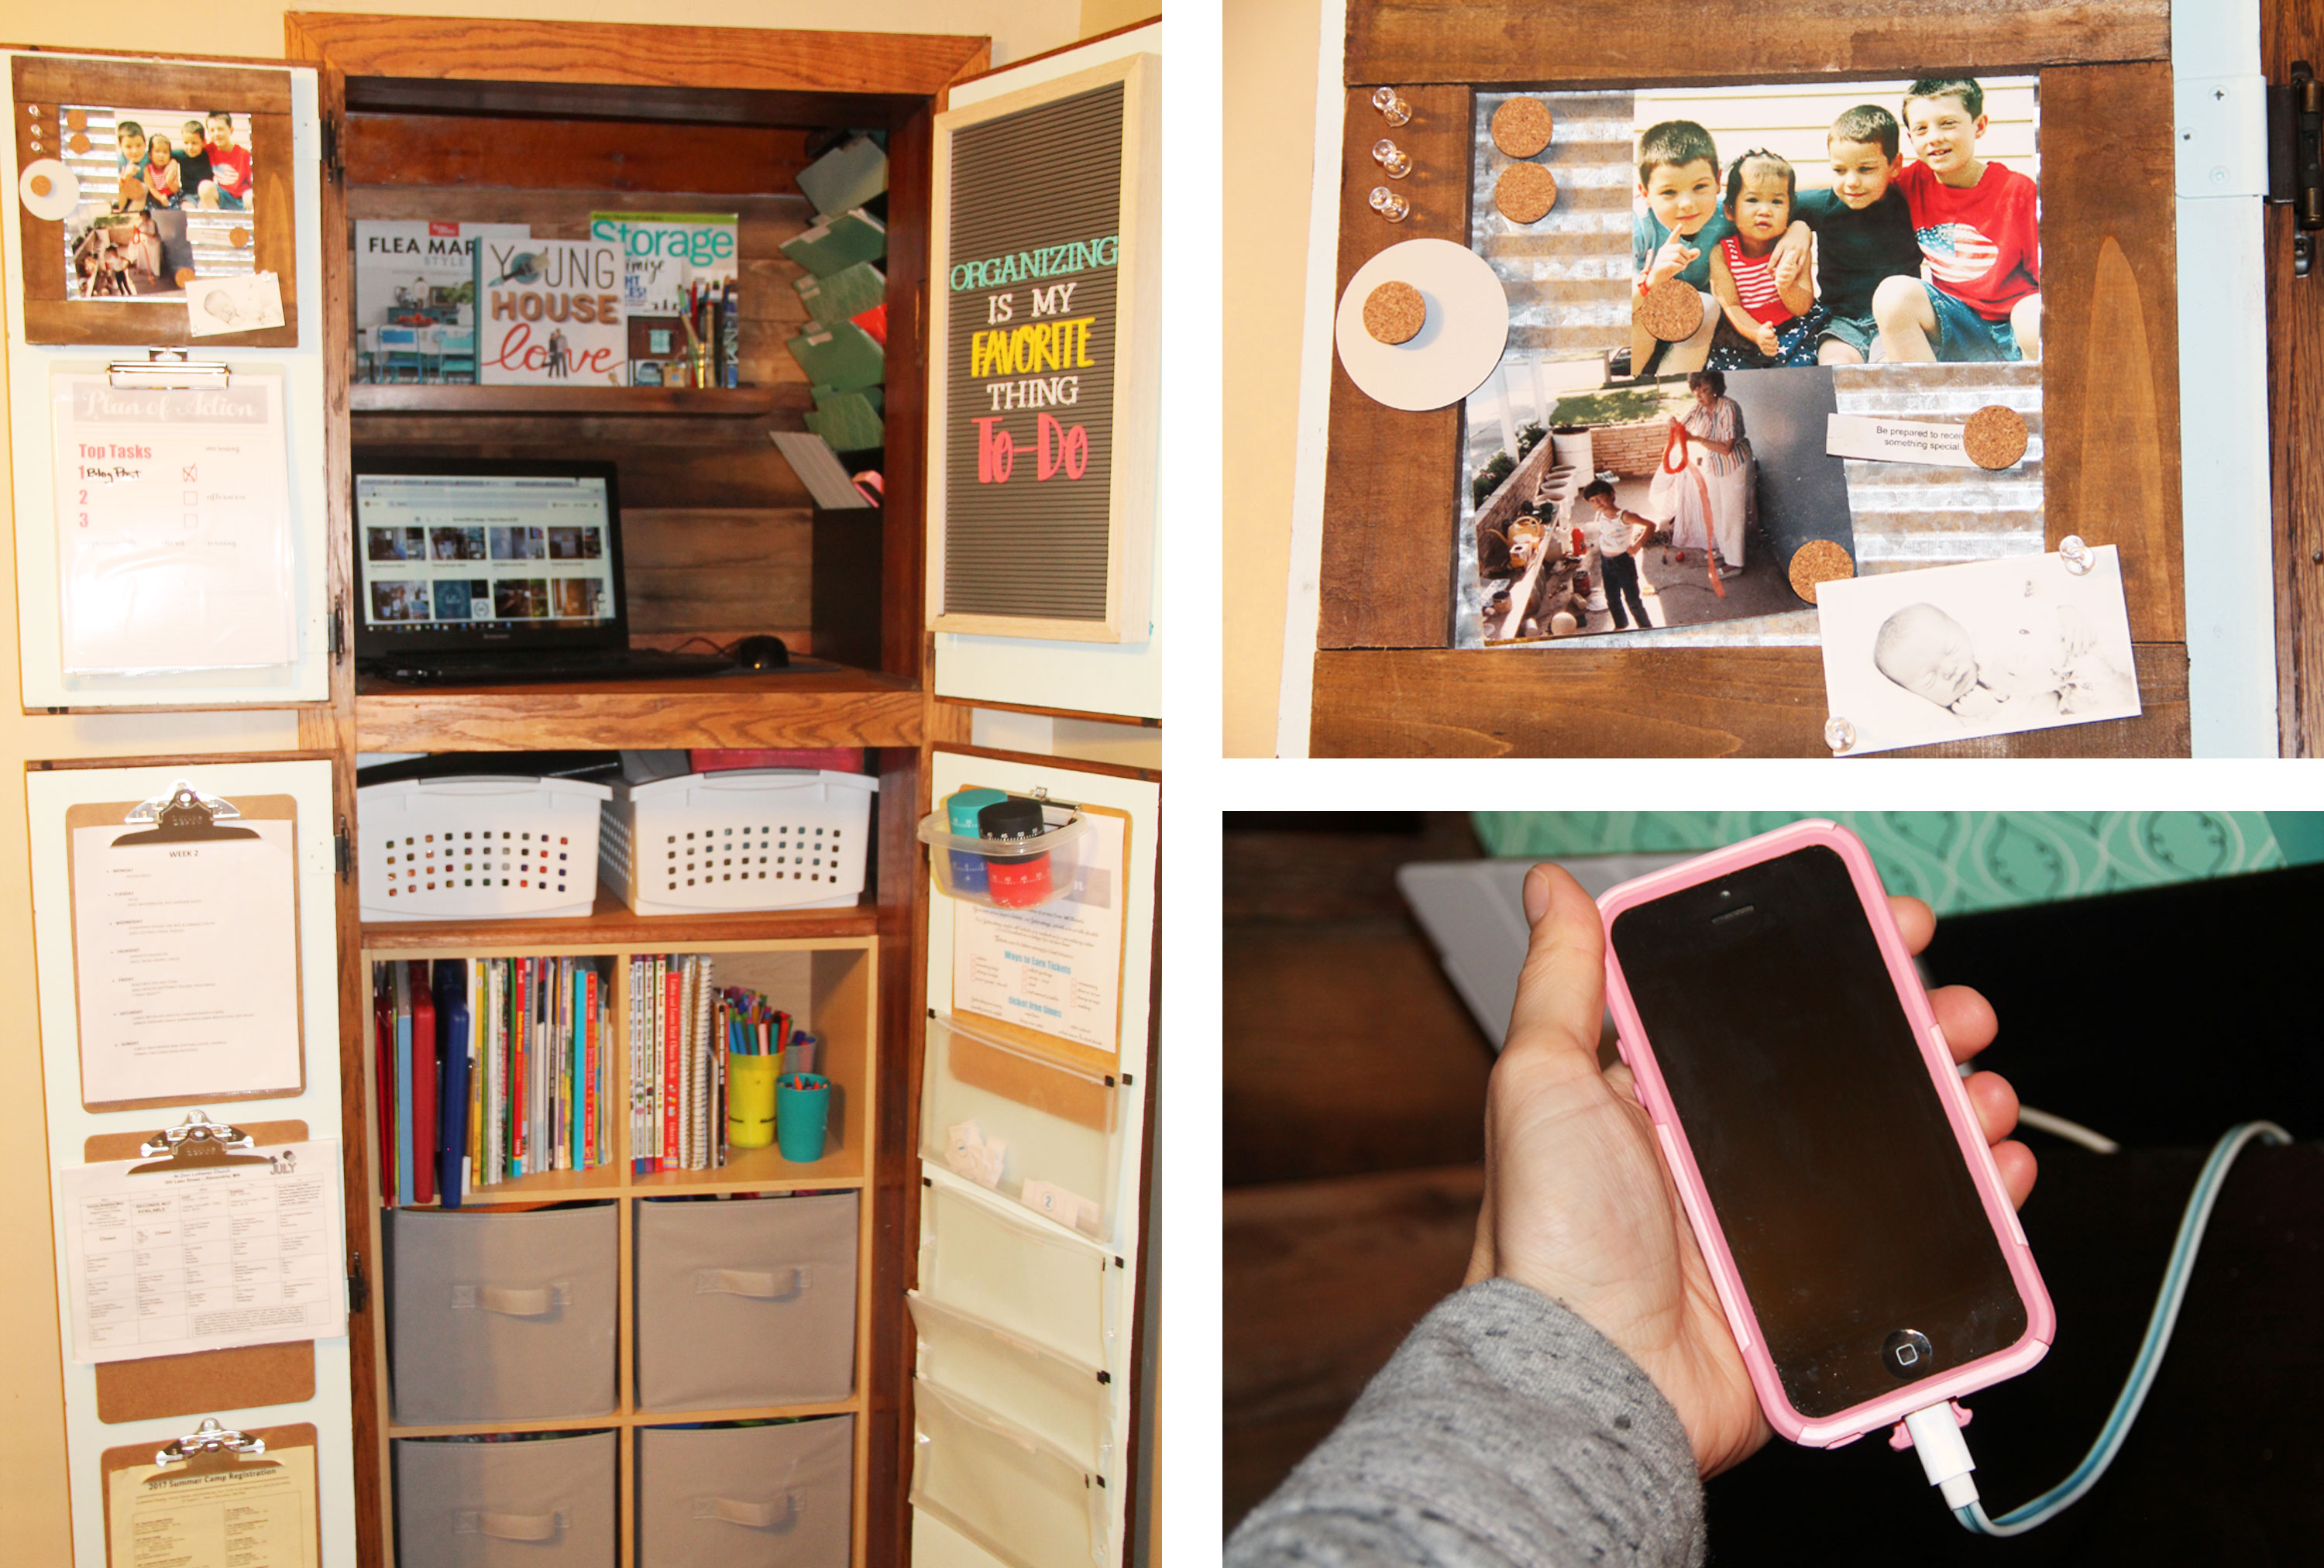
One of the absolute best things about having a meal rotation is that you only need to make 4 grocery lists!  Using the recipes as a guide, I typed a list of ingredients needed (1 list per week) and broke them down into categories such as dairy, produce, frozen, etc.   These lists were then placed into clear plastic sleeves, and the night before my weekly shopping trip I simply take out the list needed for the following week and use my dry erase marker to cross off the items we already have on hand.

It’s like a REVERSE shopping list!  You already have 2 tsp of basil?  cross it off!  Cupboard already contains a can of black olives?  off it goes!  That list gets whittled down to only the items that you NEED to buy.  No more wandering aimlessly in the aisles wondering ‘Did that recipe call for garlic powder or garlic salt?’ or ‘Do I have apples at home?’ This little tip has actually saved us quite a bit of time and money.

There are a few blank lines at the end of each category to add to the list, and in the space marked ‘other’ I write in any additional items we may need that aren’t part of our evening meals (such as cereal), or misc. non food items, such as lotion.  When I go to the store, I walk around each section with my list and dry erase marker in hand and simply cross off items as they are placed in the cart.  When I come home, I wipe off the plastic sleeve and set it aside until that week’s list is needed again. Easy!

Today I am starting this series with WEEK 2 of our meal rotation.  I know, it’s a weird place to start.  But we just finished up eating WEEK 2 meals and I was able to photograph some of the dishes and double check the recipes and shopping lists for accuracy before sharing them with all of you.  I will plan to share a new week of recipes each week until I have shared them all, and then will do one giant post or link that has everything all together.

Couple things to keep in mind:

1. I am not a master cook.  Cooking is not my favorite thing to do.  In fact, I try to spend as little time in the kitchen as humanly possible.  These recipes were adapted from various sites around the internet.  Sadly, I no longer have the web addresses to link to.  Most recipes have been doubled to adapt to feeding our large family.

2. These are recipes for our evening dinner ONLY during the work week, and lunch + dinner on the weekends.

3. Typically there will be enough left over from our evening meals to give Craig lunches for his work days, and the rest of us eat simple meals for breakfast and lunch during the week (sandwiches, salads, etc.)  The kids also eat school lunch a couple times a week during the school year and every day during the summer.

4. These recipes feed our family of 7.  We have 3 boys (currently 6, 8 and 10) who are big eaters and 2 girls (age 3 and 6) who also eat well.  If you have a smaller family or a family who doesn’t eat as much as ours, you may be able to freeze the leftovers and get 8 weeks of meals out of these 4 weeks of recipes (not having to cook much the second go-round, which would be awesome).

5. Our grocery bill each week is right around the $200 mark.  We buy everything at our local grocery store.  As we fine tune this system, we may end up buying meat in bulk from a butcher or grow veggies from a garden (eventually) which could significantly bring this cost/week down.

6. You can use this model to create a meal rotation that works for your own family.  Simply choose meals that everyone enjoys with ingredients that are affordable.

Ok, here we go.  Links to printable items directly below + short descriptions and some photos after.
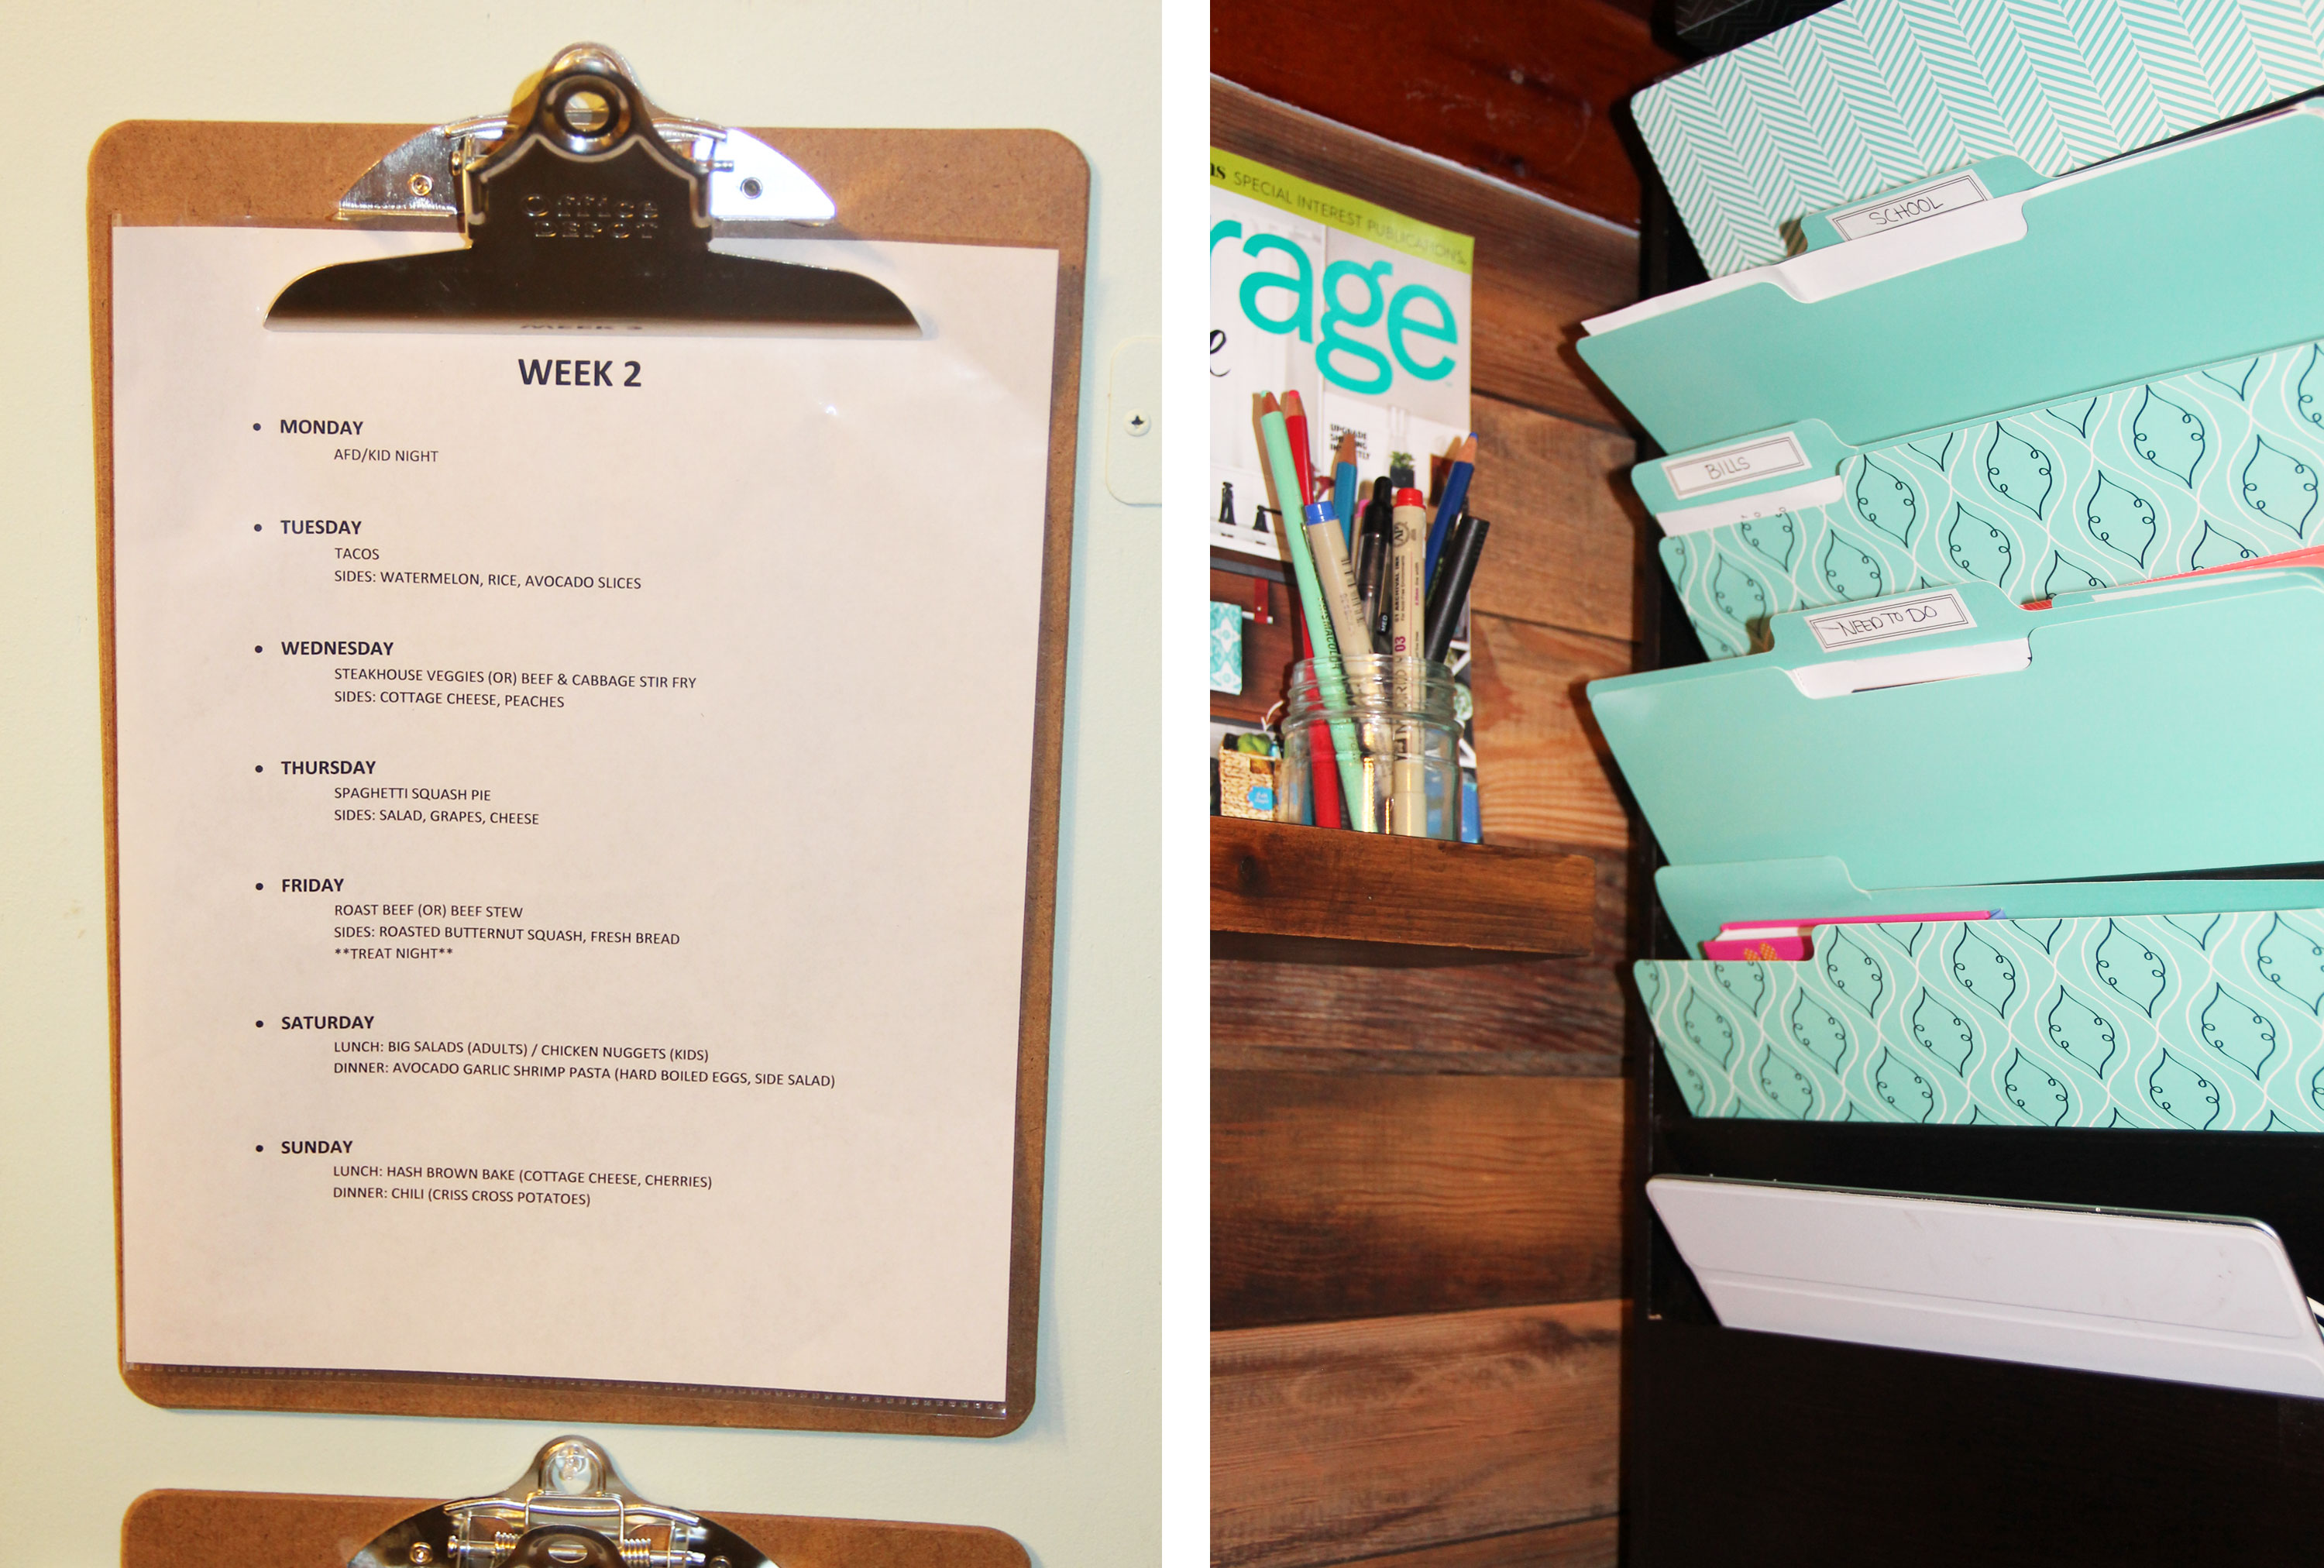
WEEK 2 MENU

PRINTABLE WEEK 2 RECIPES

{Monday}  

AFD/ Kid night

I call this ‘kids choice’ night, because Craig has fire department meetings every Monday evening.  They will usually go for spaghetti or even PB&J.  I typically eat a salad or leftovers from a previous meal.

{Tuesday}

Tacos + watermelon, rice, and avocado slices 

When we started meal planning, Craig was quick to point out that he could ‘eat tacos every night’, and that would be fine with him.  We negotiated and came up with Taco Tuesday instead (though we rotate every other week from tacos to fajitas, and we switch up the sides).  Either way, it is a family favorite night.

{Wednesday}  

Steakhouse Veggies (or) Beef & Cabbage Stir Fry + cottage cheese and peaches

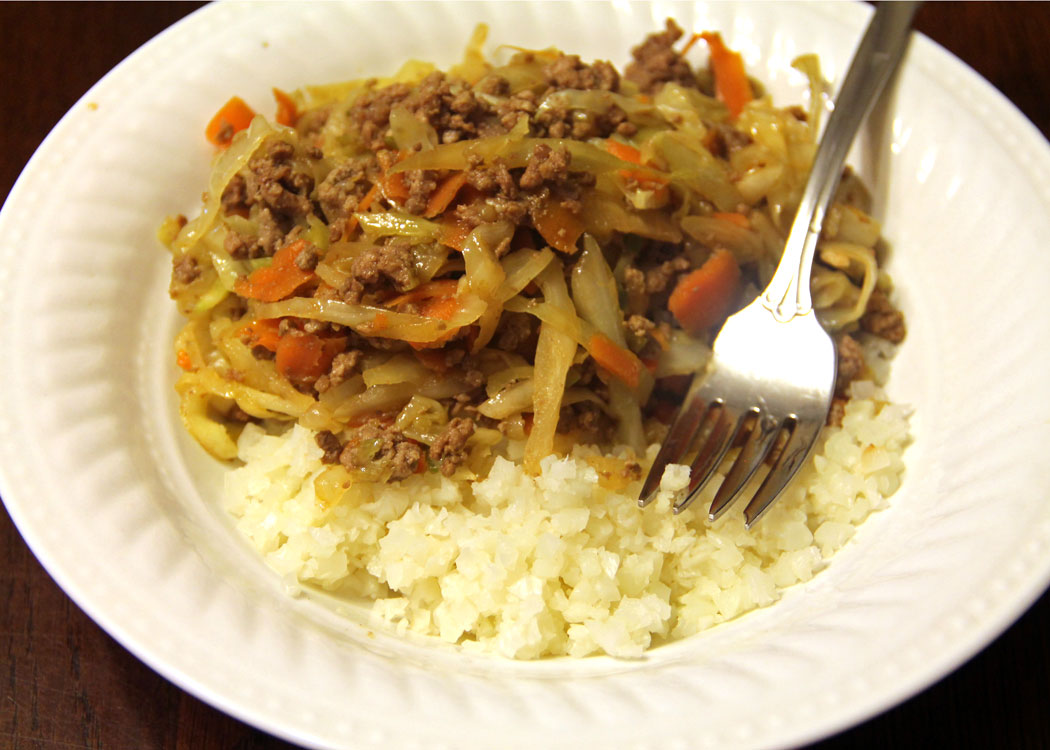
This is one of the days where we have an option.  It gives us a little more variety in our meals.  This past week we chose the stir fry, and it was yummy!  We all now prefer cauliflower rice over the standard variety.

{Thursday}  

Spaghetti Squash Pizza Pie + side salad, grapes, and cheese

This dish sort of tastes like a mix between spaghetti and lasagna and is very filling.  It is very dense and freezes beautifully if there happen to be any leftovers.  Freeze in individual servings for easy meal prep in the future.

{Friday}

Roast Beef (or) Beef Stew + roasted butternut squash and fresh bread + treat night!

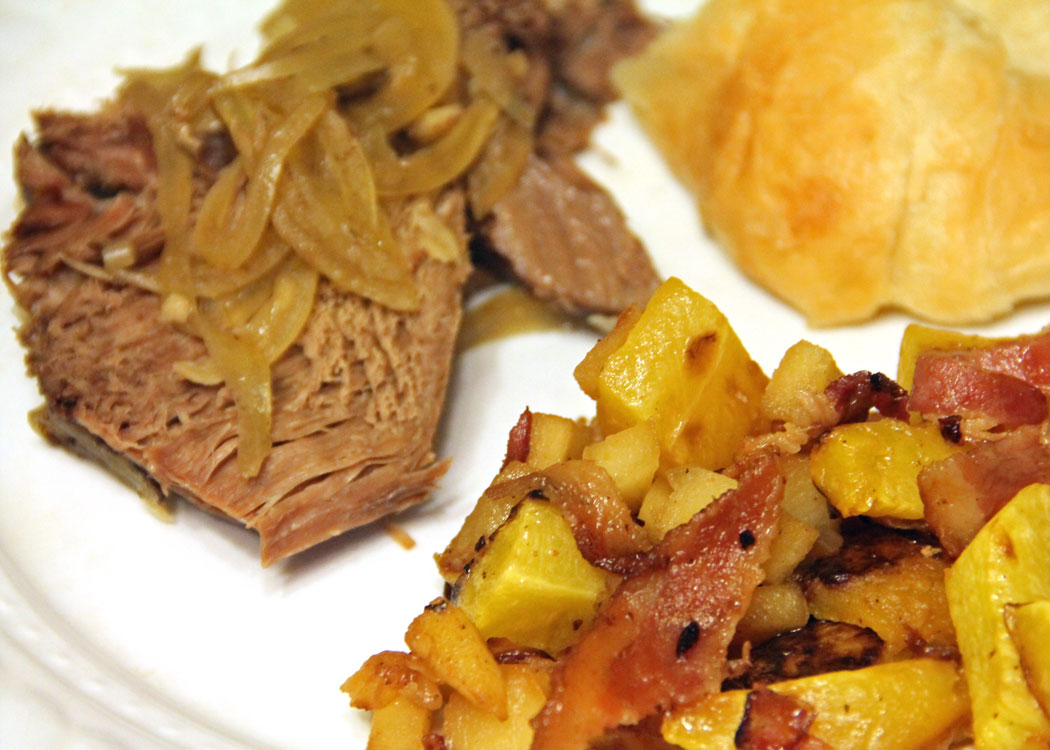
We made sure to schedule in some treat nights here and there, so that we could look forward to them.  This past week we chose the roast beef meal option.  It literally melts in your mouth!

{Saturday} 

Lunch: Big Salads (adults) / chicken nuggets (kids)

Our Saturdays are usually pretty busy, so we keep the afternoon meal simple and the same each week.  Our ‘big salads’ consist of romaine lettuce and maybe some spinach, topped with any variety of veggies + chunks of chicken and maybe a bit of blue cheese crumbles.  We love the Newman’s Own Olive Oil & Vinegar dressing.

Dinner: Avocado Garlic Shrimp Pasta + hard boiled eggs and strawberries

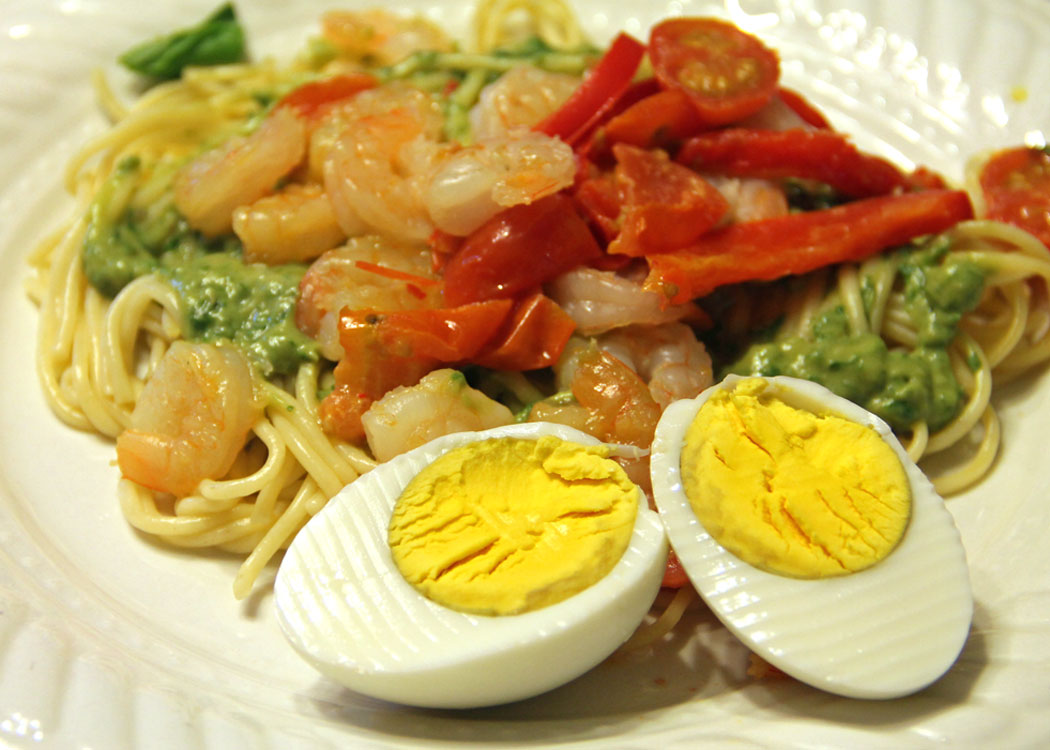
This shrimp pasta is one of my favorites on the rotation, though admittedly it is not a front runner for the kids. I do make some concessions for them when this meal comes up, by allowing them to eat the pasta plain with a little ghee and Parmesan cheese instead of the avocado sauce.  And I let them choose if they would like shrimp or chicken instead.

{Sunday}

Lunch: Hash Brown Bake + cottage cheese and cherries

This is a super simple recipe that is perfect for a Sunday brunch.  Happy campers all around.

Dinner: Chili + criss cross potatoes

Another family favorite, our crew is fine eating this hot meal all year round – even in the dead of summer!  The criss cross potatoes add the perfect side dish as a replacement for bread.

Whew!  This post is making me mighty hungry!

For those of you interested in simplifying your grocery shopping for these specific recipes, just click on the link below for a complete shopping list that includes everything you need to make this week of healthy meals for your family.

GROCERY LIST WEEK 2

I will be back sometime next week with the menu, recipes and shopping list from week #3.  Happy cooking everyone!

In the meantime, see those cute little buttons below this post?  If you hover over them you can see that they give you multiple options for sharing the content from this blog.  Know a friend who has been asking about meal planning? Email this blog post directly to their inbox or share with them on Facebook!

COTTAGE ROOM DESCRIPTIONS {UPPER LEVEL}

As promised, I’m back today to describe the upper level rooms.  If you missed part 1 of the series, the main level, you can find it HERE.

Generally speaking, the second level is made up of only 3 main spaces + a hall to connect them:  the boys room, the girls room, and the kid bathroom.  We debated having a second level at all, but in the end decided that we would rather have a smaller house footprint, which will allow us to use and enjoy more of the land, than to have all rooms on one level with a larger footprint.  That meant we were going to be building a muli-level house.

Below is the layout of the upper level.  Use it as a guide while you read through the descriptions, and take a look at our Pinterest boards (which are linked at the end of each room description).  They show some inspiration images I have found for each space.  * As mentioned before, these floor plans are currently not showing any real detail – will be working on adding detail for future posts.

{STAIRS/HALL} Because the upper level is going to be fairly small, we wanted to provide a bit of ‘unexpected’ space.  Therefore, the hallway will be fairly large and will feature a small nook for a desk or a chair. The hall will serve as access to each of the rooms, circulation space really, but we want to make sure it also feels like a place where a person or two can stay a while.  The stair landing will provide a ton of natural light with a large window facing west. Depending on space, we may try to incorporate some bookcases and/or a window bench there as well. (PINTEREST)

{BATHROOM} We went through SO many different ideas for the upstairs bathroom situation.  Two smaller bathrooms, one for the boys and one for the girls, accessed only through the bedrooms to make them more private. A Jack and Jill scenario where they can share through doors entering each of the bedrooms.  No bathroom upstairs. Ultimately, we decided that because we have children of both gender, we wanted the bathroom to be accessed by a single door for privacy purposes and accessed through the hall space so that it was available to everyone (including people visiting when the main level bathroom is occupied). This room will have some varied ceiling heights due to the slope of the roof-line, but generally speaking no portion of the room should have head height less than 5′.  The shower will tuck in under the portion of the roof that provides cover for the main level living room (there is no second level above that room).  Looks wise we want the bathroom to be classy, yet kid friendly for now.  Those kids are eventually going to be grown ups who visit with their own families, and we want to make sure that the bathroom is accommodating for all types of scenarios. (PINTEREST)

{GIRLS BEDROOM} This is a room that I have had in my mind for years and years, long before {M} ever joined our family.  I had a vision of two matching beds flanking a single window, with a night stand in between.  I’m not sure that exact furniture arrangement will be what we go with – but the room is set up in such a way that it is a possibility. The decor will be light, bright and airy – with a vaulted ceiling – and there will be two closets under the roof eaves (with sloping ceilings as well) – one on each side of the room.  We may turn one of them into a little hideaway space for the girls to play in. (PINTEREST)

{BOYS BEDROOM} We also debated back and forth about this room.  A LOT.  We were initially thinking that we would have 3 bedrooms on this level, with the smallest going to the oldest child living at home; But carving space for 3 bedrooms meant that each bedroom was really quite small, and maybe not as functional as we would like.  Taking some cues from {D}’s small bedroom that he occupies right now at the farmhouse, we realized that a small space for sleeping is actually quite cozy and serves as a nice private getaway.  He loves it.  Therefore, we decided that we would have one large bedroom for all three of the boys, with a shared common space to include the closet, dressers, books, toys, chairs for reading, music, etc – and three smaller sleeping nooks that surround it.  They are not labeled on the image above, because we have not yet decided who will get which nook.  I’m really looking forward to designing these little sleeping spaces, and I know each boy is excited to make it his own. Oh, and did i mention that this room will have vaulted ceilings as well and there is potential for a small loft/ fort space for the shared part of the bedroom? Yeah. (PINTEREST)

There you have it – the basic Upper Level floor plan.  I’ll be back next week to describe the final layout of the home, the lower level!

In the meantime, check out ALL of Arrow Hill Cottage’s Pins!


SATURDAY SKETCHBOOK: PRELIMINARY DESIGN

If at first you don’t succeed – try and try again.  That’s the mantra anyway.

In architecture we call this stage ‘Preliminary Design’.  We know that it might not be quite right, just yet; But eventually the pieces will all come together.

If any of you reading this blog have mistakenly thought that we came up with the design for our future cottage overnight, let me put your minds at ease.  It’s been a labor of love for years.  YEARS!  Let today’s sketchbook installation serve as proof.  This sketch was done almost 10 years ago to the day!

I have an entire folder full of proof, in fact.  Sketches done on little scraps of paper.  In pencil and in ink.  Sketches of floor plan ideas and exterior details.  Sketch upon sketch upon sketch. And although I am not a fan of clutter, I don’t think I will ever have the heart to throw them.  They are a sacred collection.

Though they informed the design choices that eventually led us to that perfect layout we were looking for, each sketch has merit of it’s own.  And someday I would love to revisit each idea and come up with a set of simple plan books based on them.

Someday

ARTHROGRYPOSIS ADAPTATIONS – PLAYGROUND

Raising {K} these past 3 months has been a complete eye opener, a game changing experience.  Never before as parents have we been faced with as much emotion over a child.  The low lows and the high highs.  She is the first of our children that we have seen struggle physically.  If you have been reading this blog you know that {K} has arthrogryposis (AMC for short).  It affects her ability to bend many of the joints in her body.  Because it is fairly rare, (1 in every 3,000 births) most people have never heard of this condition and are taken aback the first time they see {K} moving around.  In photos it is easy to find the ‘right’ angle, position her body just so… make it look like nothing is different.  But things are different, and that’s OK. This is real life.

Each time that our family is out in public, I can see people watching her.  I don’t think she notices… yet, but sometimes it does bother me.  I always try to take a step back and remember what life was like before this diagnosis became part of our every day.  If I had seen someone moving the way she does, tackling things in their own special way, would I have been the one sneaking peeks?  Probably.  It’s not necessarily done in a mean or mocking way. People are curious.

When we first committed to adopting her, we scoured the internet – searching for videos of children and adults living with arthrogryposis.  We were curious.  Were they living full, happy lives?  Were they able to feed themselves?  Drive a car?  Go to school?  Did they marry?  Have children?  We found some videos, but not many. And so, knowing that there may be others out there who are either considering adopting a child with AMC or have just been given the diagnosis as a new parent and could use the encouragement, I am going to be starting a series of videos that showcase how adaptable people with this condition really are!  In fact, as I will write about at a later date, I really hesitate to call arthrogryposis a disability.  People living with it may do things a bit differently – but they are ABLE!  I also want {K} to look back when she is older and see how far she has come, how much strength she has gained.  She learned to walk at 6 years old (just a little over half a year ago) and there is no stopping her now!

Keep in mind that each person with AMC is affected differently.  Some may have very little function in their upper limbs, others may not have use of their legs.  Many, like {K}, are affected in most joints on a less severe degree. Probably {K}s biggest challenges are her knees and shoulders.  She can bend her knees about 15-20 degrees at this point (though she is gaining more flexibility the more she uses them!).  Her shoulders do move, but not in full rotation.  She can not lift her hands actively above her head.  They can be pulled into that position, but will not remain there when she isn’t grasping onto something.  Her biggest strengths are definitely her iron will/ determination and her super strong grip!  Mark my words, that girl will be swinging on the monkey bars before too long! She can hang on SO tight!

Here she is from yesterday’s trip to the playground.  This particular piece of equipment is a tower like structure that at the very top is over 6 feet above the ground.  We have worked on it for weeks and weeks to figure out the best way that she could approach it, and she has gained confidence enough to climb from bottom to top on her own (I started the video late, when she was already part way up).  While videotaping, I was standing close by – one hand ready to catch her if she fell. She didn’t.

I recently found this New Zealand documentary that shares the stories of people living with arthrogryposis.  It’s a great one to watch if you are curious about this condition and it does a wonderful job of explaining the thoughts and feelings of people living with it.

I look forward to adding more videos to our YouTube channel, to document every day life with arthrogryposis.

FAMILY COMMAND CENTER

Let’s just take a moment and acknowledge (or stand in wonder/confusion) that I have been a mom for over 10 years and just recently put together our very first family command center.  When it was finished, I stood back and thought ‘WHY did it take me so long to do this?!’ It just makes good plain sense! As an organization junkie, I’m totally geeking out about it – and maybe sharing our space can give you some tips to help keep your own family organized!

Again, I’d like to mention that we are renting our current house from family members.  Though they have given us quite a bit of liberty to make design choices, Craig has drawn the line on a few things he will absolutely not allow me/us to tackle no matter how many times I ask.  One of them is the painting of the kitchen cabinets.  This kitchen was remodeled in the 1960’s and I believe the cabinets are primarily constructed of oak hardwood, which are stained a very dark color.  The only natural light source in the space is a small window above the sink, and so those cabinets really make the room seem very dark.  I’ve lobbied to paint them all white, and add some fresh new hardware – but he’s not budging and I would like to stay married, so it’s a no go.

But… what happens behinds closed doors stays behind closed doors, right?!  😉

In the kitchen there is a tall cabinet in one corner of the room.  We have used it for pantry storage since we moved in nearly 3 years ago; But it’s depth meant that a lot of items were inaccessible or were forgotten about – helllooooo stale cheerios!  Through time, the bottom portion even became a space where footballs were stored.  I cringe at the memory.

Here is a BEFORE picture.  The cleaned out pantry space.  Note the lovely contact paper on the shelves and the unfinished flooring below.

Let me tell you…. they don’t make contact paper like they did in the 1960’s.  That stuff was made to last!  I was eventually able to peel it all off, but woah.  Just woah.  I also managed to finally finish the flooring by using the more high quality peel and stick tiles over the existing chee-po peel and stick tiles.  It’s an upgrade. (Note to self: In the new house… REAL thickness tile only.  Please!)

I then used some barn wood that we had on hand to line the back wall.  I found a floating shelf at Target that matched the texture and color perfectly and though it gave him quite a struggle, Craig was eventually able to attach it to the barn wood wall.  The inside of the cabinet doors were painted the same mint blue color as the decorative ‘niches’ we have in our kitchen.  From there it was a matter of adding the functional pieces and making it pretty!  I thought it might be easier (and more fun!) to do a video of the space pointing out all of the little details instead of typing them.  Behold the first ever YouTube video that includes my face talking.  Be gentle on me people, it can only get better from here.

And there you have it!  Our family is now on track to be ultra organized! Though we have only had it functional for about a week, I’m happy to report that the kitchen counters aren’t littered with papers, and the kids have been having fun playing with all the activities that are right at their fingertips. And can I just say that pointing them in the command center’s direction when they ask, yet again, ‘what’s for dinner?!?’ has been a treat.

Everything can be tucked away behind closed doors – great for when company comes over!  There is a sweet space for photos, and a charging station for the phones/ipads.

There is space in this command center for both adults (top half) and kids (bottom half).  I get a sleek barn wood wall to look at when I am writing a blog post or browsing on Pinterest.  The kids have access to all sorts of fun activities down below – coloring books, play doh, etc – as well as a spot for their Ticket System (chores/ commission)

The Meal Rotation clipboard is in easy viewing distance for the kiddos, so they don’t need to ask mom what’s for dinner.  Stylish file folders make organizing bills and paperwork more tolerable.

My favorite piece?  Probably the three ‘Plan of Action’ calendars!  I’m a list maker… remember?  I love sitting down at the end of the day and writing down my top 3 goals for the following day.  I think that seeing what is to come helps prepare me, and makes me less anxious.  I have made each of these calendars (monthly, weekly and daily) available in pdf form.  By clicking on the images below you can print your own to use.  As mentioned in the video, I print off one of each sheet and then make them into DIY dry erase boards by placing them in a clear plastic binder protector (then folding back the binder portion or cutting it off).  That way, I waste less paper and spend less time printing.

Maybe these calendars can be your first step toward making a command center for your own family.


Enjoy and happy organizing!

COTTAGE ROOM DESCRIPTIONS {MAIN LEVEL}

It seems that this blog has been taking on a bit of a mixture – some family, some DIY, and probably not enough of the future cottage!  I thought it would be helpful to explain a little more about each level of the cottage and how the rooms are positioned + why we decided to have certain features (such as a pool!).  My fantastic IT team (aka: Craig, my husband) is working on getting me some software that will allow real-time video recording while I design with my computer programs.  That’s going to be really fun to work with in the future, but it isn’t quite ready  yet – so for now I will give you the text + graphics version.

I’m going to start out the series today with the Main Level of the cottage (*Keep in mind that for now these are shown as just basic spaces without detail/colors added… in fact, no windows are being shown yet either.  The details will come, I promise!) Use the image below as a guide as you read through the descriptions, and take a look at our Pinterest boards (which are linked at the end of each room description).  They show some inspiration images I have found for each space.

{FRONT PORCH}  (This is likely to be one of my favorite spaces).  My vision for the porch is complete serenity – a place to sit and read, listen to nature.  I also want it to have a fun vibe – with pops of color.  It will be the main point of entry for guests, and probably at times for our family as well.  (PINTEREST)

{ENTRY}  Entering through the front door, to the left is a space for a small bench and some coat hooks overhead.  I’m thinking of incorporating some special artwork, maybe some family photos.  I would love for this space to be a glimpse of the life of our family.  The piano will probably also be in this space, along the other wall. (PINTEREST)

{DINING ROOM} I am dreaming of some partial height walls between the Entry and Dining spaces, perhaps built in cabinets for books or special collections.  Our table will need to be large, obviously, maybe a rectangular farmhouse style?  I definitely want to find a cute antique hutch to place along the wall.  Filling it with amazing glassware would make me SO happy!  (PINTEREST)

{LIVING ROOM} As mentioned in this post, the living room will be the place of gathering in our home.  It will be given the most detail attention for sure.  There will be vaulted ceilings, a fireplace, and TONS of windows.  The windows facing the backyard/ wooded area will be accented by a lovely window bench, something I have been dreaming of for years.  The window bench will be made of two slip covered twin sized mattresses (maybe tufted?!) and will serve as extra sleeping space for guests (and also probably naps for us! yay naps!) (PINTEREST)

{KITCHEN} Open to the dining room and right around the corner from the mudroom, the Kitchen is in a prime location.  Right now I envision it as an all white/ mostly white space, with maybe a colored tile back splash.  It will have a large center island – eeeee!!! – and a entire wall of pantry cabinets.  I have been finding all sorts of fun storage ideas on (PINTEREST)

{GARAGE} This will be the very first attached garage that our family has ever experienced.  I personally have seen so many examples where the garage overtakes the look of the house, and when planning began I was thinking that the cottage would surely have a detached garage.  However, soon after bringing {K} home, we realized that it made the most sense for her sake that the garage have direct access to the home.  And so, with a little more designing, I was able to come up with a solution that kept the garage somewhat ‘hidden’ from view – though it will cause more expense for a longer driveway.  Worth it I think! (PINTEREST)

{MUDROOM} Since our marriage 15 years ago, Craig and I have lived in three different houses and not one of them has had a proper mudroom.  This space is more important than ever now that we have a large family.  As described in this post, I dream of a well organized space with lots of storage and functionality. (PINTEREST)

{MAIN BATHROOM} I am probably way more excited about the location of this bathroom than I should be.  The thought that we will be able to just walk in from outdoors and use the bathroom or wash our hands without having to track through the entire house just makes me giddy!  It will be a 3 piece (toilet, sink(s), shower) bathroom and will also serve as the bathroom for the main floor bedroom. (PINTEREST)

{MAIN BEDROOM} We hesitate to call this the ‘master’ bedroom because that label evokes the idea of a very large space with an attached walk in closet and bathroom.  It will be our bedroom, but won’t have all the bells and whistles that are considered the standard these days.  We decided to make this room a little smaller so that more square footage could be devoted to the common living spaces (kitchen, dining, living room).  Despite it’s small size though, it will still have plenty of style.  See our inspiration for this space by clicking on the link! (PINTEREST)

That’s it!  7 rooms + the garage and front porch.  Simple!  I’ll be back next week to describe the second level!

In the meantime, check out ALL of Arrow Hill Cottage’s Pins!


BIG BROTHERS

I just have to say that this past week I have been so proud of our boys and how they protect and encourage their little sisters. Most days we spend time at the parks and playgrounds, and because it is summer and our town sees a lot of tourists during this season, the playgrounds are typically filled to the brim with kids.

I have heard our boys proudly declaring that {M} and {K} are their sisters.  I have seen them lend a helping hand if one of them is struggling with a piece of equipment.  They have been thrown the curious questions from other kids – tough things like ‘What is wrong with her legs?’ and ‘They don’t look like you… how are they your sisters?’ ‘Can you even understand them?’ – and answered them with dignity and grace.  They jump to action if they see someone picking on or making fun of one of their sisters and are always including the girls in their conversations and games.

They are their sisters biggest fans, allies and protectors.  They are wonderful big brothers and we are so proud of the young men they are becoming!

Here is a glimpse into our past week.  It was a simple one spent at home.


SATURDAY SKETCHBOOK: COLLEGE DAYS

Today’s installation is bringing us waaaaay back to my college architecture days.  I went to NDSU, in Fargo, North Dakota – and as part of our curriculum we were asked to sketch any buildings that were ‘interesting’ to us.  I spent quite a bit of time in the downtown area sketching the many historic buildings there.

This sketch is of the Northern Pacific Railway Depot which was designed by the Architect Cass Gilbert in the year 1889.  It was added to the National Register of Historic Places in 1971, as a landmark in the area, because of it’s beautiful design and historical significance.  At the time this sketch was drawn in May of 2000, when I was a sophomore in college, it was being used as ‘The Depot Plaza’.  I wonder what it is being used for today?

Have a happy Saturday everyone!