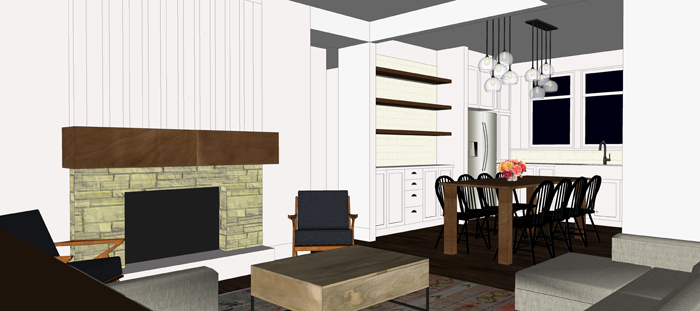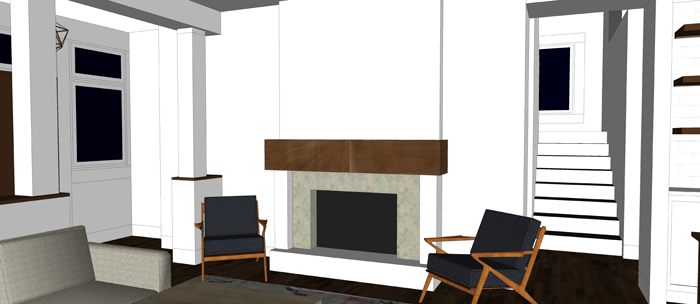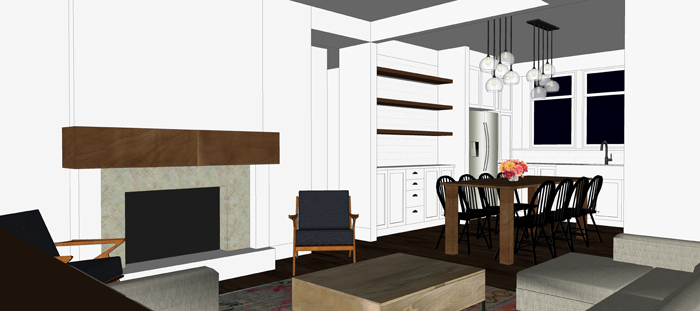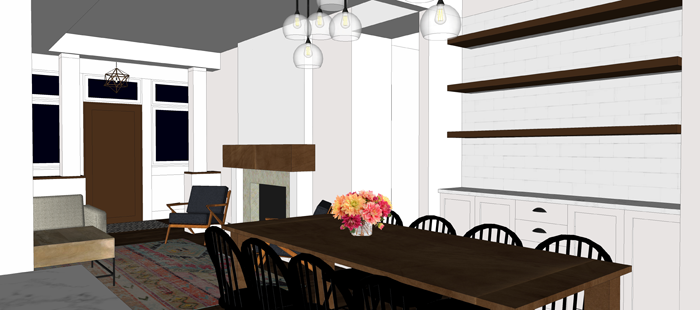
While historically it may have been implemented for it’s ease of installation, cost effectiveness and as a durable finish, interior wall cladding is becoming a popular design choice with modern day homeowners as they seek for something other than standard drywall.
Cladding is available in a variety of styles and materials, each with it’s own aesthetic. Read about the most popular styles, the common materials used to create them, and a few important installation tips.
CLADDING VARIATIONS
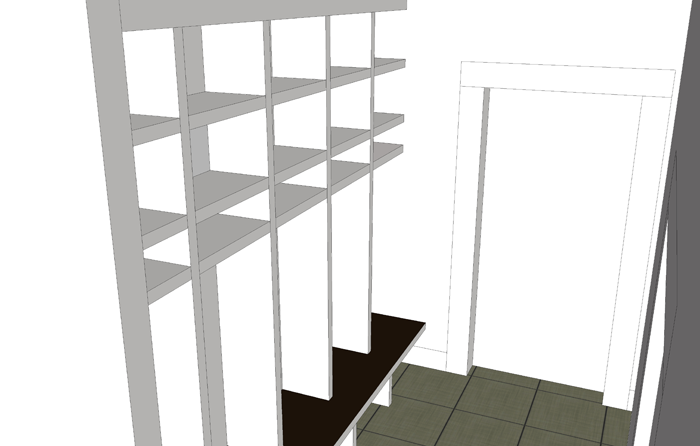
There are many cladding options available for today’s homeowner. I have compiled a list of what I consider to be the five most popular varieties, complete with a sketch of what each application looks like in cross section and a photo of the actual material used in a space.
BOARD + BATTEN
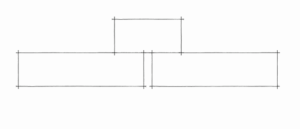
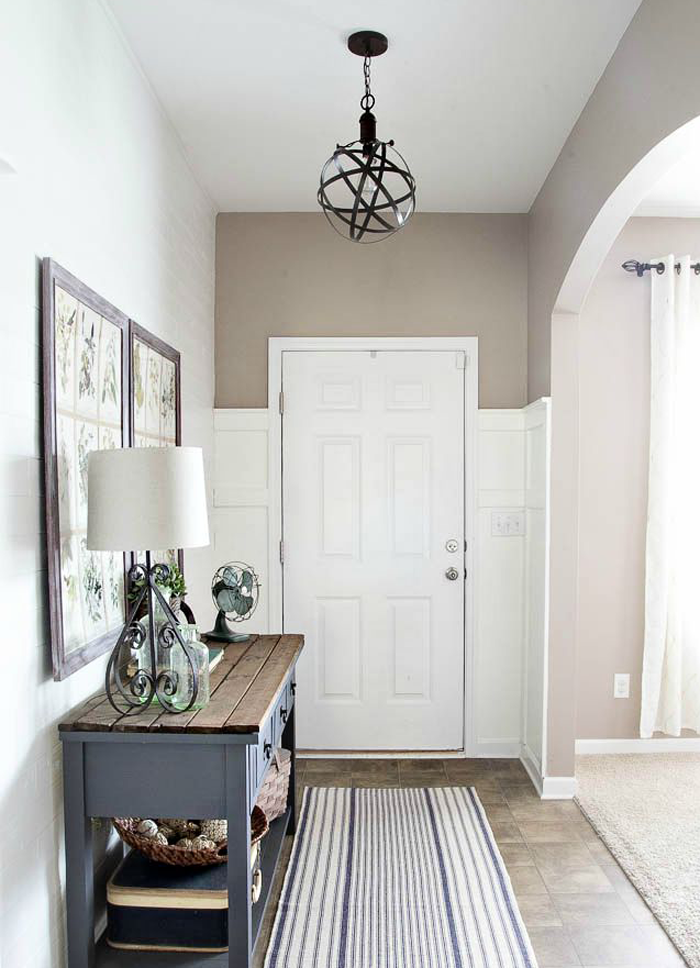
image source
Made with a series of boards overlaid with strips of 1x materials over the seams/joints. Plywood can be used in lieu of boards, for a more simple application. Some DIYers prefer to add the 1x strips directly to the wall at a chair rail height, and use paint to achieve the look of paneling.
BEADBOARD
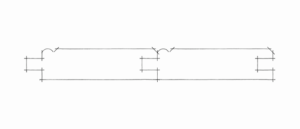
image source
When factory produced mill-work became available in the Victorian Era, beadboard was a popular choice to clad the walls (and ceilings) of utility spaces such as bathrooms and pantries. These strips of wood are milled with joints that fit together to form one continuous wall covering.
SHIPLAP
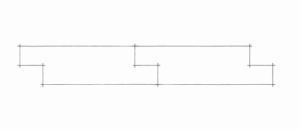
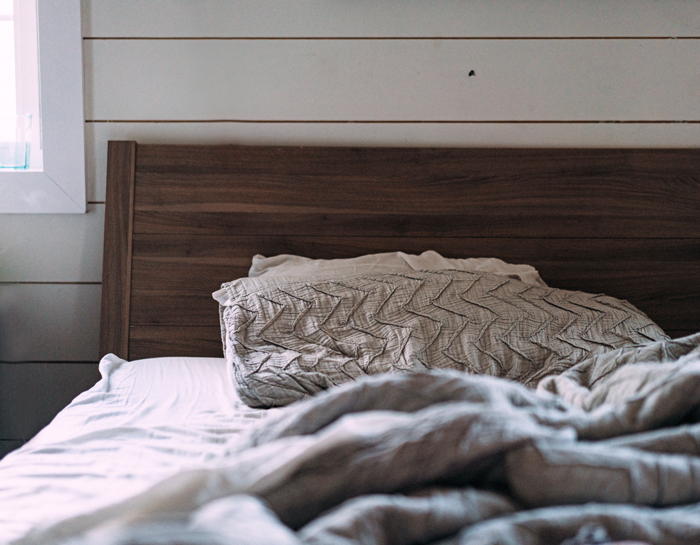
Photo by Bekah Russom on Unsplash
Made popular by Chip and Joanna, Shiplap is a decorative cladding treatment where horizontally laid boards interlock. An optional ‘nickel gap’ milled on the top edge of the boards creates a shadow line that highlights the individual boards. The lines of this cladding style are clean and simple, making this a popular choice for traditional and modern homes alike.
V-GROOVE
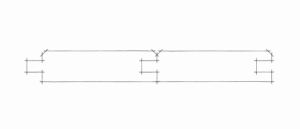
Photo by Hutomo Abrianto on Unsplash
This cladding was most popularly used in Colonial-era homes and is created by boards that are milled with chamfered (or right angle cut) edges on both sides, which form a ‘v’ when the boards are combined. V-groove cladding is readily available in a variety of wood and synthetic materials.
PLANKS
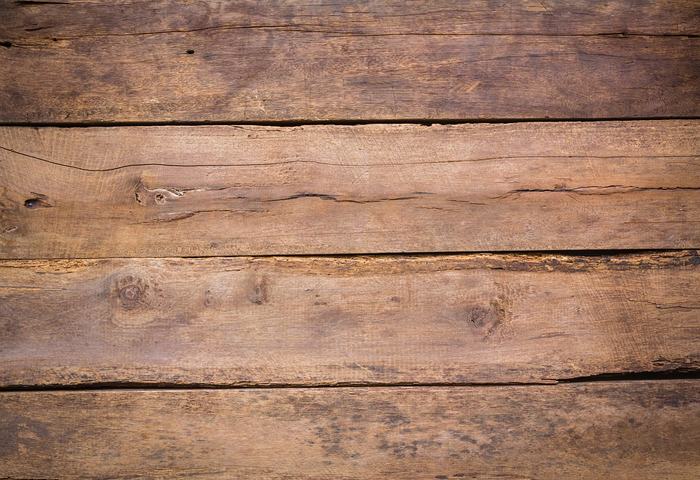
image source
Generally, this cladding technique is created by applying salvaged boards of various sizes and colors onto a wall in a collage format. Reclaimed barn wood and shipping palettes are common materials utilized. DIYers love this cladding style for feature walls – to give their spaces a rustic and handmade look.
POPULAR MATERIALS
These cladding options are typically available in three different materials: wood/plywood, salvaged wood, and MDF. Your decision to choose one material over another may be based on a variety of factors including ease of installation/finishing, the size of your project budget, and the space you will be using the cladding in.
WOOD / PLYWOOD
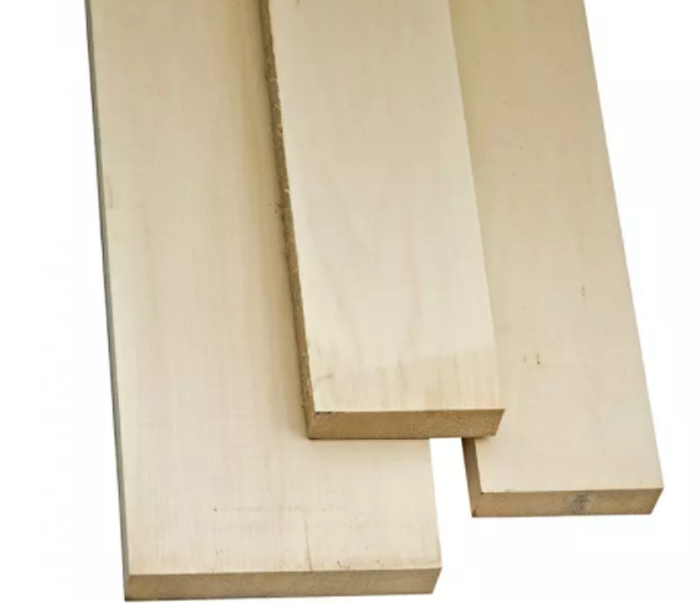
image source
A wide variety of wood species are utilized to create the cladding material, from budget friendly pine to stunning cedar and redwood. Because wood expands and contracts over time, it important that space is left between boards during installation. Wood is very durable, but can be heavier than other material choices. Plywood sheets with grooves cut to create the appearance of planking are lightweight, easy to install, and very budget friendly.
SALVAGED WOOD
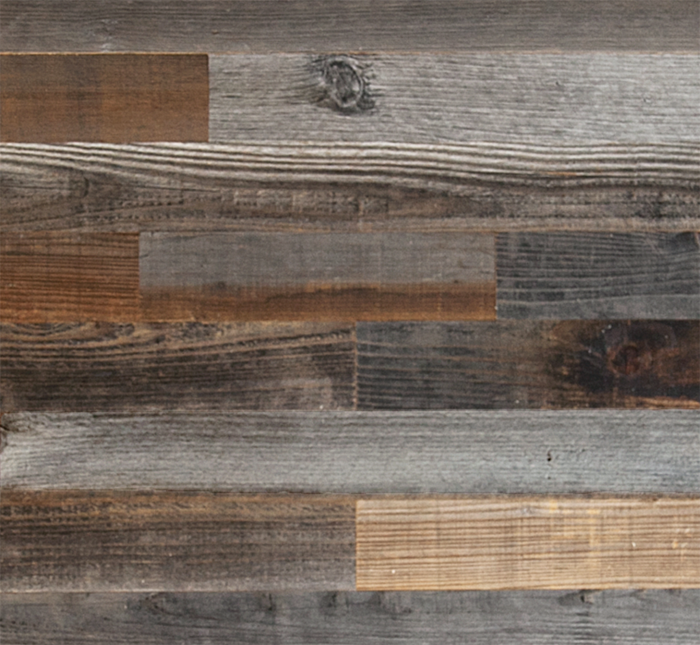
image source
This material can be gathered from a variety of sources – from old barns to factory floors – and has rustic charm and character. You will want to be sure that salvaged wood has been properly cleaned and dried – to avoid pesky, unwanted insects from being ushered into your space.
Companies such as Plank + Mill offer a salvaged wood product that has been cleaned, kiln dried, and planed thin before being applied to and adhesive backing. These ‘peel and stick’ products are ready to be installed directly on your walls with ease.
MDF
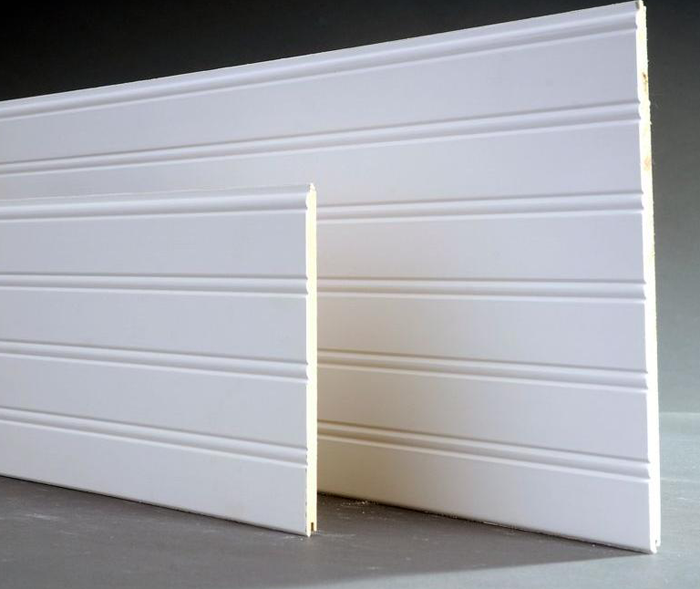
image source
Medium density fibreboard is becoming a more popular material choice as natural resources become scarce. It is made up of approximately 80% wood fibre material, and a mixture of glue, water, and wax.
This material can be quite budget friendly and is available in a wide variety of sizes and even 4’x8′ sheet applications. It’s downfall is that it can not be used where moisture is a possibility, as it acts like a sponge to soak up water – eventually swelling and crumbling apart. Though there are some companies who offer a water resistant MDF material, it is not readily available.
TIPS FOR INSTALLATION
DIRECTION MATTERS
Generally speaking, vertically laid material will give the illusion of height – while horizontal boards make small spaces seem larger. Keep that in mind when making selections for your space.
KEEP IT SIMPLE
Add character, not clutter. When determining what style of cladding to use be mindful that multiple styles may not look great together. A vertical beadboard wall will clash with a horizontal shiplap wall nearby, for example. Experts caution that while one style per space is encouraged, a maximum of two styles should be used in each space. A maximum of three styles throughout the entire house is also recommended.
START LEVEL
When installing cladding in plank form, it is vitally important that the first board/plank installed in plumb and level. You may want to have an extra pair of eyes and hands available to help guide that first piece into place. Failing to take the extra time upfront can cause big problems during the rest of the process.
MY THOUGHTS ON THIS HOME DESIGN TREND
I am a texture lover, and interior wall cladding adds a depth that plastering or basic paint is not able to accomplish. The bonus of this trend is that it is fairly DIY friendly, and forgiving. Part of the charm of interior cladding is that it reminds us of older, historic homes – where perfection is not expected.
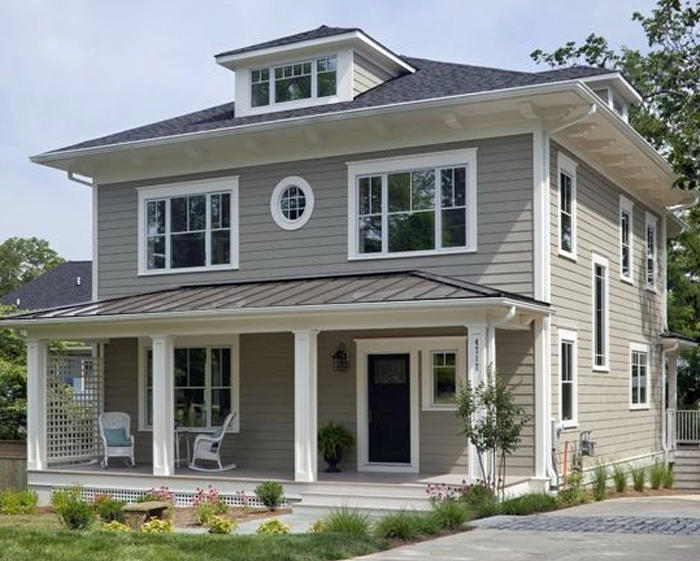
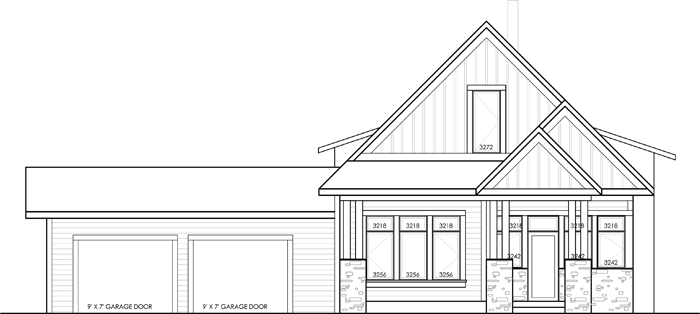
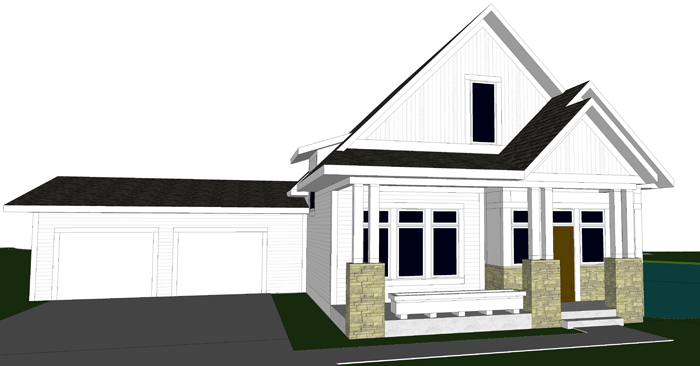
The exterior of our cottage will feature both standard lap siding and board + batten applications. I imagine we will also use a few accent spots of cladding on the interior, as a way to tie the inside and outside of the house together as a cohesive design.