Join me today as I share a full tour of our framed house! So much has happened since I last posted about the progress at the site, and I’m excited to show you everything!
Last we left off, on construction update no. 5, the second floor trusses were just being delivered to the site. Boy have things changed a lot since then!
PROGRESS IMAGES
Here’s a quick photo recap of all the little steps that have happened from then until now.
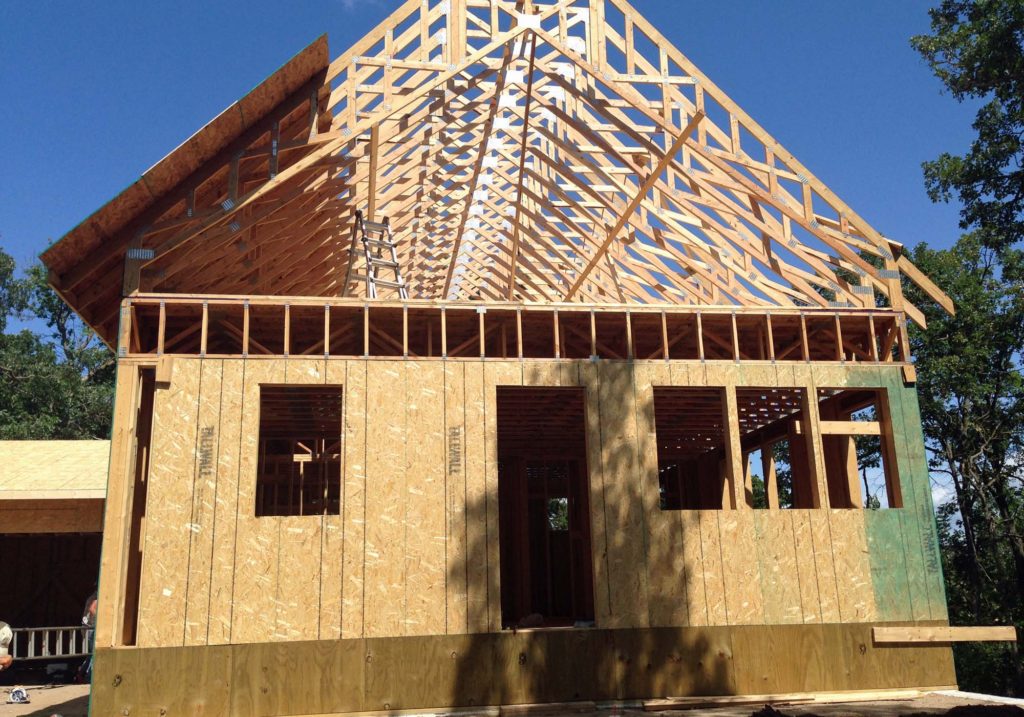
The large scissor trusses for the second floor were delivered. They are massive! With no dormers on the roof, they were able to get everything in place very quickly. In just a few hours they were ready to put on sheathing!
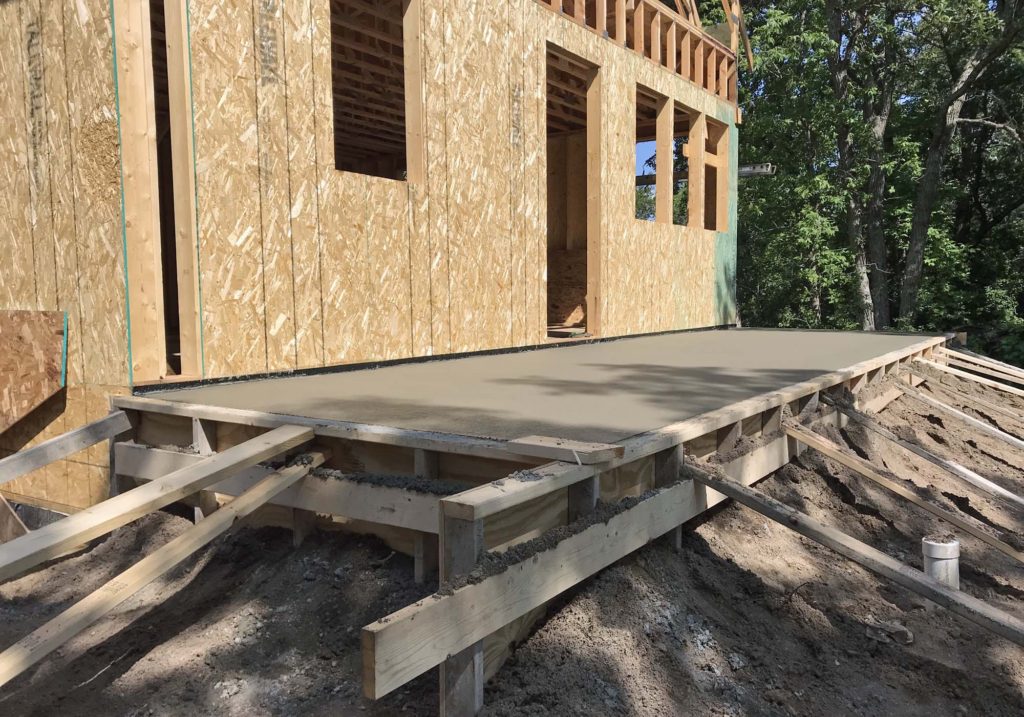
Next, the concrete for the porch was poured. They did beautiful work, and applied a broom finish. Because the posts needed to rest on the concrete, the porch floor needed to cure a bit before the next step.
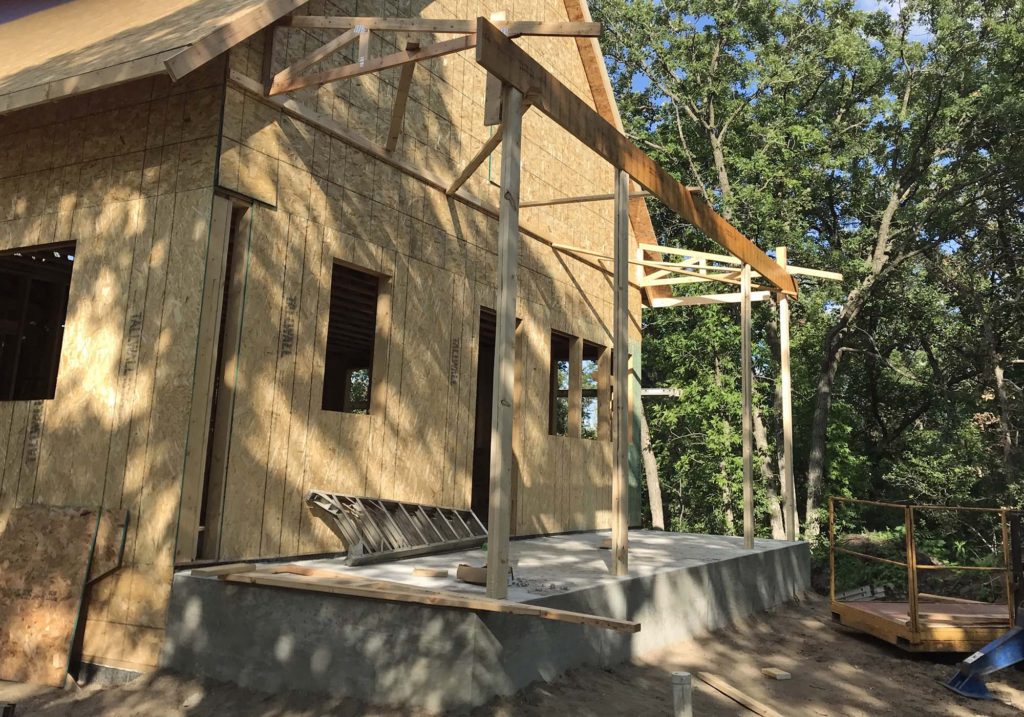
They finished sheathing the front gable end and began to set up the framework for the front porch. The posts are only temporary, until the thicker cedar posts are ready to be installed.
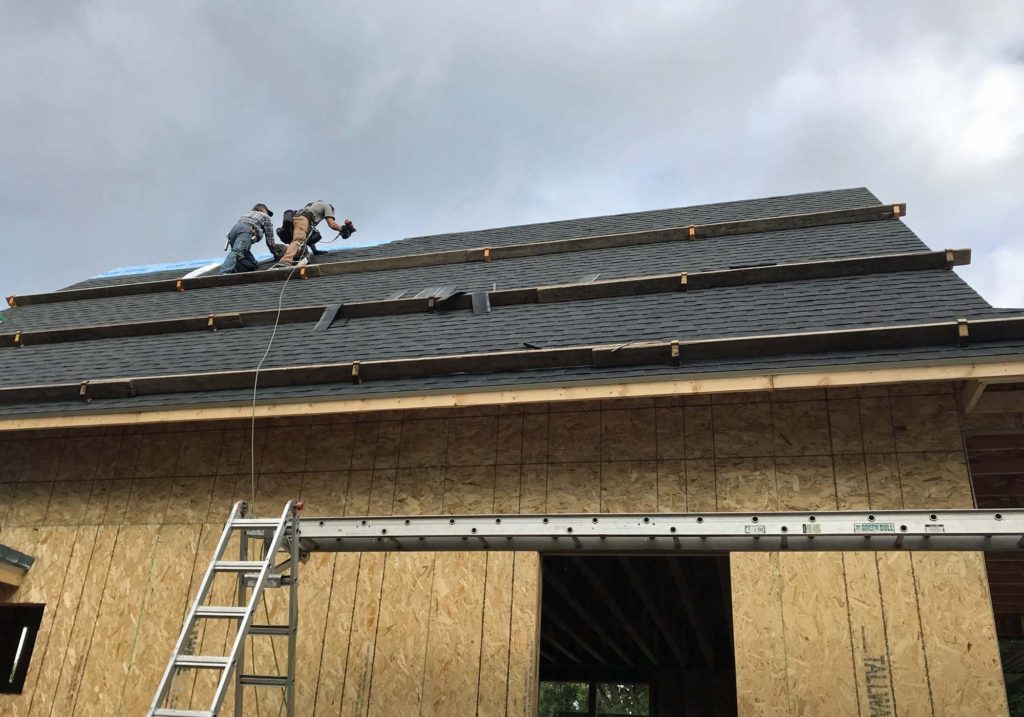
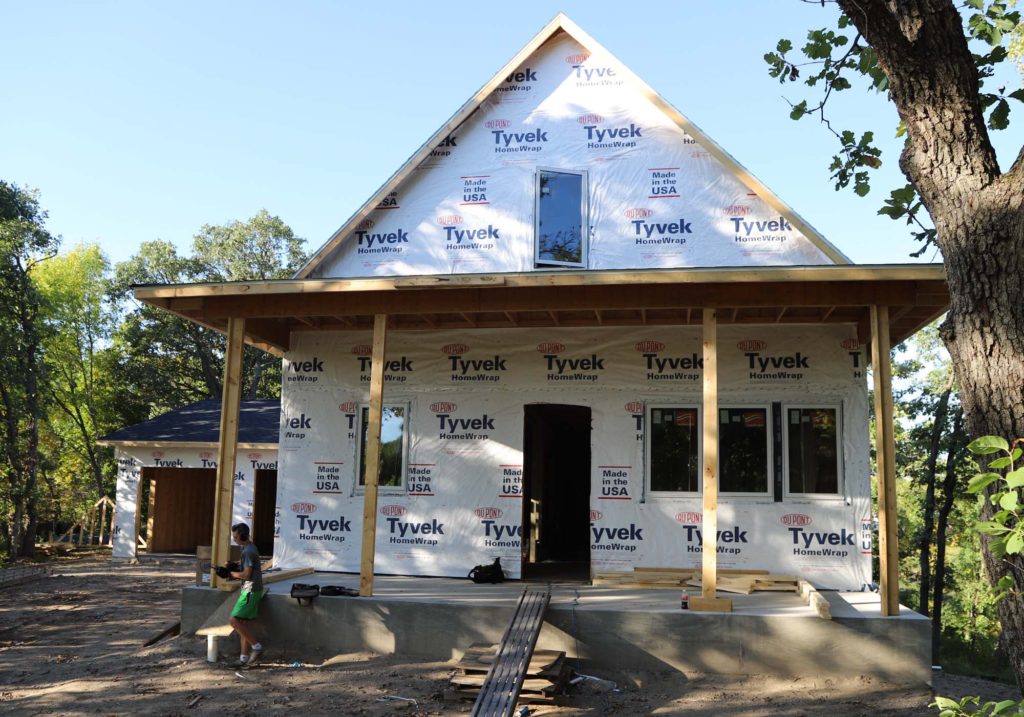
Once the porch roof was on, it was time for the shingles! We were more than excited for this step, as our area has experienced heavy amounts of rain for most of the Fall. It was finally time to get this huge asset of ours protected from the elements!
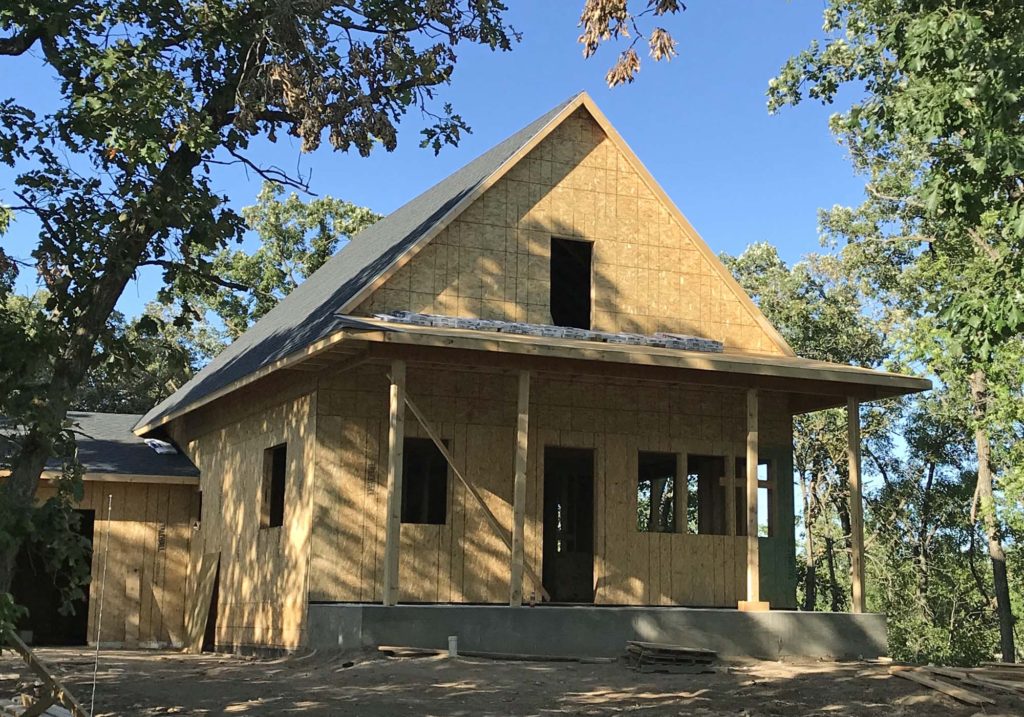
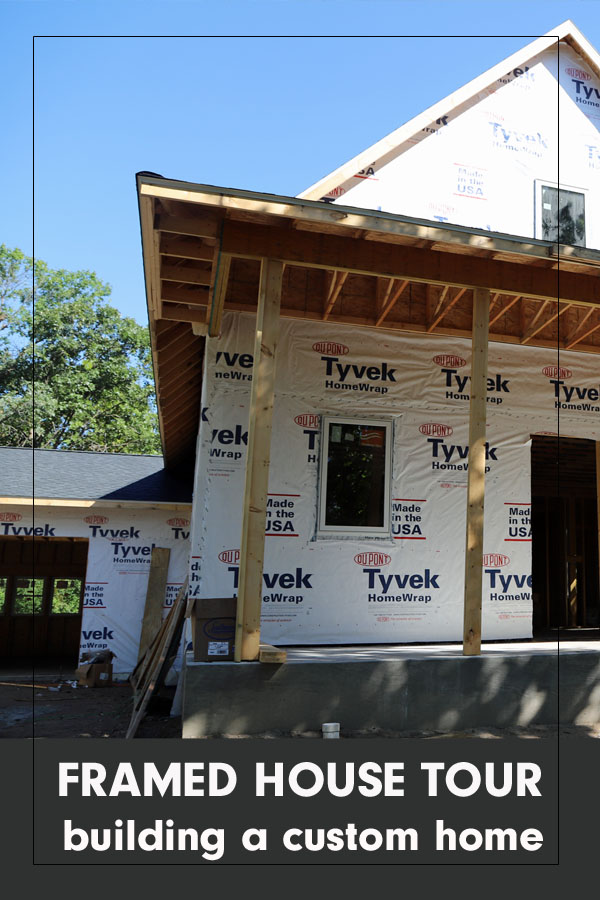
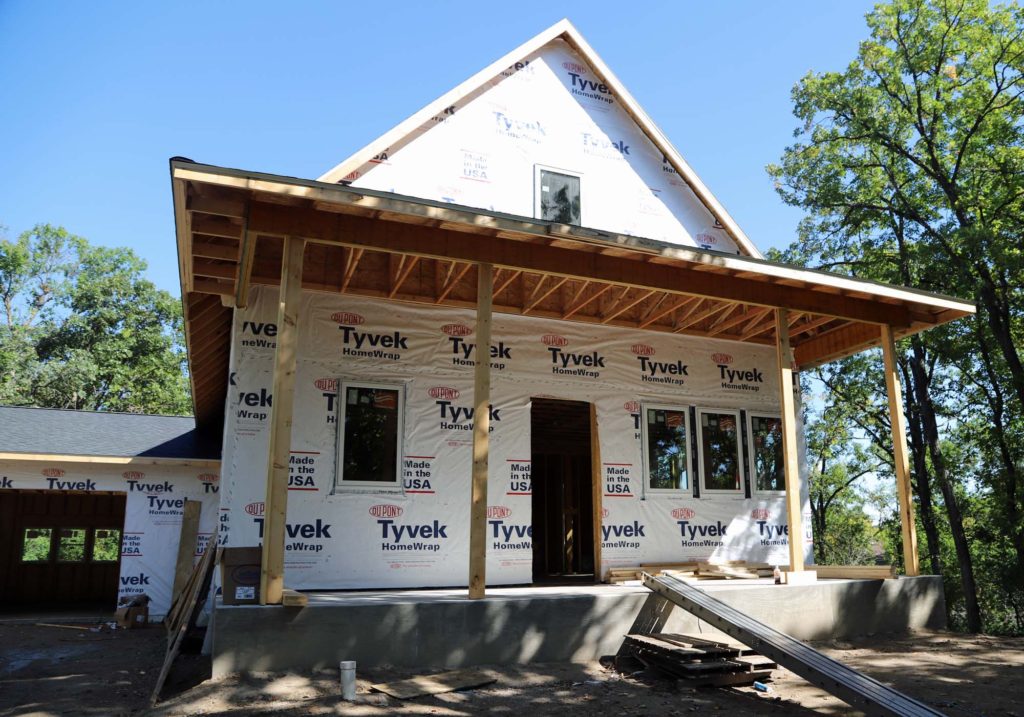
View from the front of the house with the shingles finished, windows framed out, and temporary porch posts. We will be doing some grading so that we don’t have so many steps to the porch.
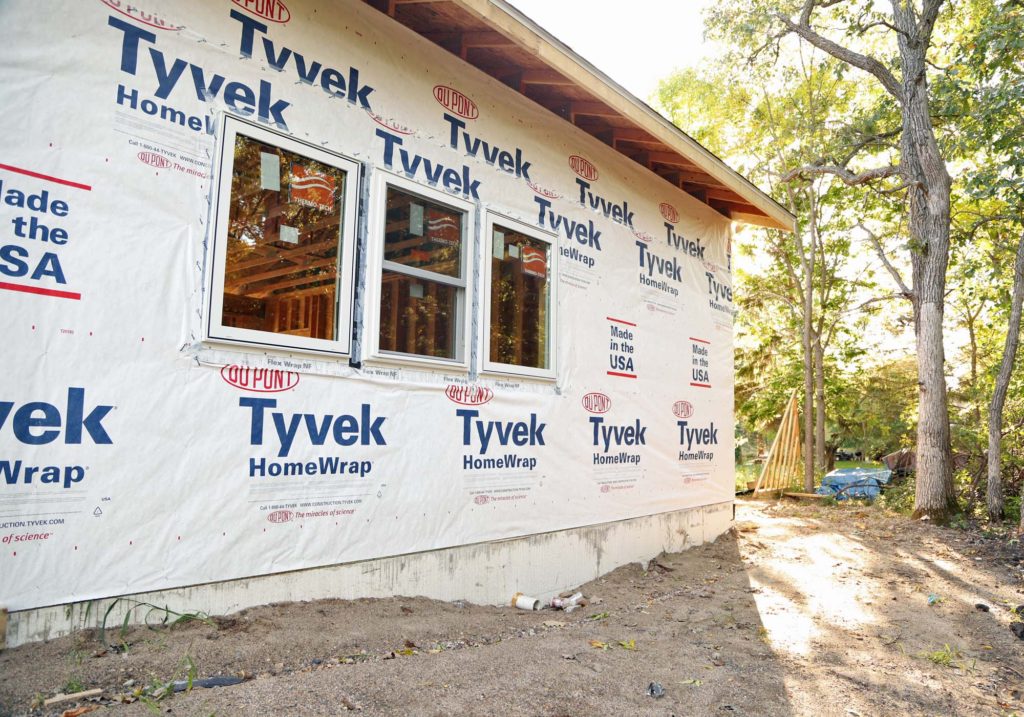
The waterproof wrap was added to the exterior, and the windows installed! This step really helped to brighten up the entire exterior of the house! Since our final siding and trim will all be white, it is fun to see it this way.
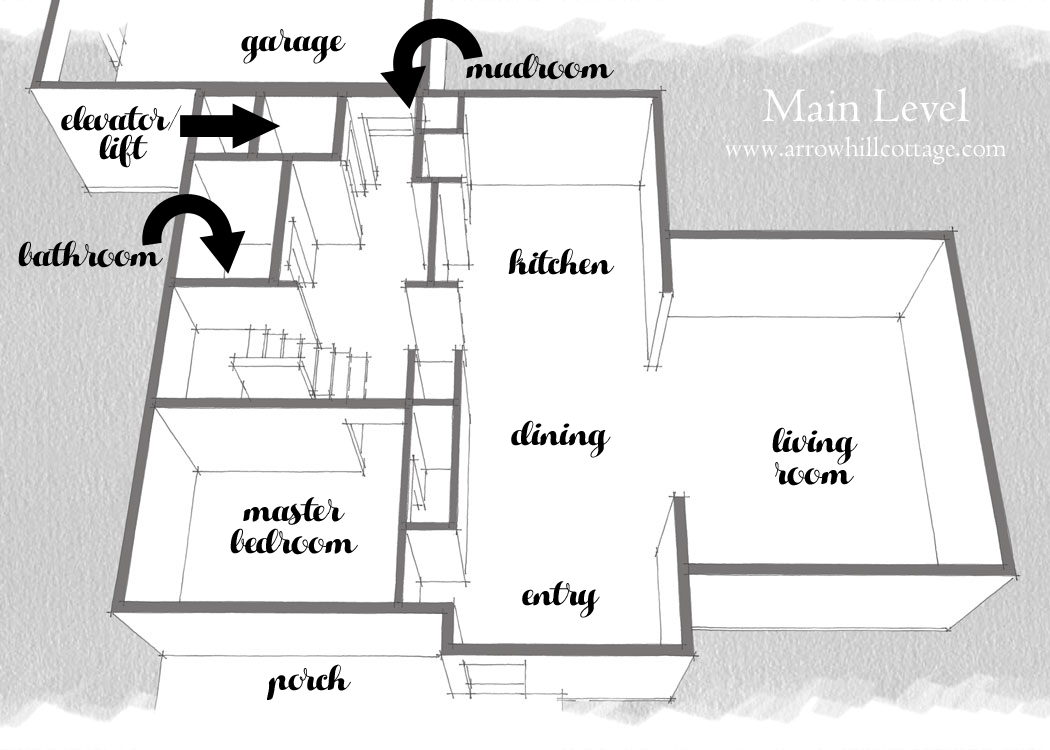
FRAMED HOUSE TOUR
While all this was happening on the outside, a ton was also going on inside the house. In fact, the inside framing process is essentially complete! The HVAC crew has started running ductwork, and the plumbers have been coordinating as well. I thought it might be fun, before all the walls are covered with drywall, to take you on a full house tour!
Below are a few pictures from the interior of the house. Scroll through to the bottom of this post for a link to the video tour, and see every nook and cranny of our future house!
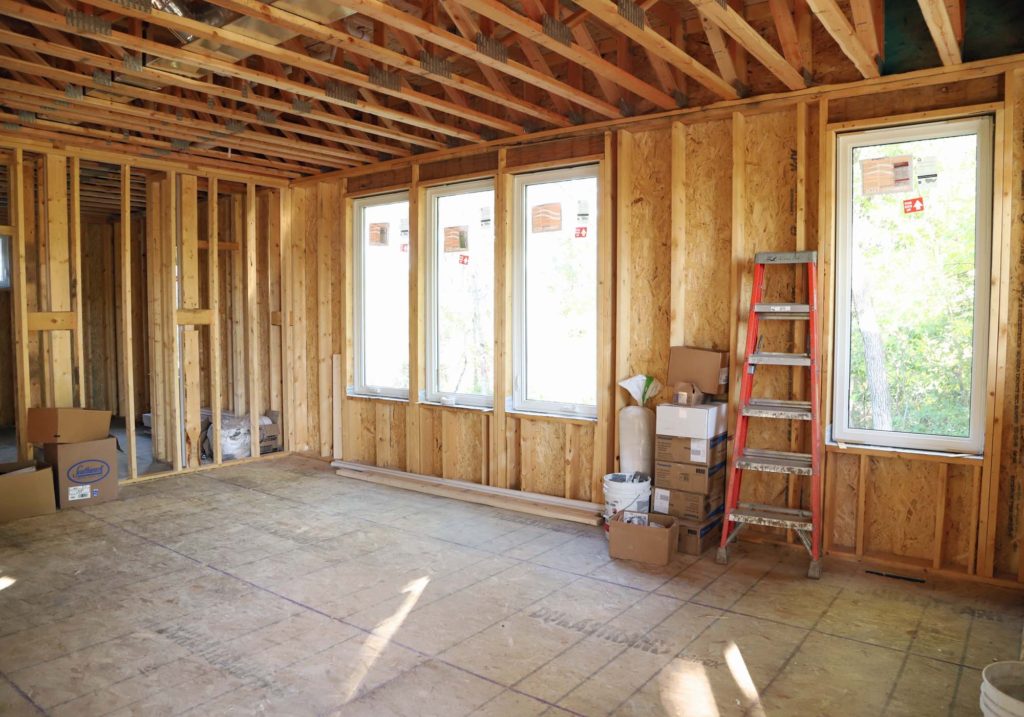
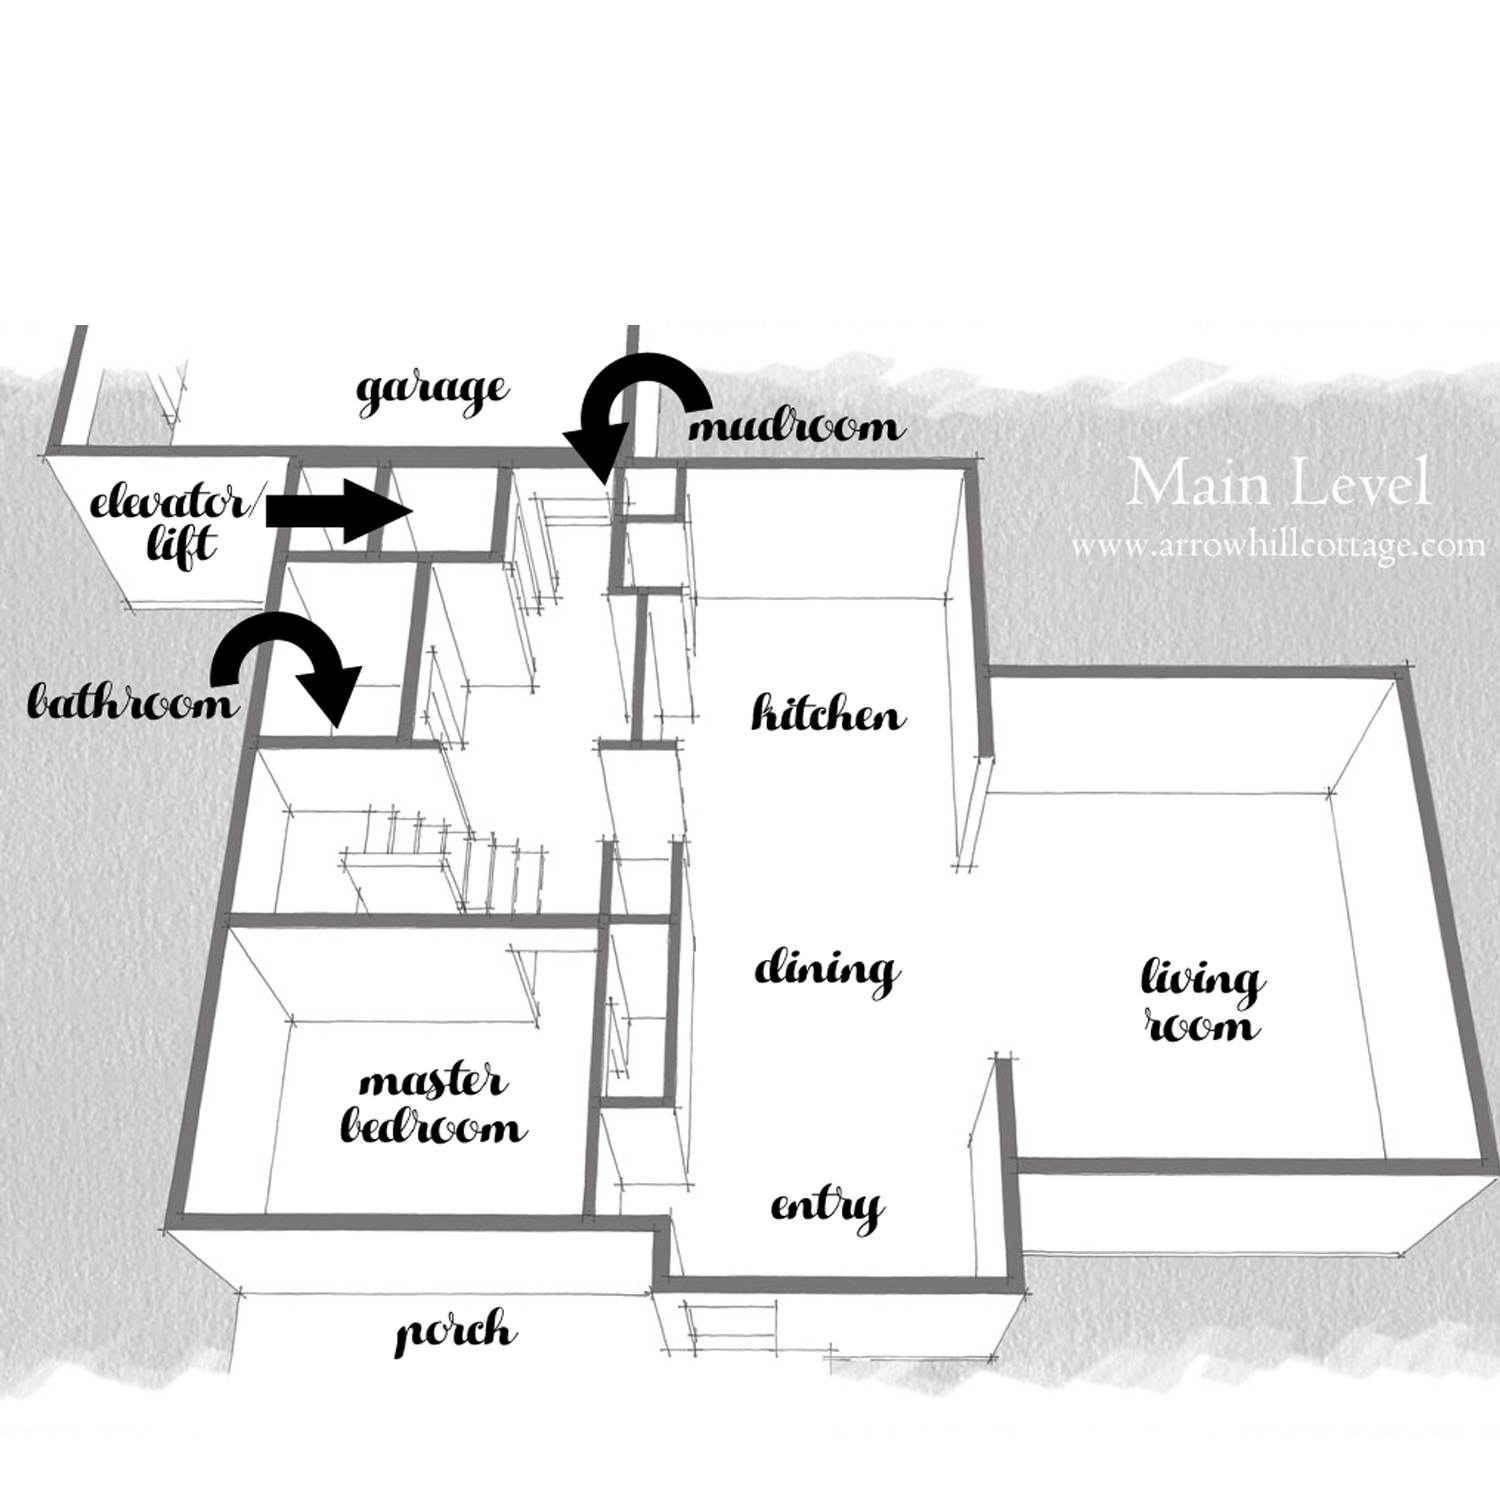
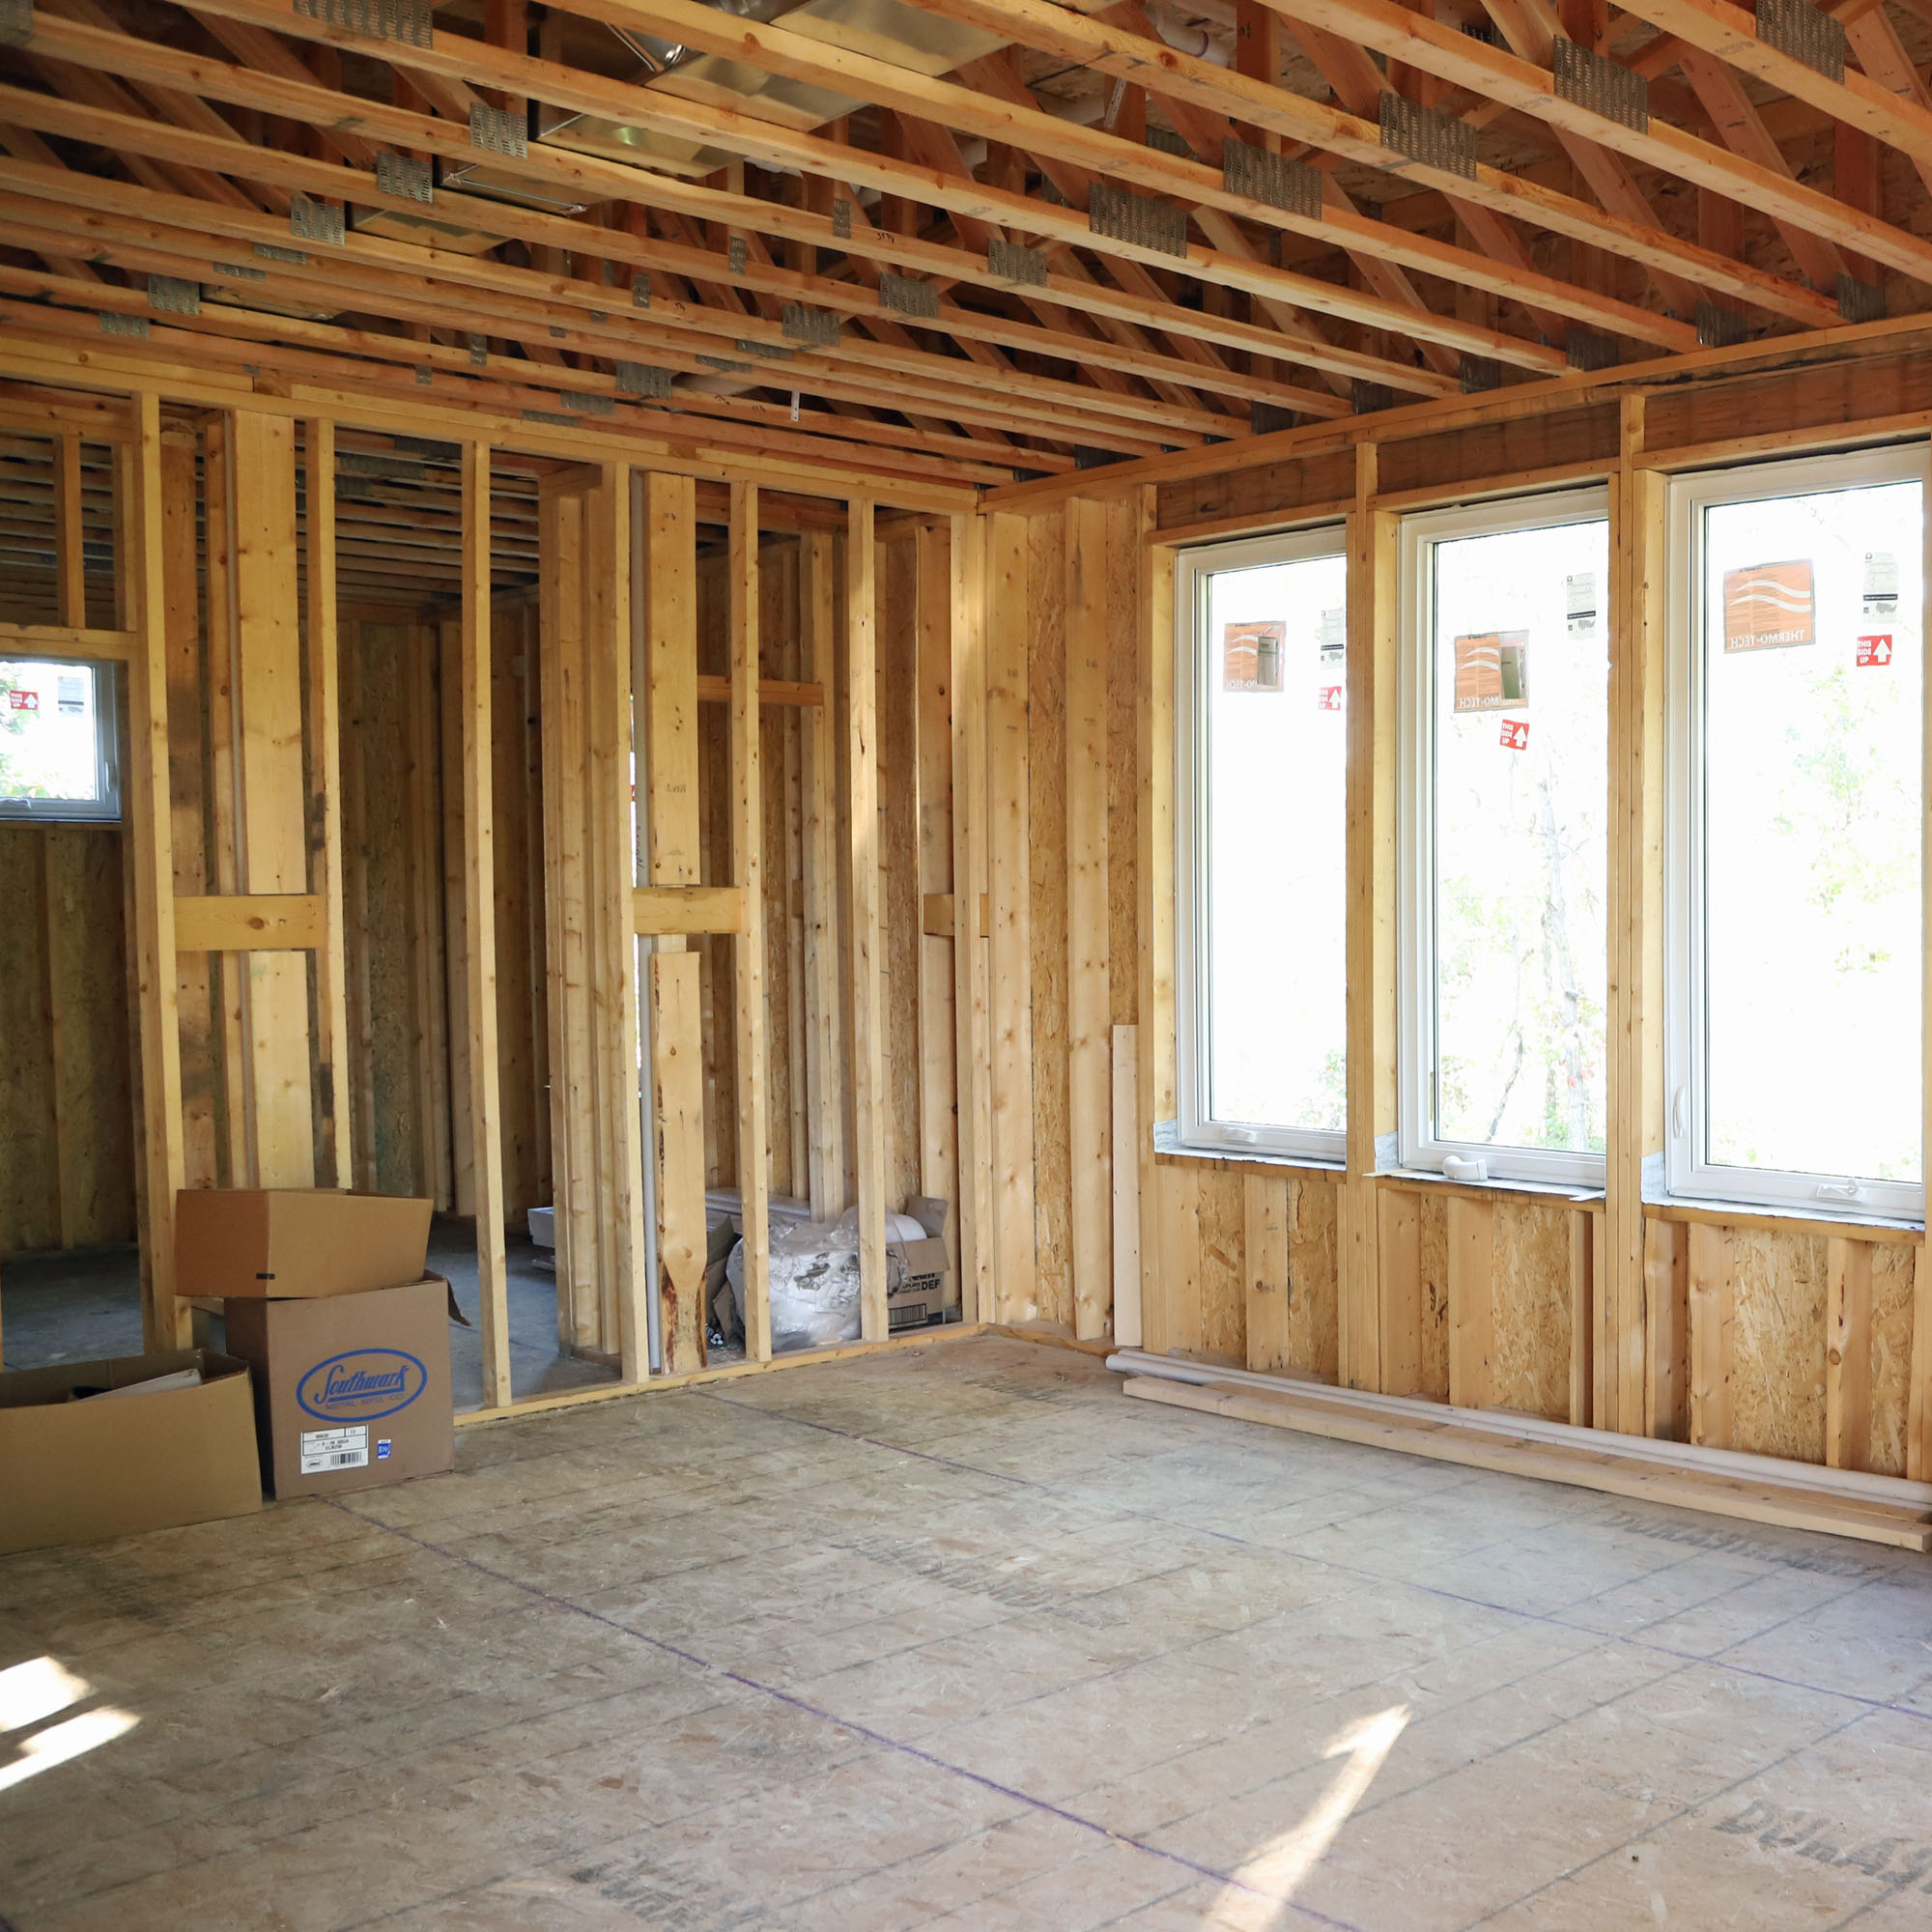
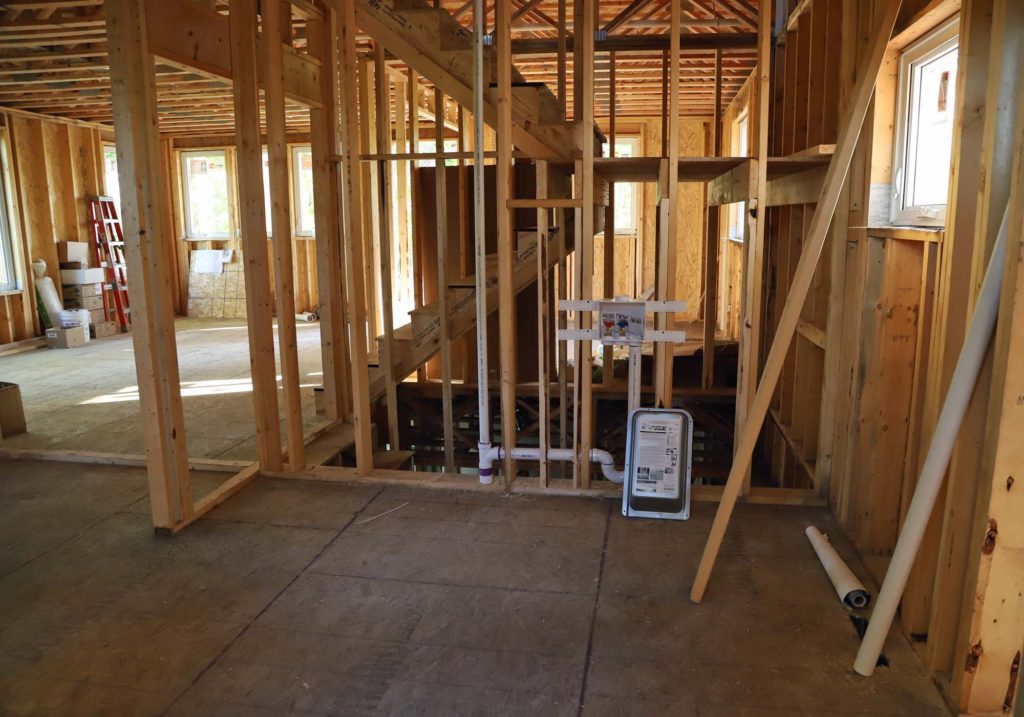
View of the living/dining space
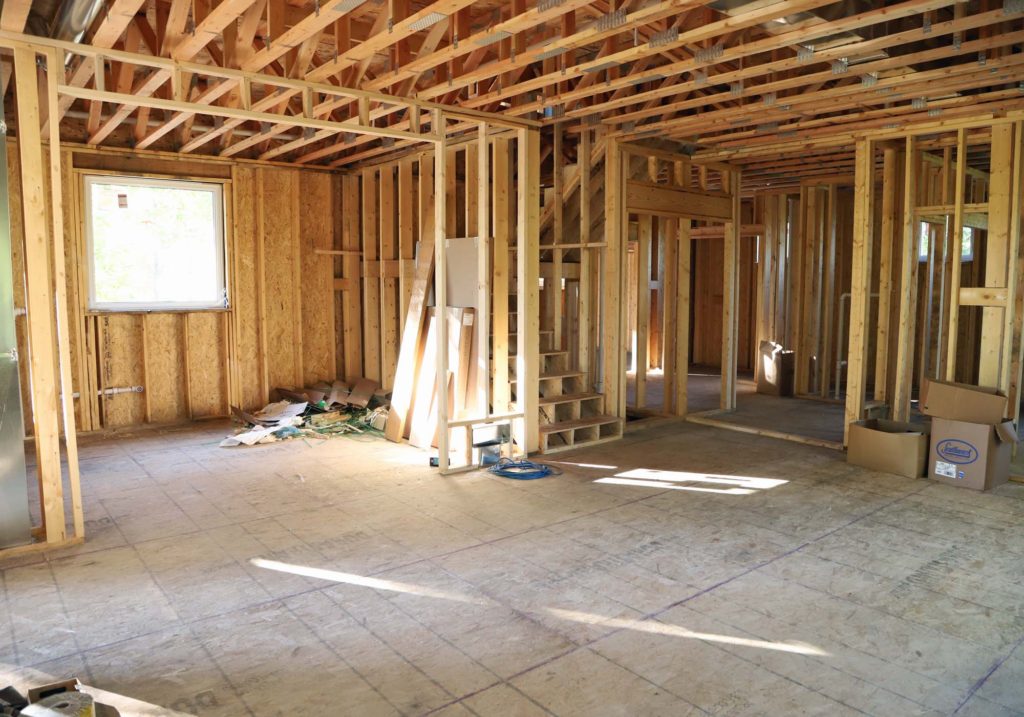
Looking toward kitchen and stairway, from the living room

Master bedroom
Mudroom/ laundry room space
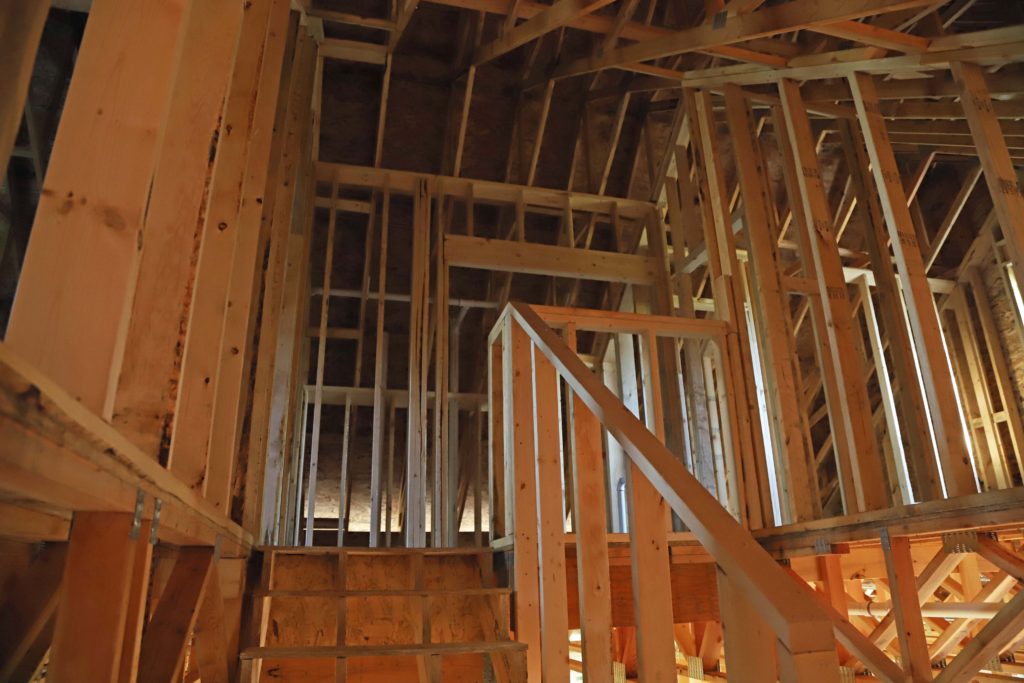
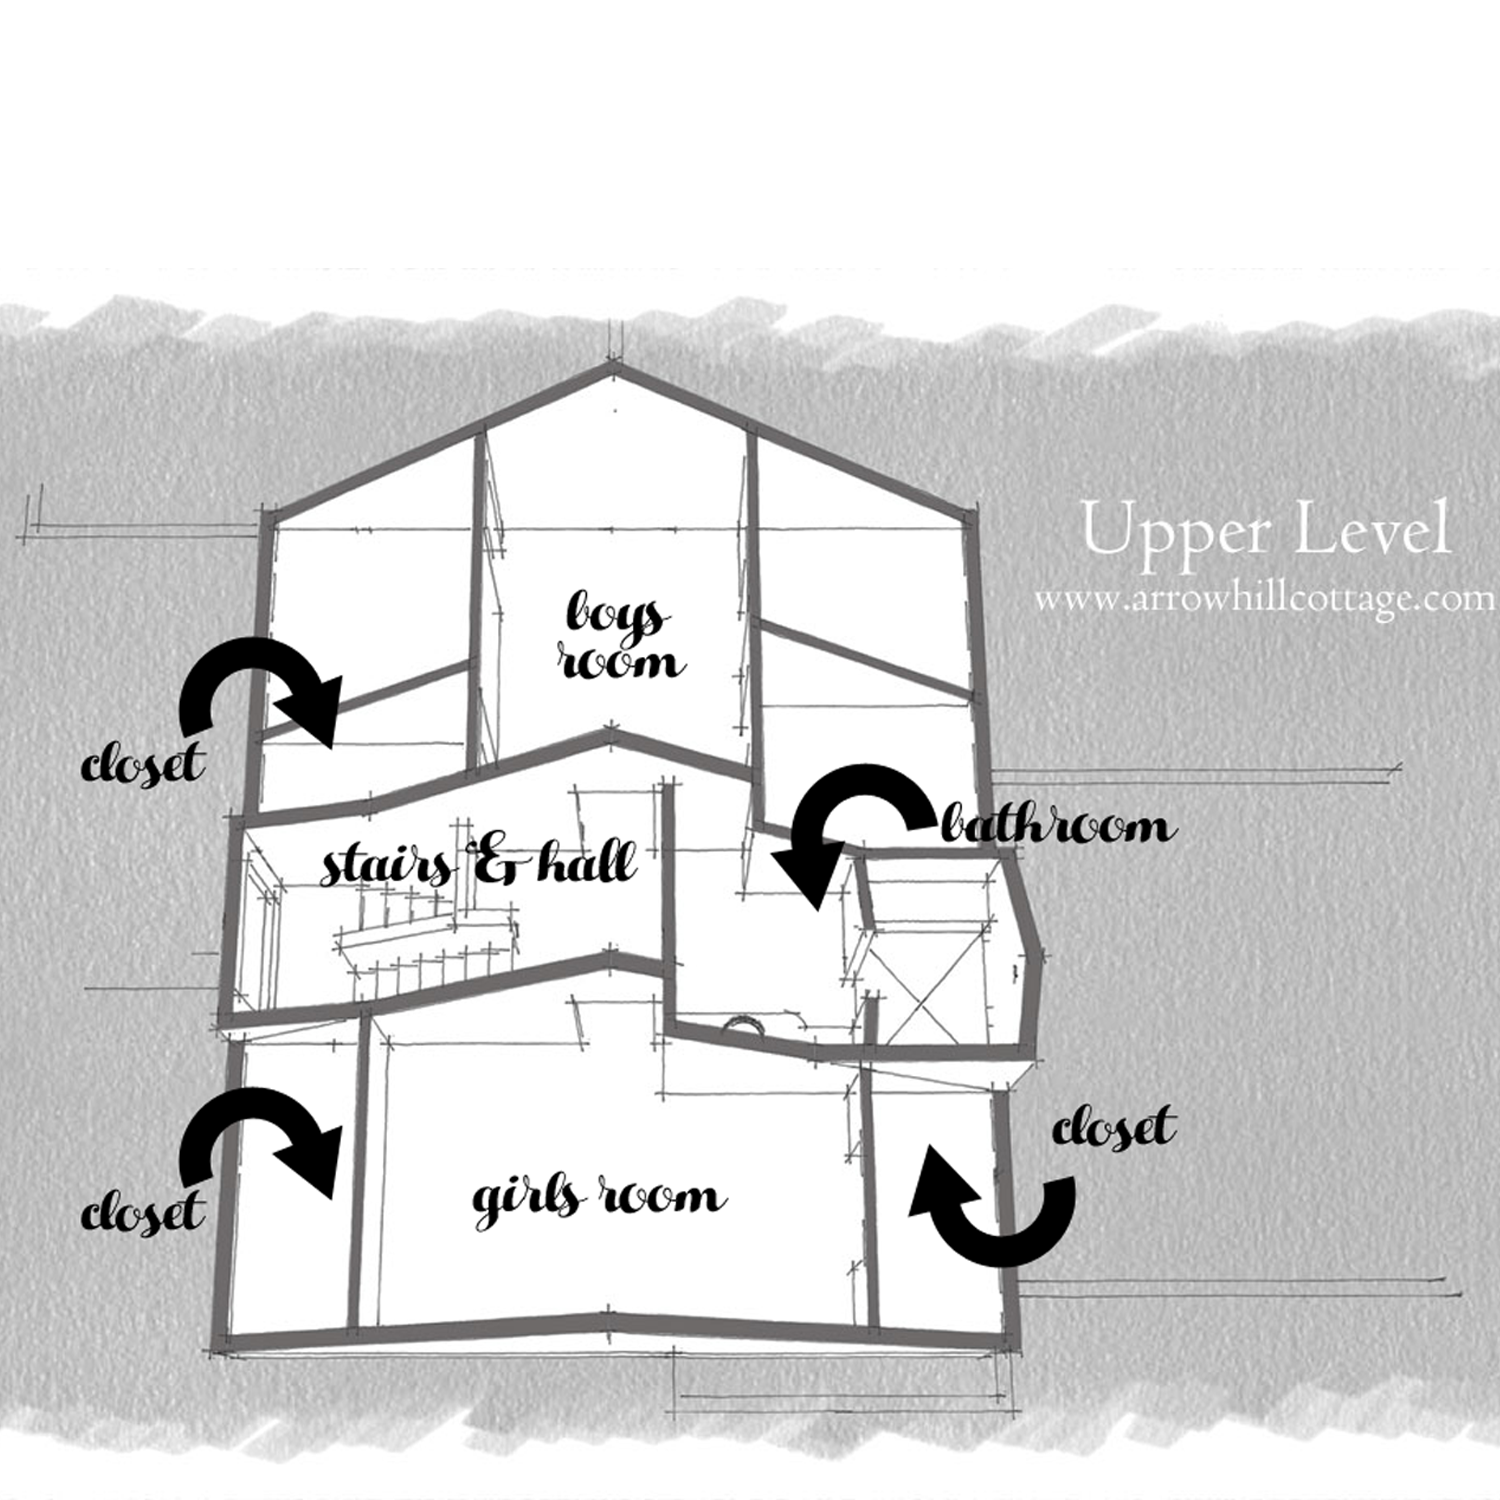
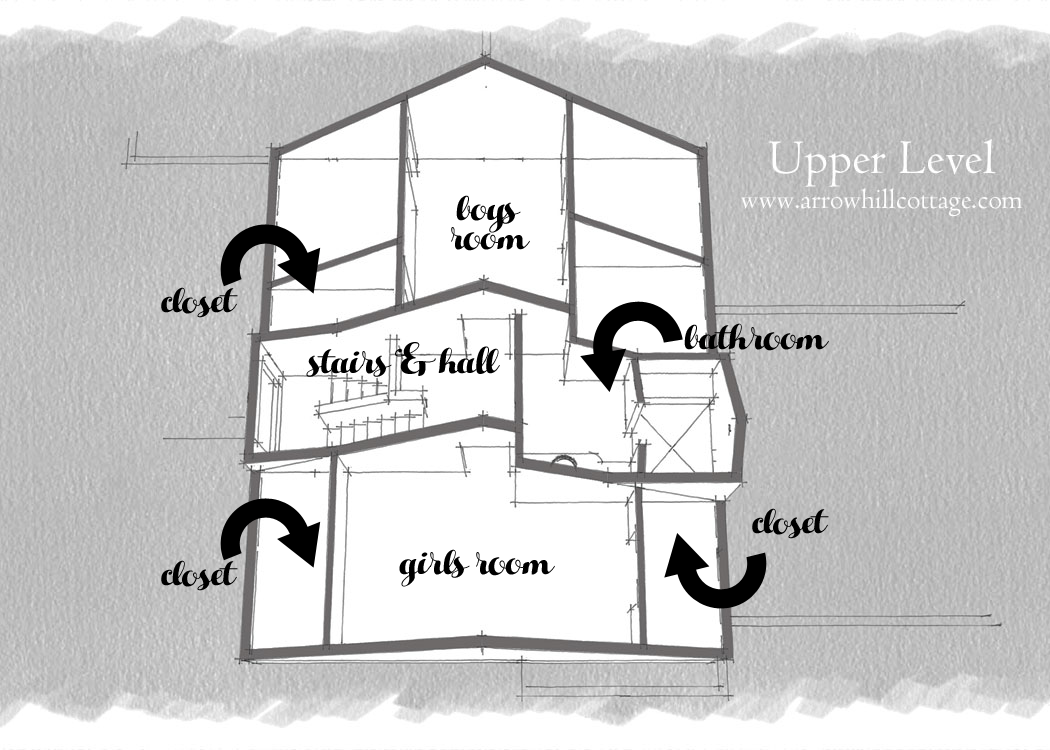
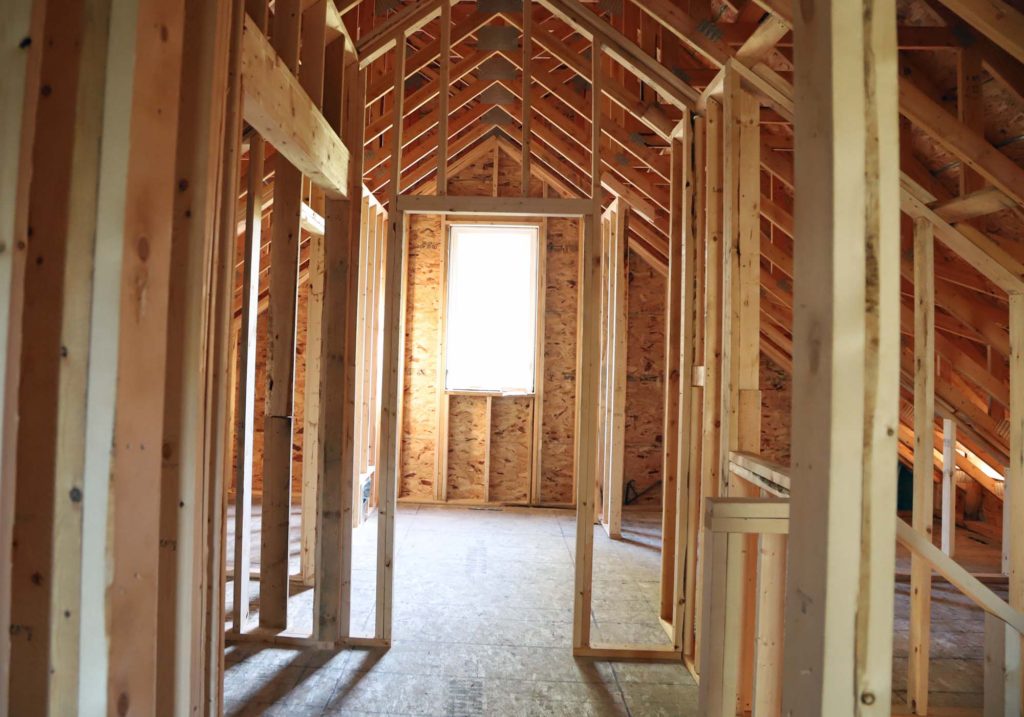
View of upstairs hall space and vaulted ceiling
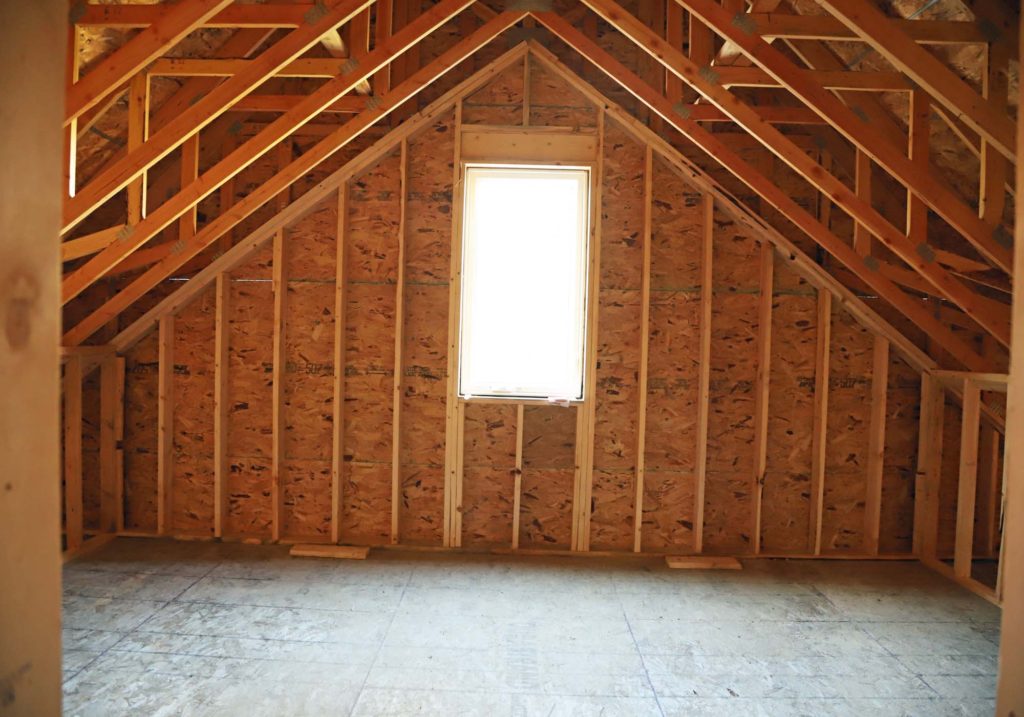 Girls bedroom space
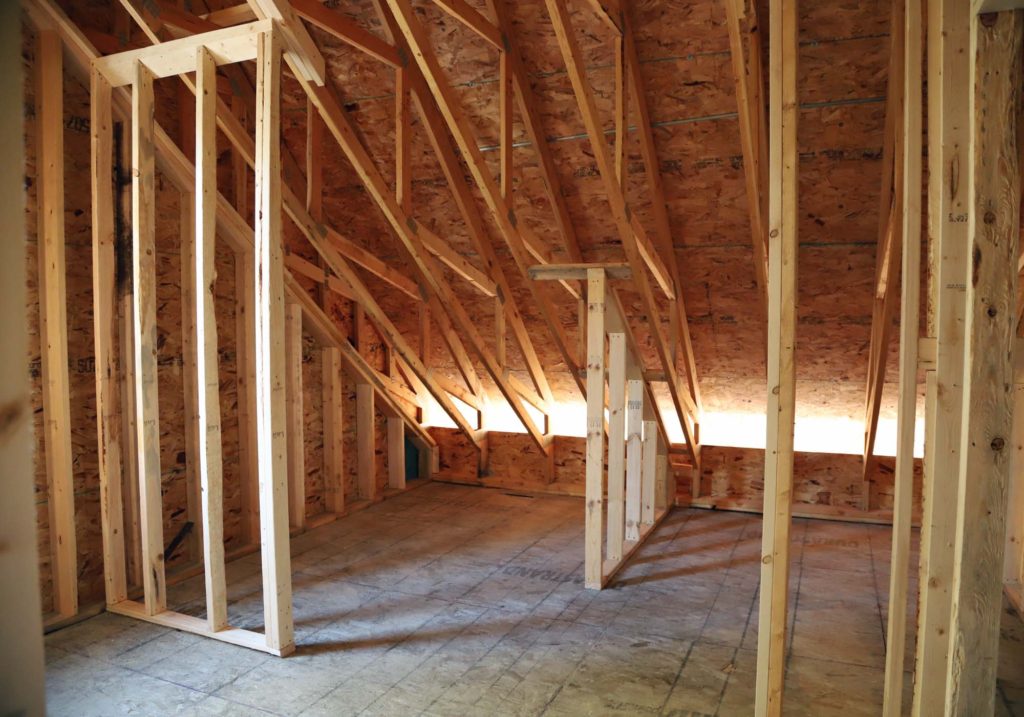
Boys bedroom space
View from hallway space into boys bedroom
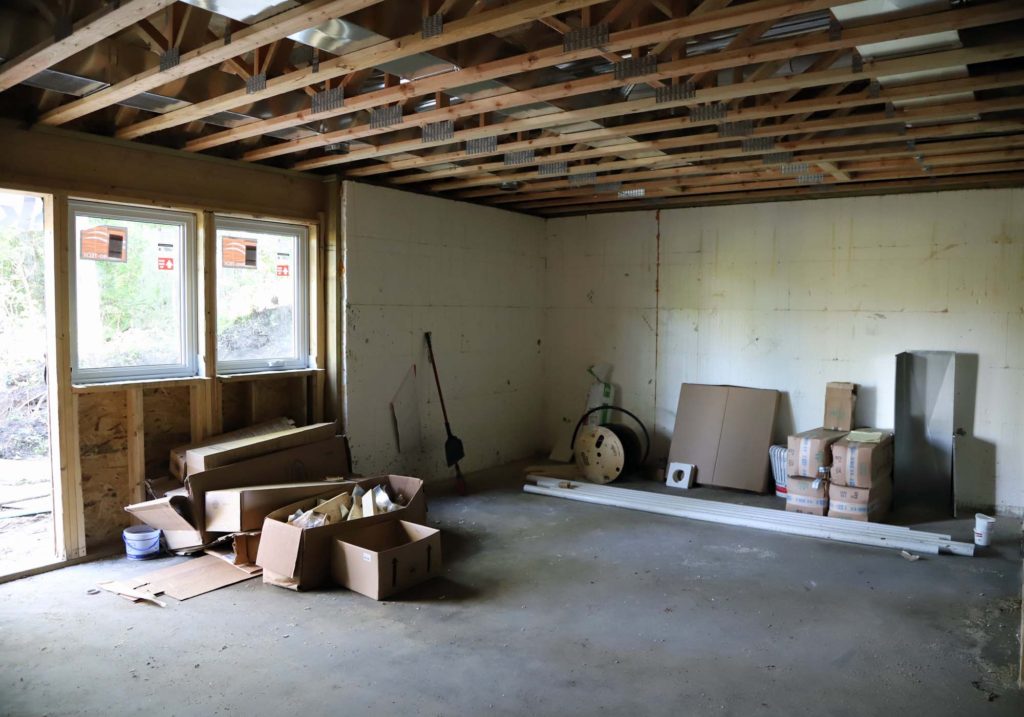
Basement family room
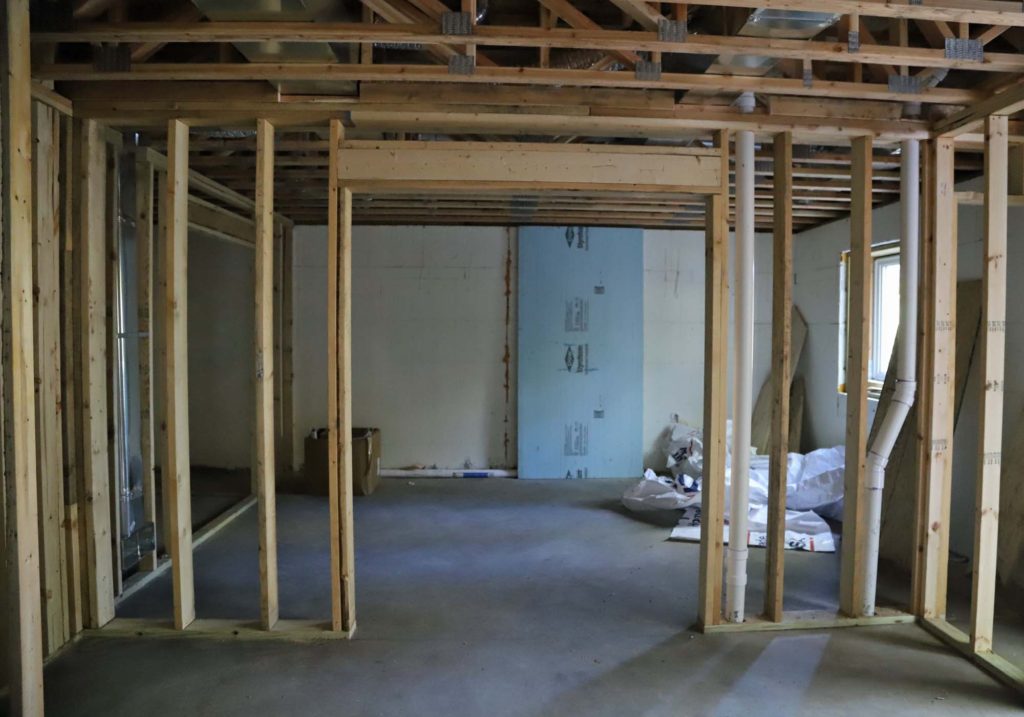
View from family room into the ping pong table space
FRAMED HOUSE VIDEO TOUR
Join me on the first full house tour of Arrow Hill Cottage!
PIN THE PROGRESS