Time for another building update! In this week’s update I share all about the wood framing of our custom home build! Though I was hoping to share the entire framing process, things aren’t moving quite as quickly as we had hoped. This post will discuss the portion of framing that has been completed. And I will be sure to update again once the rest is finished.

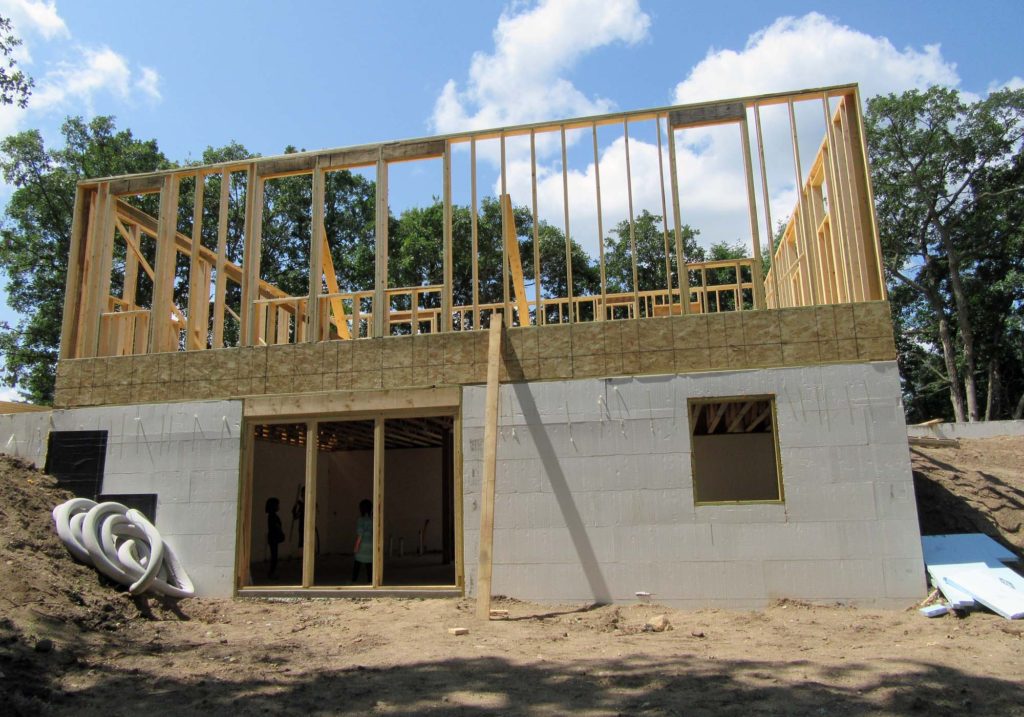
At the end of Update No. 4 the foundation had just been completed. Essentially we had a very pretty looking hole in the ground, and were ready to begin the wood framing. I mentioned how excited we were for this step, when the building will start to take shape and begin to actually look like the house we had envisioned!
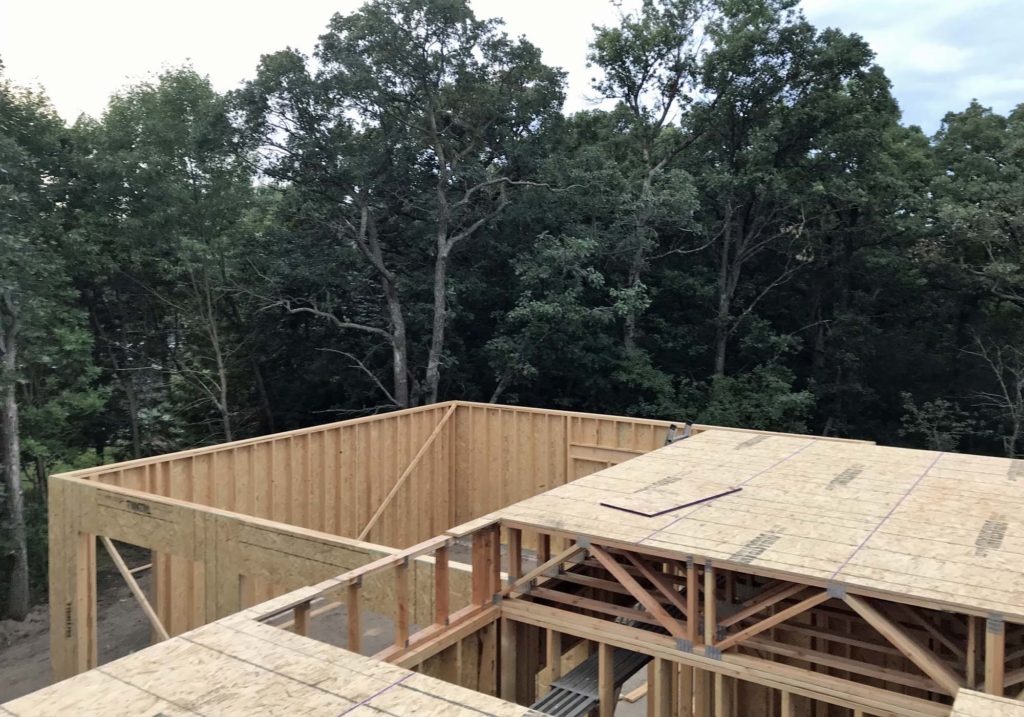
WOOD FRAMING STEP 1 | FLOOR TRUSSES
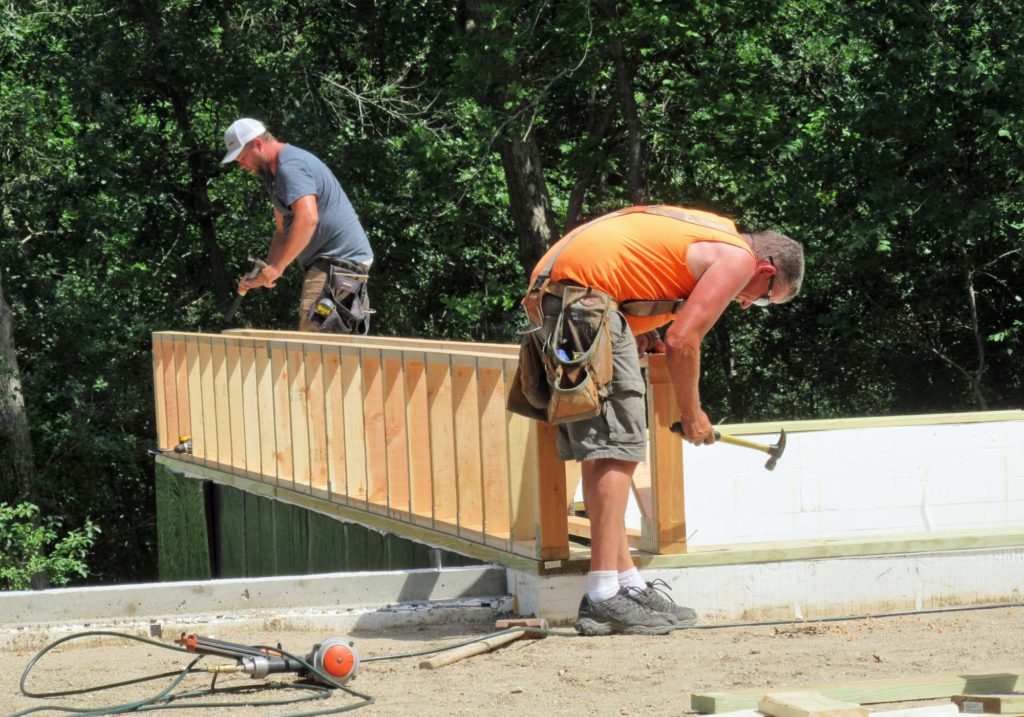
The first step in the wood framing process is to attach a wooden sill plate to the foundation. The sill plate is anchored to the concrete with large bolts and creates a base for the floor trusses to be tied to.
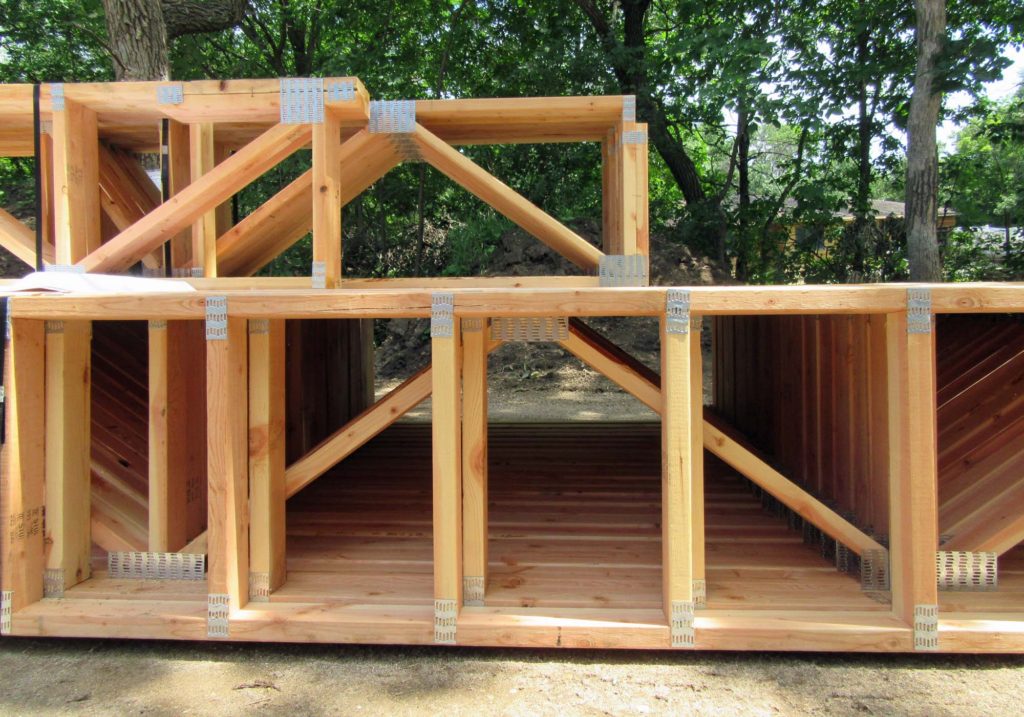
Floor trusses work essentially the same way as standard 1x member construction, with a few advantages. They allow for longer clear spans, as well as offering space for mechanical duct-work and plumbing. For these reasons, as well as the ease of installation, trusses are favored over traditional hand framing in residential construction today.
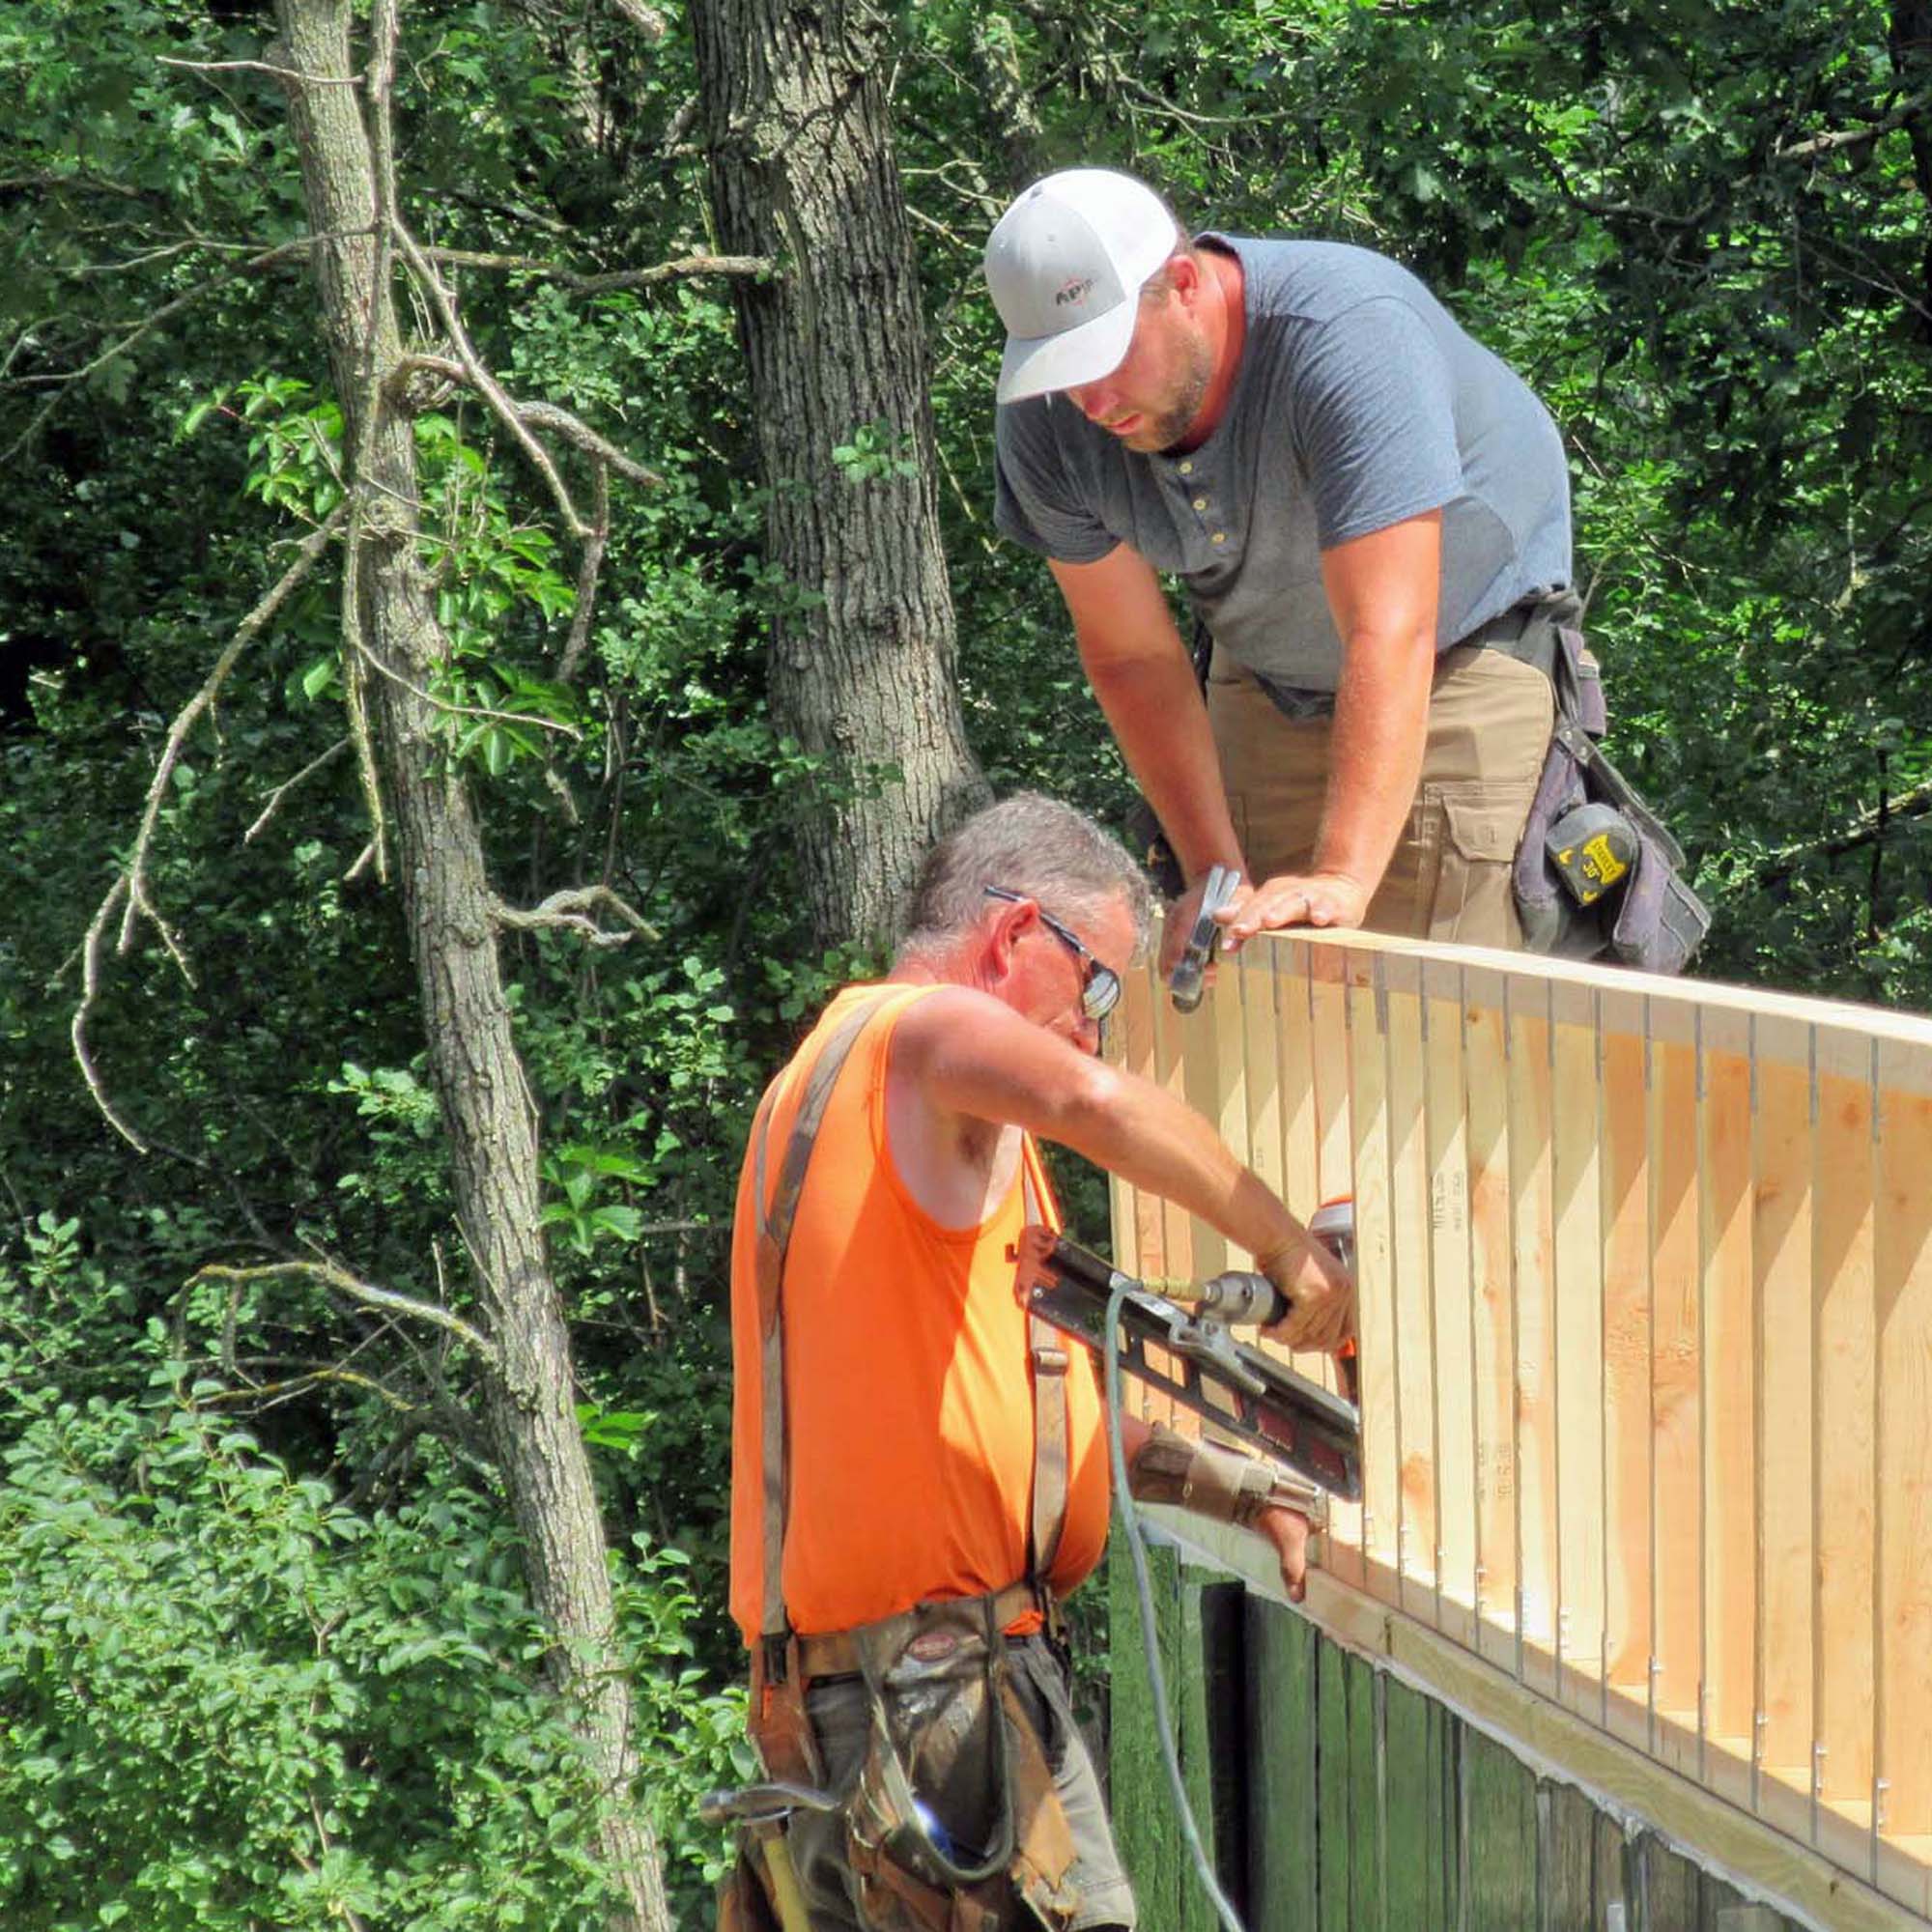
To install the floor trusses for our main level, the framers had to do some fancy footwork. The younger of the two was set with the task of almost ‘tightrope’ walking across the walk-out side wall. With a drop of over eight feet, it was a dangerous mission. He admitted to me later that it was a bit un-nerving! They did eventually get all the trusses in place.
For our family, it was fun to go into the basement and look up at all of the installed trusses since this was the first time that we had a mostly enclosed space to go into. Sensing the personal/ human scale of the project is very important and was something that we hadn’t yet been able to experience, having the spaces open to the great outdoors.
ADDING THE SHEATHING
The next step in the wood framing process was to add the sheathing on top of the installed trusses. Once installed, the sheathing plus trusses work as a monolithic system, providing superior stability.

We were sure to take advantage of walking on our main level for the very first time. In fact, we made an evening excursion of it by picking up food from Dairy Queen and having a picnic on the site of our future dining space. The night was ideal, and the first moments we spent at our house together is a memory I will cherish forever.
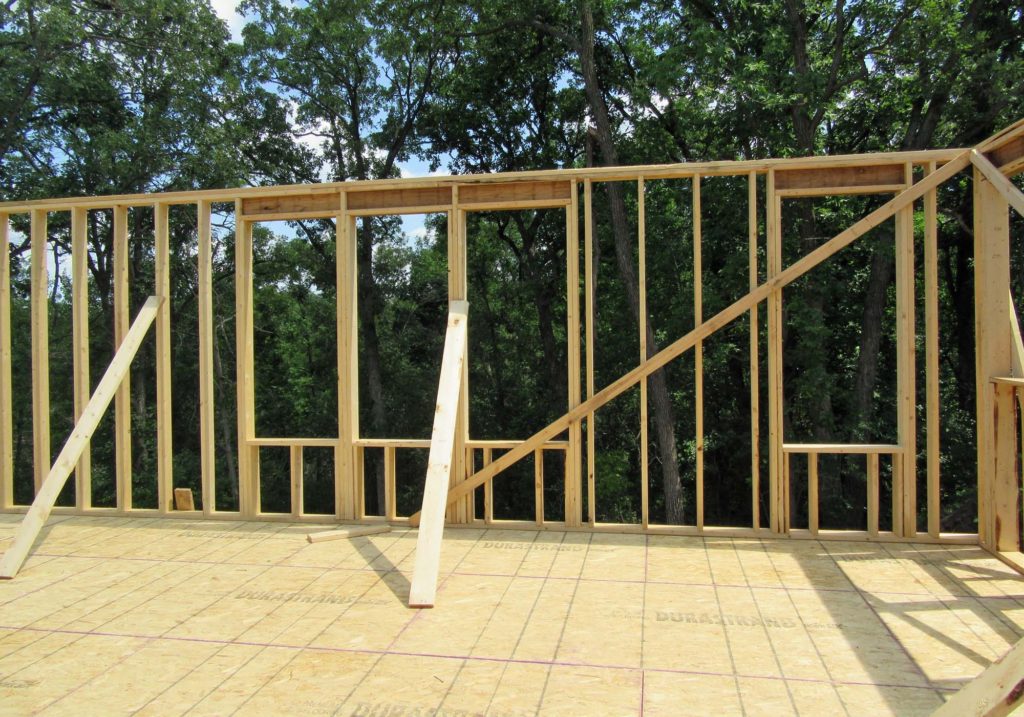
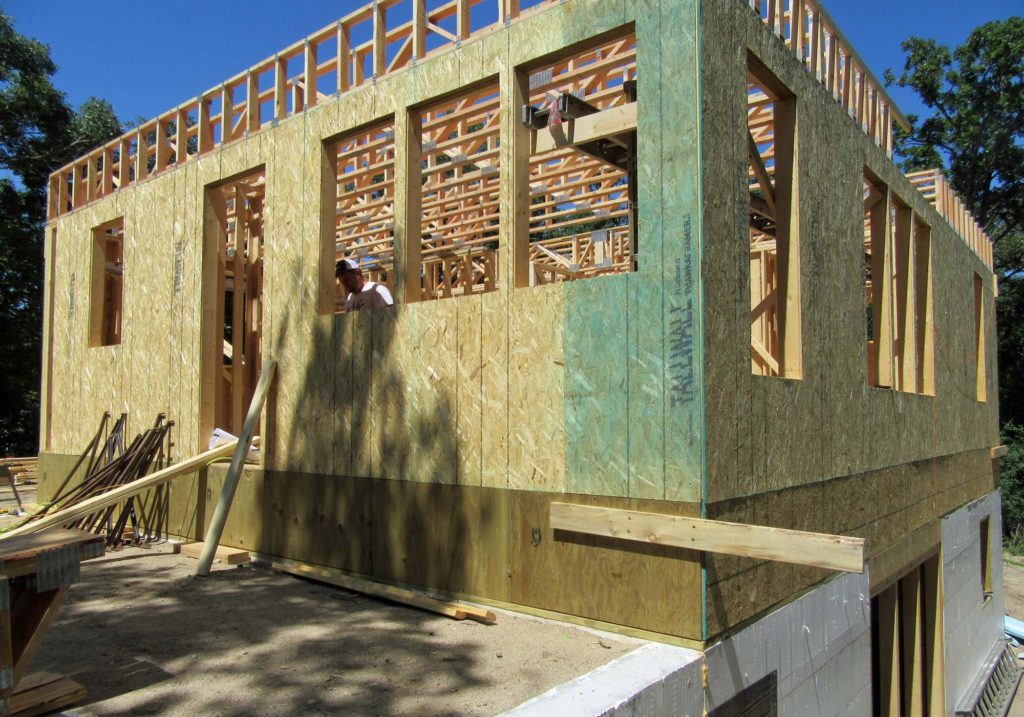
WOOD FRAMING THE WALLS
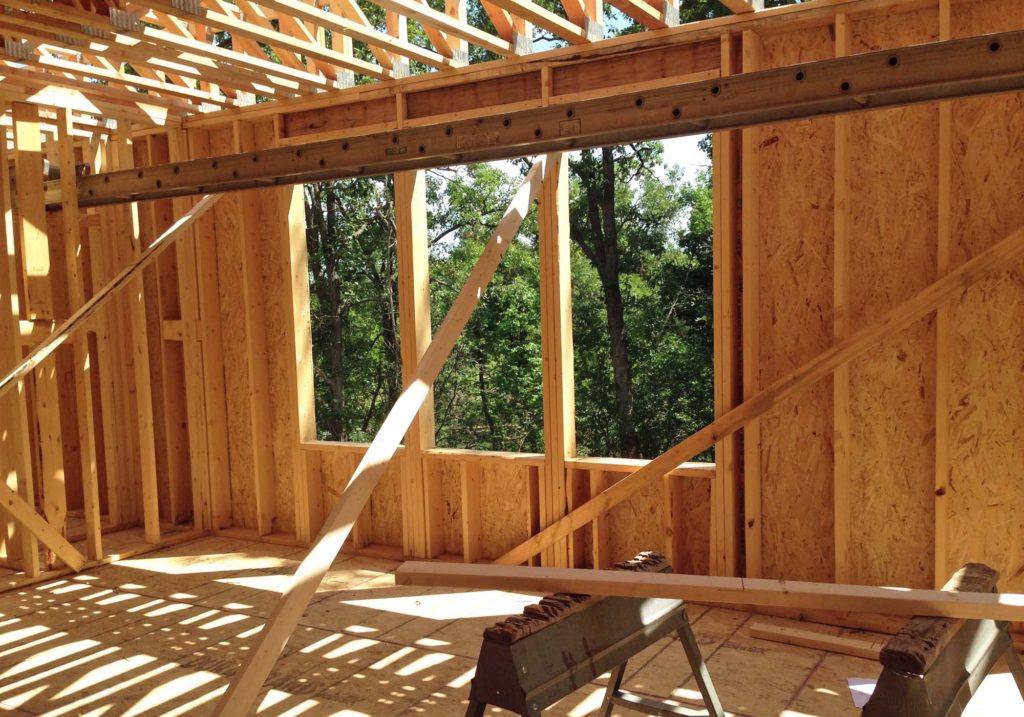
Up next came the main floor wall framing. With the window locations set up, it was exciting for us to finally be able to see what the views from each of the rooms will be.
It came as no big surprise that the most awesome view of all is from the open living/dining space, overlooking the woods and pond. The western facing kitchen window though displays a great sunset view, which we weren’t expecting.
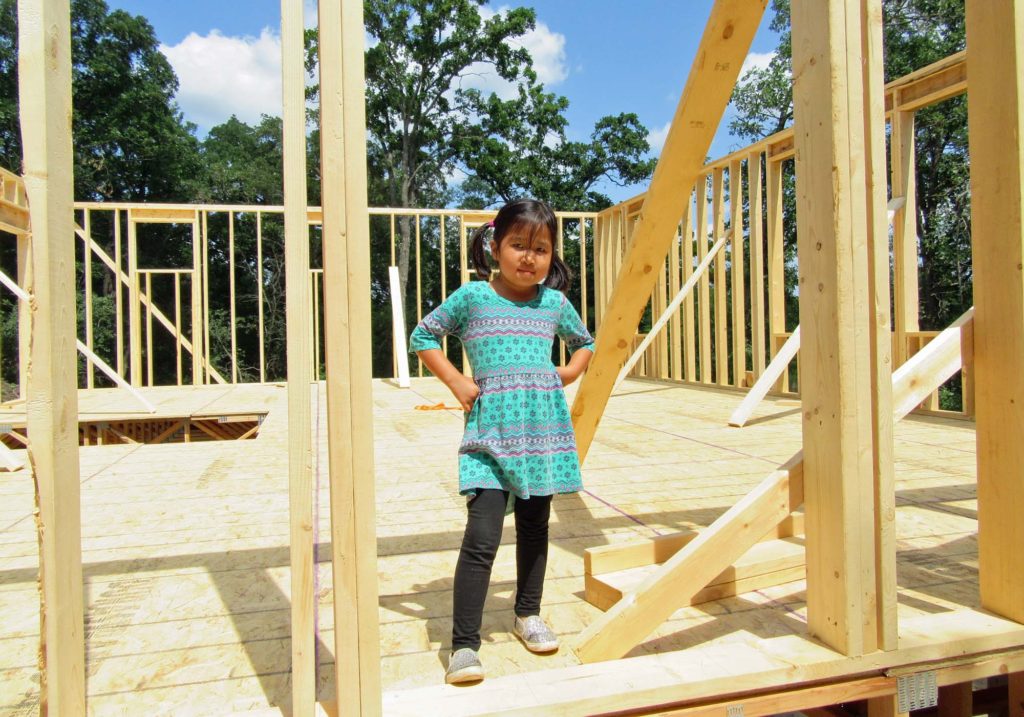
How cute is she, standing in the location of our future front door!
Walking through the shells of each room on the main level, I couldn’t help but imagine all of the memories that are about to be made here. We feel so blessed that we will soon be calling this place home.
Though I have given a bit of a mini walk through over on Instagram, I do plan to also film an entire ‘under construction’ house tour – once the wood framing is complete. Be watching for it!

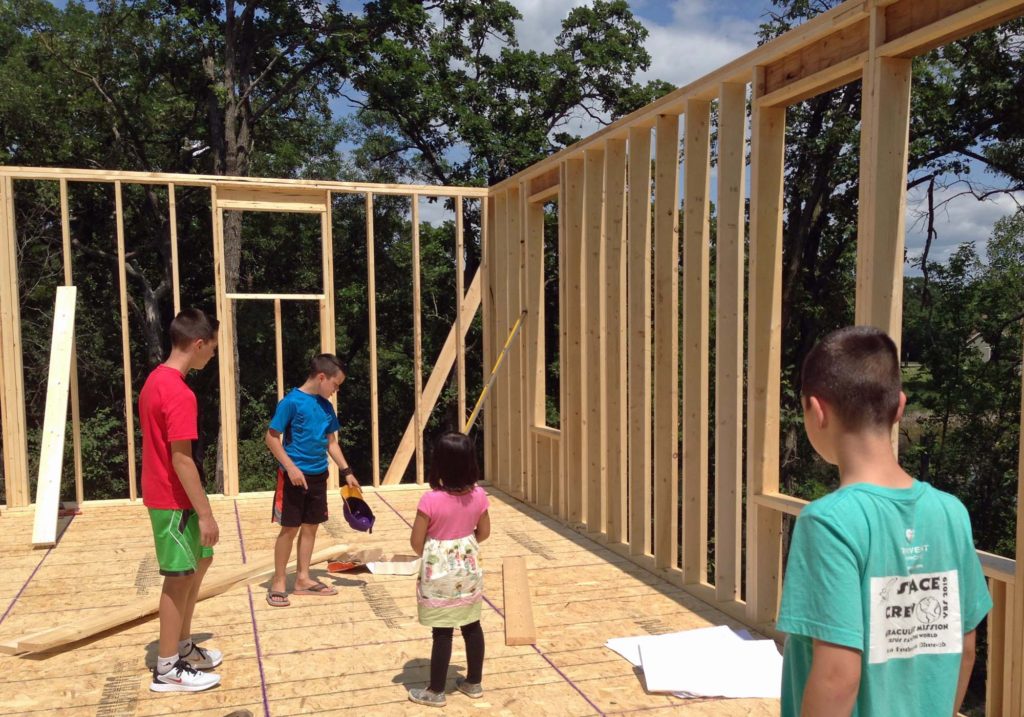
CONSTRUCTION SITE VISITS
During the wood framing portion of the construction process, my husband and I settled into a nice site visit routine. I will typically stop by in the early afternoon, while out and about with the kiddos running errands. This is a chance for me to touch base with the crew, and answer any questions they may have. Craig will also swing by after he is done with work for the day. Typically the crew has left the site by that time, which allows him to take in the progress a bit more slowly. He generally takes a bunch of photos, then shares them with me.
These site visits help us to take in the day-to-day changes, as well as quickly catch any mistakes in the framing. One day Craig texted me a series of images and I discovered that the back three square windows weren’t centered properly. It’s something I hadn’t noticed earlier in the day, but from his pictures it was very obvious! The middle window should line up with a centered second story window, and it would have looked very goofy if the windows weren’t in alignment.

The center window should be centered on the back wall
And, though we are non-confrontational people, I contacted the framers right away to inform them of the mistake. Thankfully they acknowledged the problem and corrected it right away.
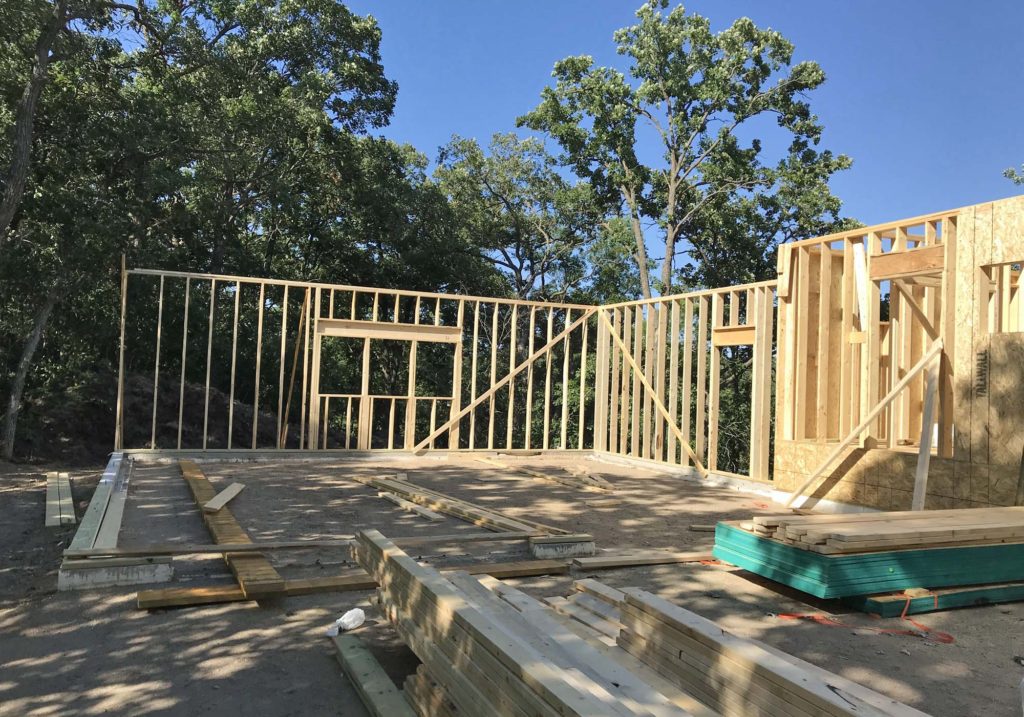
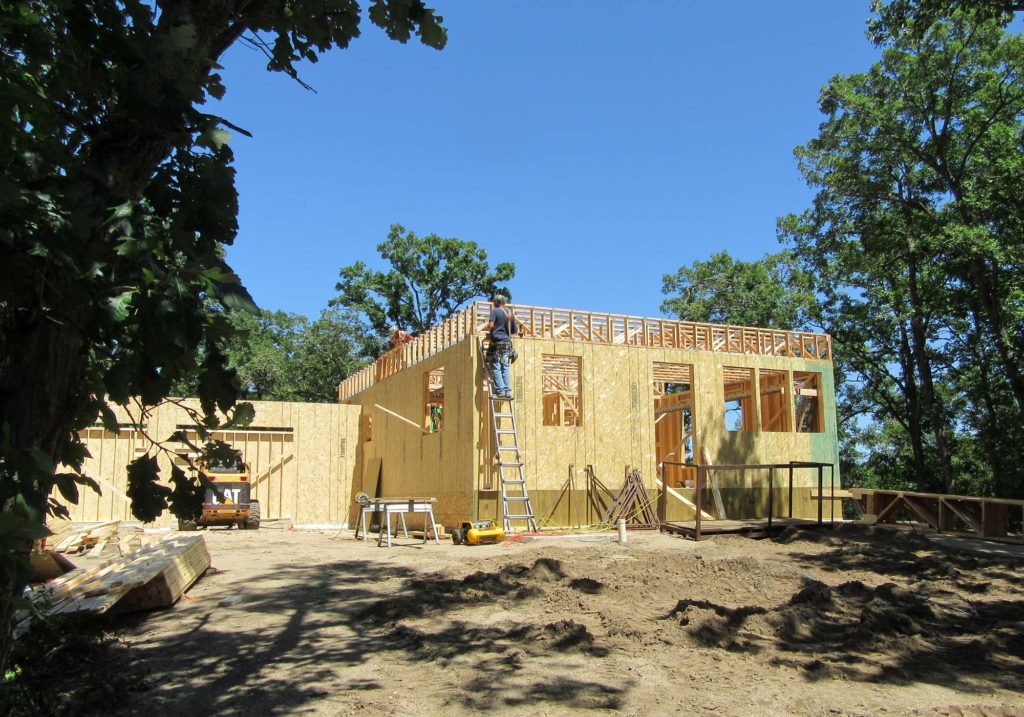
WALL SHEATHING + GARAGE
Next came the exterior wall sheathing. Covering the skeleton of wood studs really made the house shape come to life!
The garage framing was also put into place. During the construction of the garage we did make a couple of minor modifications. We raised the sidewall approximately six inches, which in turn created enough space for eight foot tall overhead garage doors. Previously we had seven foot tall doors, but figured the extra foot will come in handy if we ever decide to get a larger vehicle for our large family.
I am over the moon excited for my husband to finally have a fully functional garage, complete with good lighting, plenty of open floor space, and a proper tool bench. He has waited a very long time for this!
We are also anticipating that we will love having an attached garage during the bitterly cold Minnesota winters! Our oldest daughter, who has mobility issues, will be especially appreciative. The icy winter morning walks to our current detached garage have been full of anxiety and frustration!
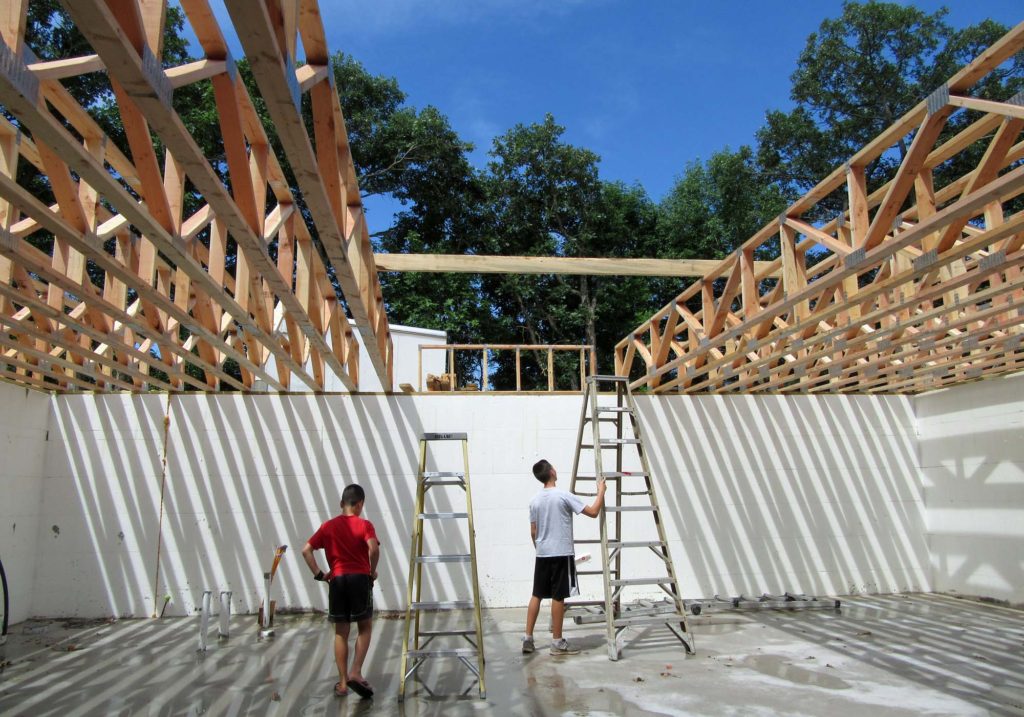
The wood framing continued with the setting of the second floor trusses plus sheathing. Because we were so anxious to see the view from upstairs, one night we took a ladder and climbed up. Without any walls for protection, it felt like we were standing on top of a mountain! It was a mighty sight!
Of course, the view won’t be quite as expansive once the walls are up. There are only two windows upstairs. One in the boys bedroom, which faces the street. And one for the girls, with a spectacular view of the woods.
WOOD FRAMING | NEXT STEPS
This week we had a bit of a standstill on the site. The concrete guy was supposed to be back to form up the porch stoop and have it poured – so that the roof trusses for the house and porch could be set at the same time. Unfortunately, the roof trusses were delivered a day too early. This meant that there wasn’t enough space on the site for a concrete mixer truck to come in and pour.
The new game plan is to install the roof trusses for the house and garage first, starting early next week, then come back to finish the porch and get the roof on that portion.
I am beyond giddy for the roof to go up, and to see the house shape in it’s completion! However, that will have to wait for the next update.
Be sure to stick around to see this little house of ours come to life! Thanks for checking in today!
HOUSE BUILD UPDATE NO. 5 VIDEO
PIN THE PROGRESS
Oh how exciting!! Looking really good!!
Thank you Elise!