Life at the Cottage | Winter 2020/21

Welcome back to the cottage everyone! In this new year, I want to make a bit of a change on my post line-up. More specifically, I am looking to update the way our family life is shared here on the blog.

Previously, I had been dedicating one post per month to our family life and adventures. This series was titled ‘Around Here.’ And, although these were quick updates that were easy to write, some months I felt that they were put together just for the sake of getting them done.

Now, I have decided that going forward the family update posts will be published quarterly. One update per season. Winter (December, January, February), Spring ( March, April, May) Summer (June, July, August), and Fall (September, October, November). I am hoping that these posts will be more substantial, and will give a good insight into what our family has been up to.

For the first installation of this new series, ‘Life At The Cottage’, I want to recap our Winter 2020/21 season.

WINTER 2020/21

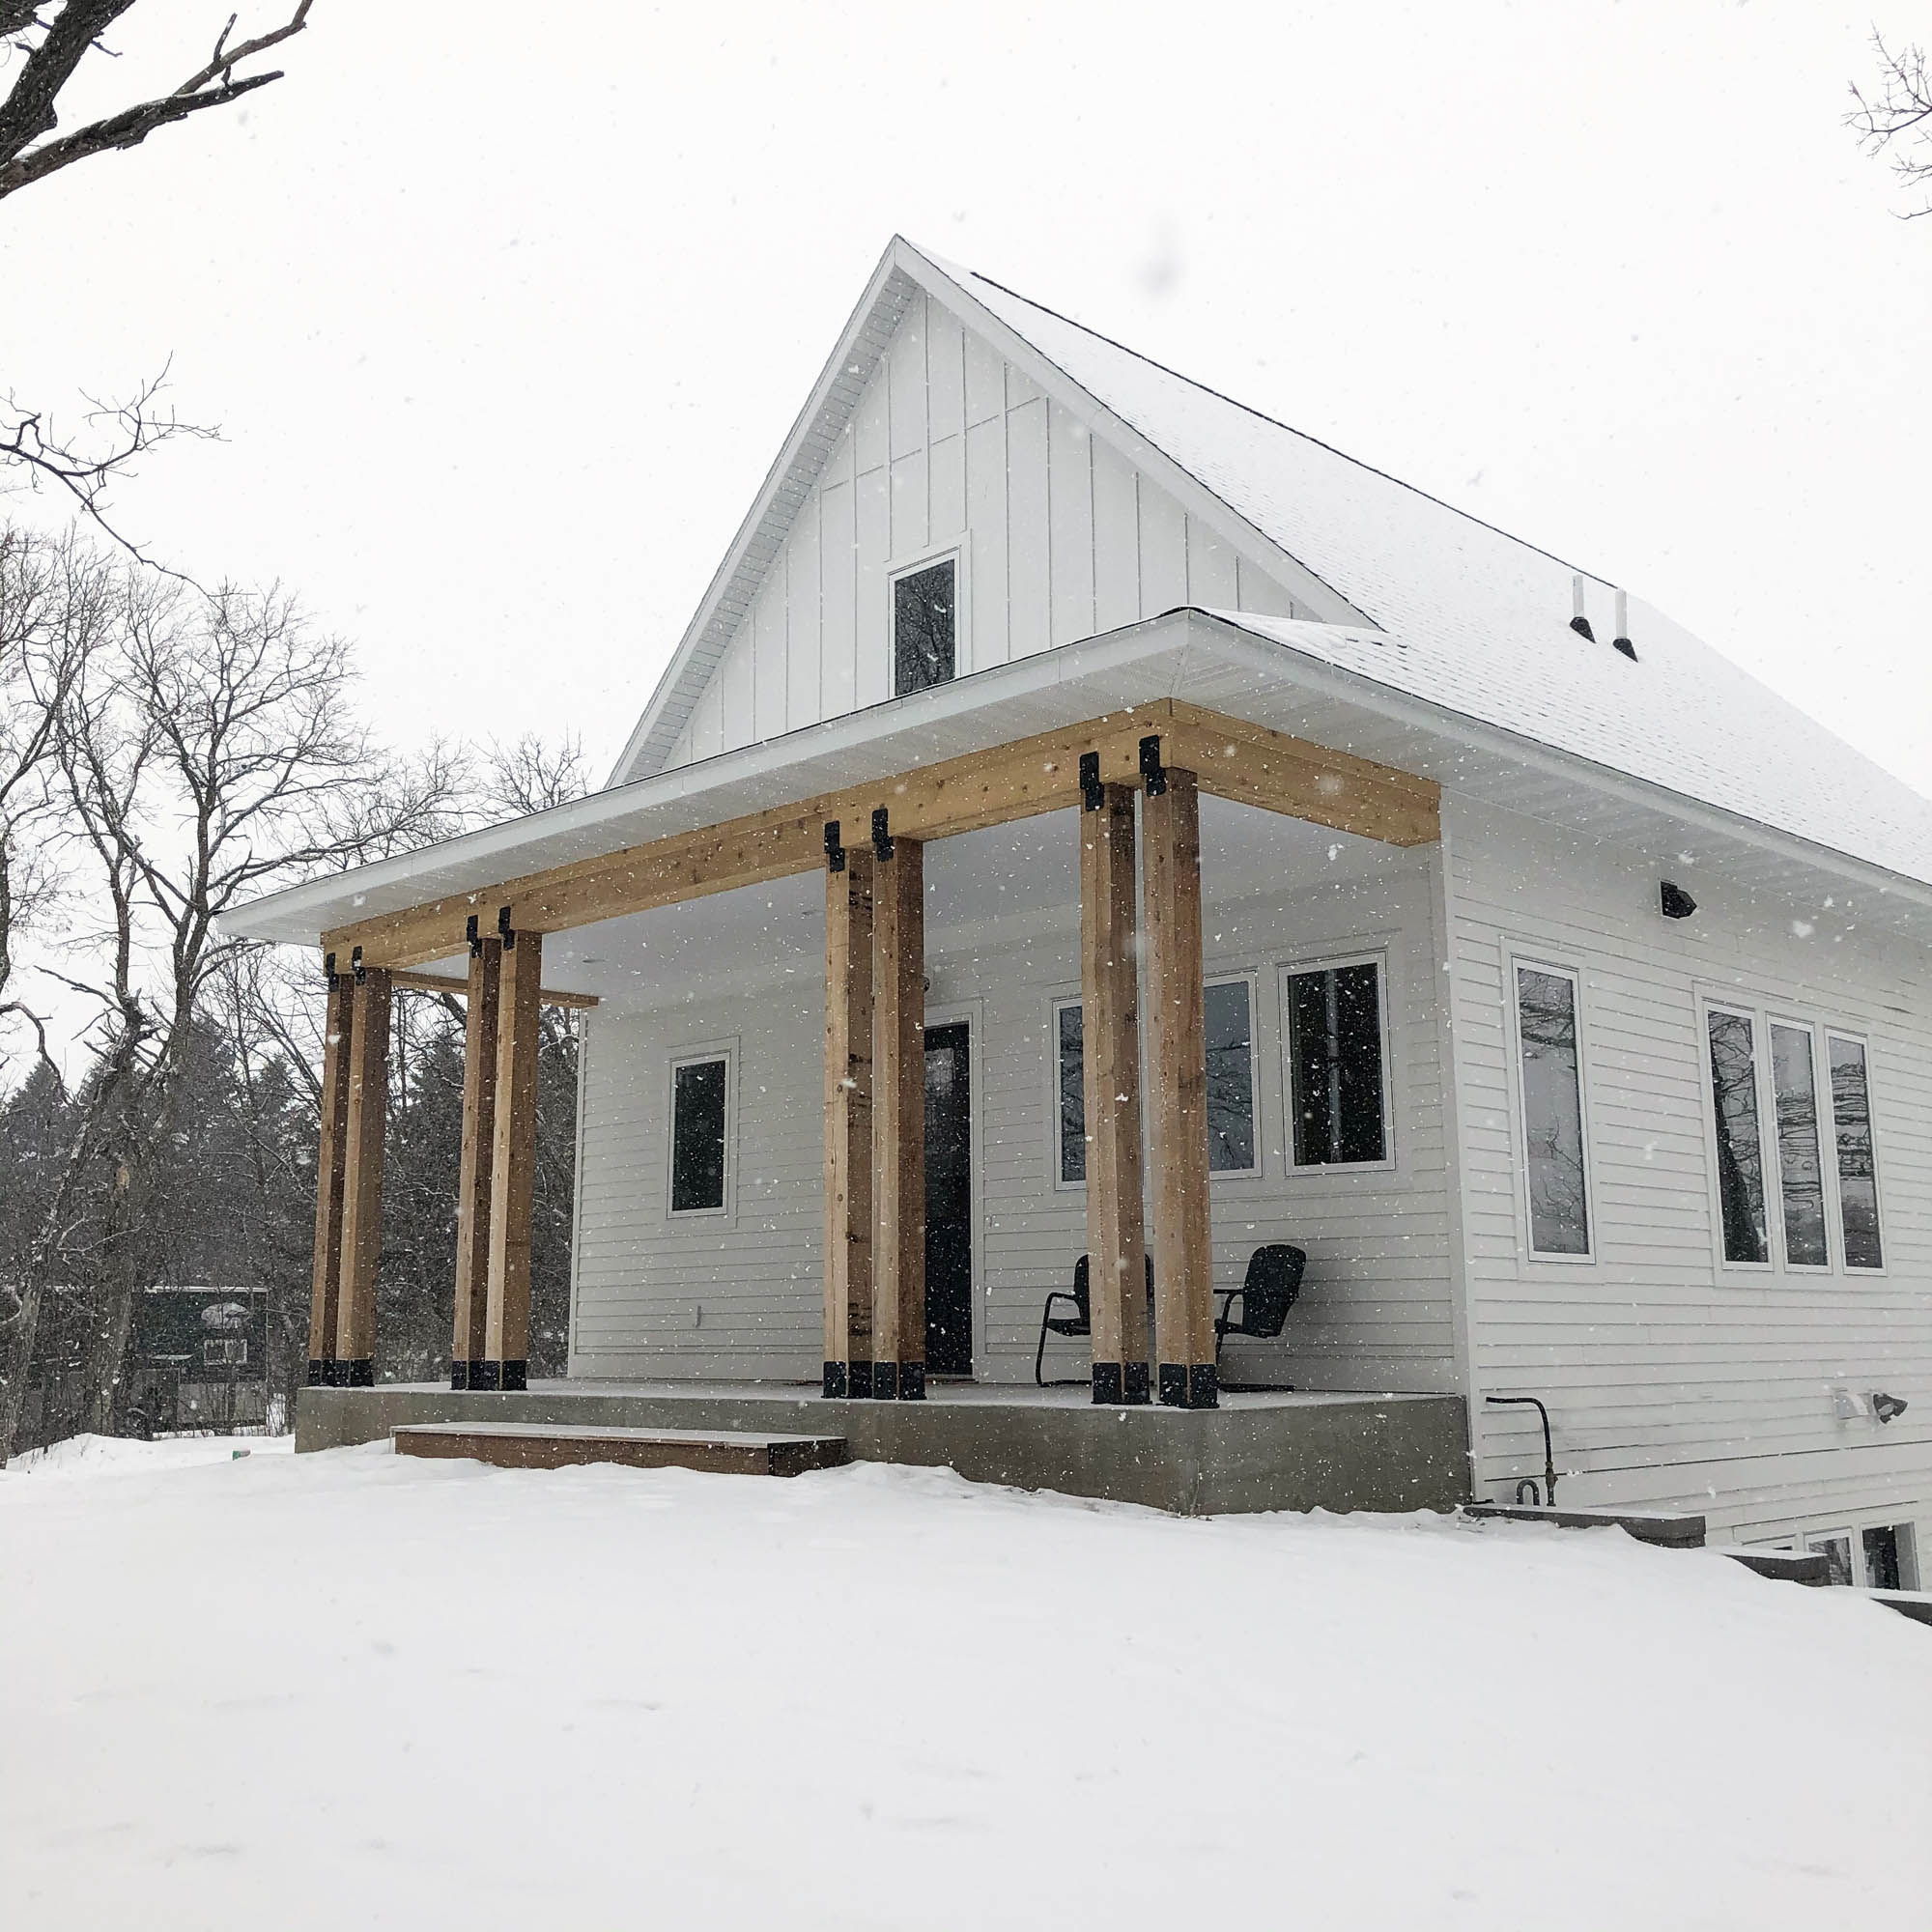
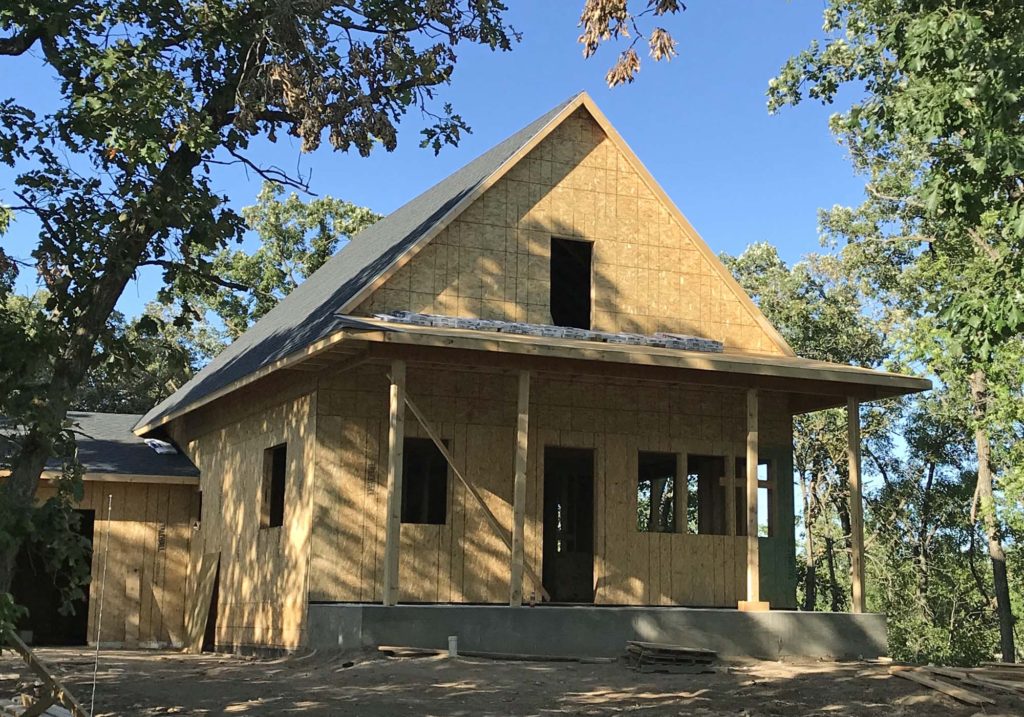
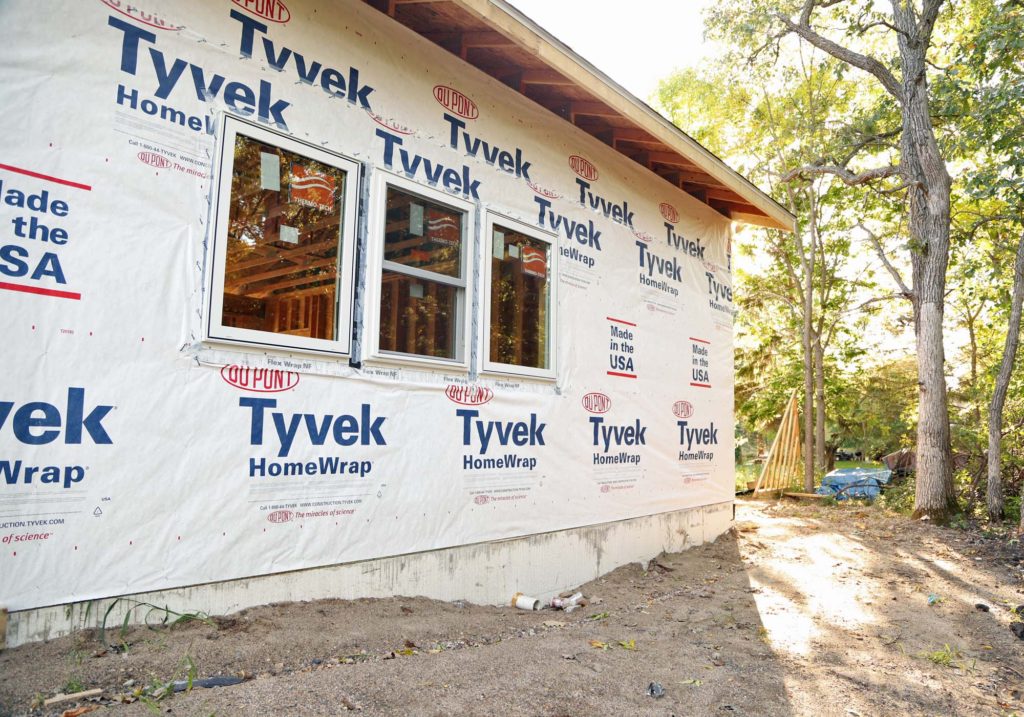
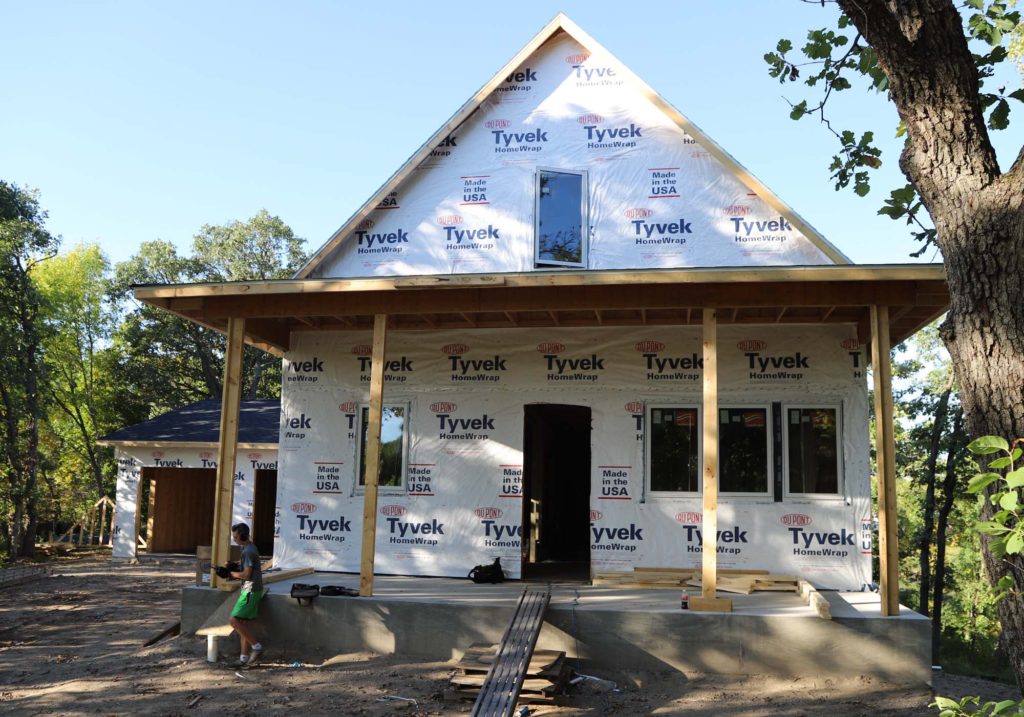
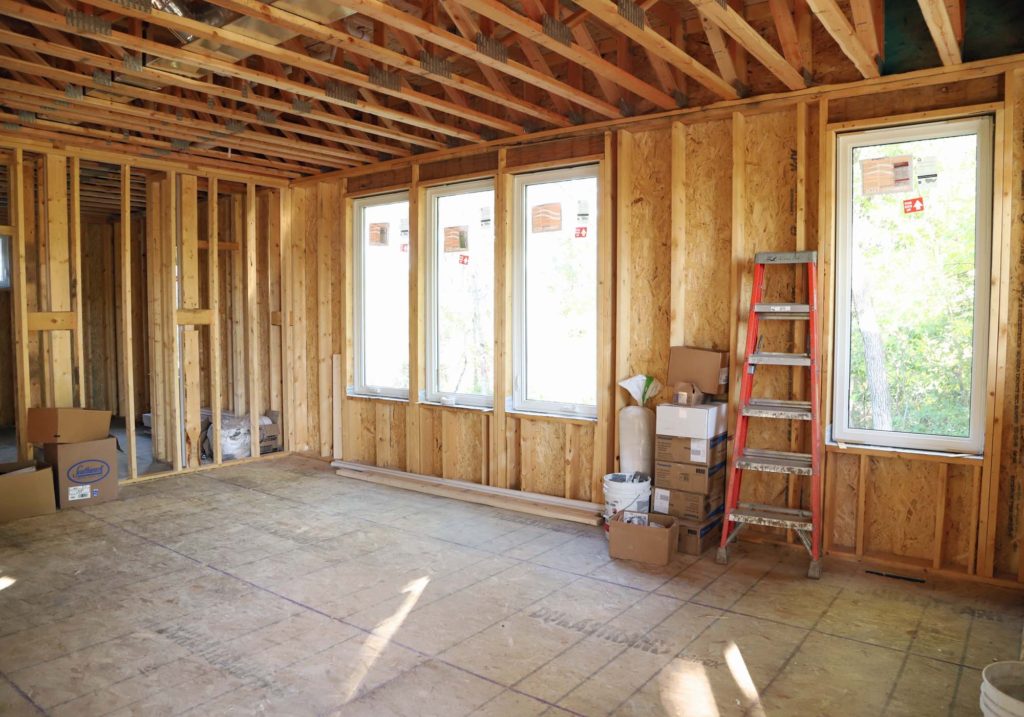
Though we had moved into the cottage by winter of 2019, winter of 20/21 was the first year we were able to actually enjoy our house as a home. No longer were we surrounded by a never ending assortment of unfinished projects. We were able to actually take the winter season and fully appreciate what we had labored over for the entire previous year.

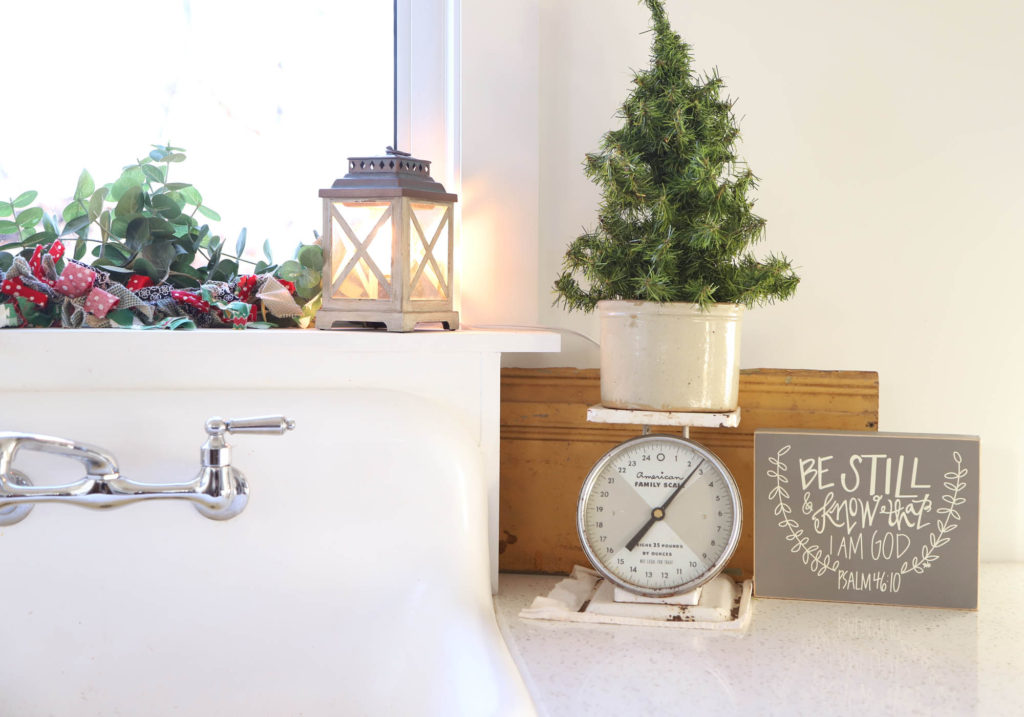
Christmas was a joyous time, and we thoroughly enjoyed decorating our cottage for the season for the very first time.

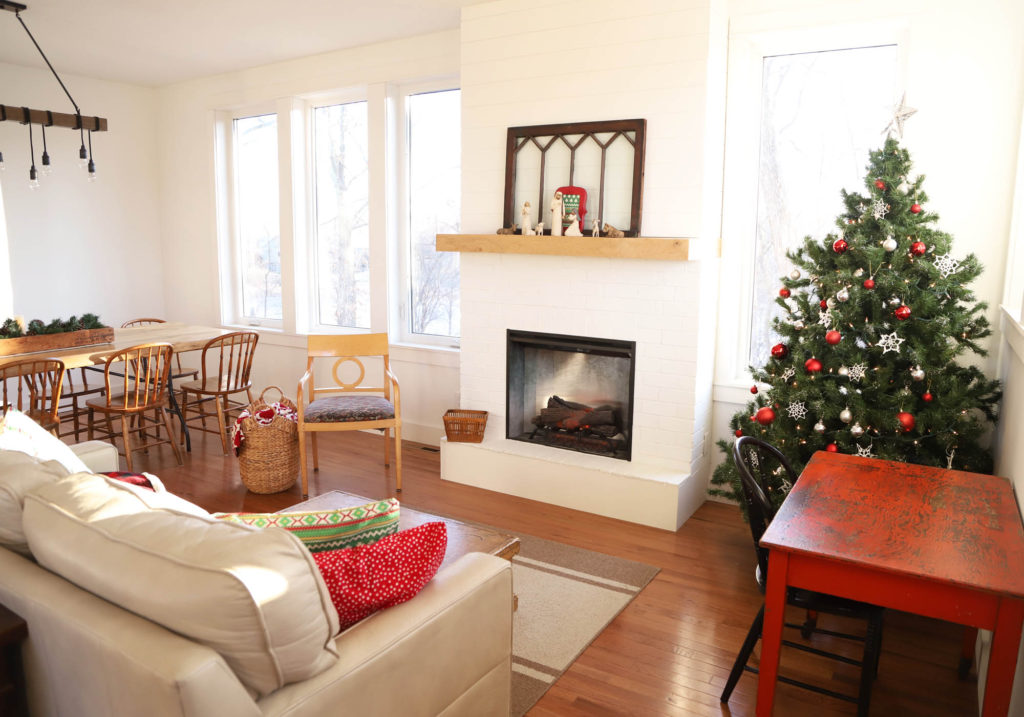
We focused mainly on the interior spaces this year, but have plans to expand the decor outdoors by the time Christmas comes around again.

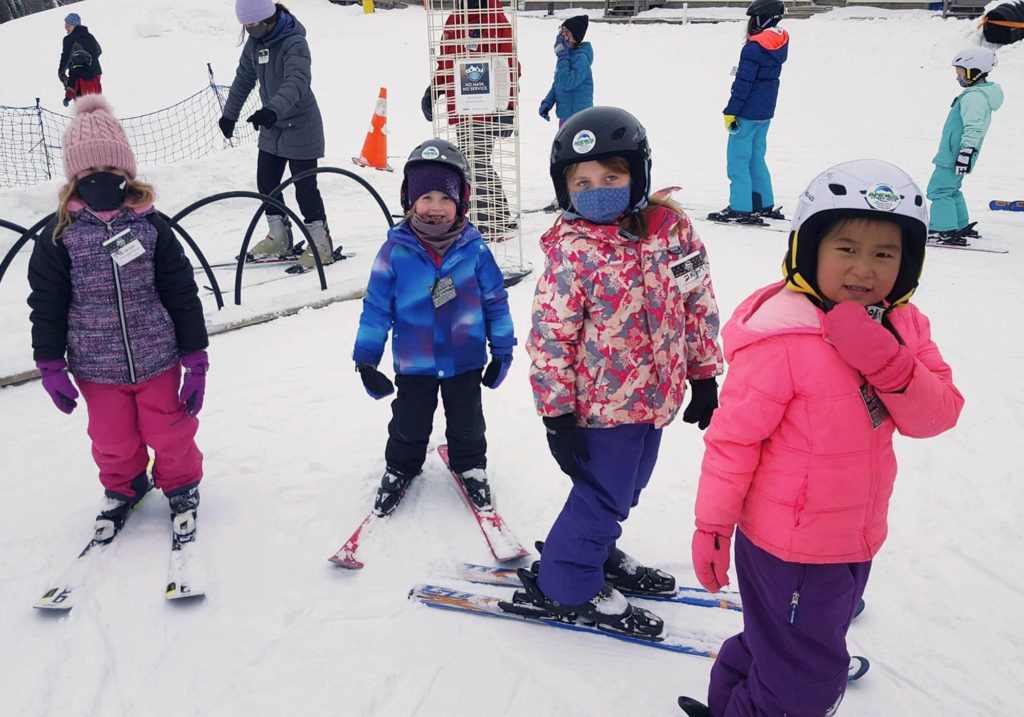
With the house in order, we were also able to enjoy the outdoors more this winter. The kids thoroughly enjoyed ice skating on our pond during the first part of winter, before much snow had fallen. They were even able to invite a few friends over for a skating party, complete with hot chocolate by a fire pit.

We are hopeful that next year we will be able to purchase a small snowblower, which would really help out a lot when it comes to keeping the ice clear and skate-able.

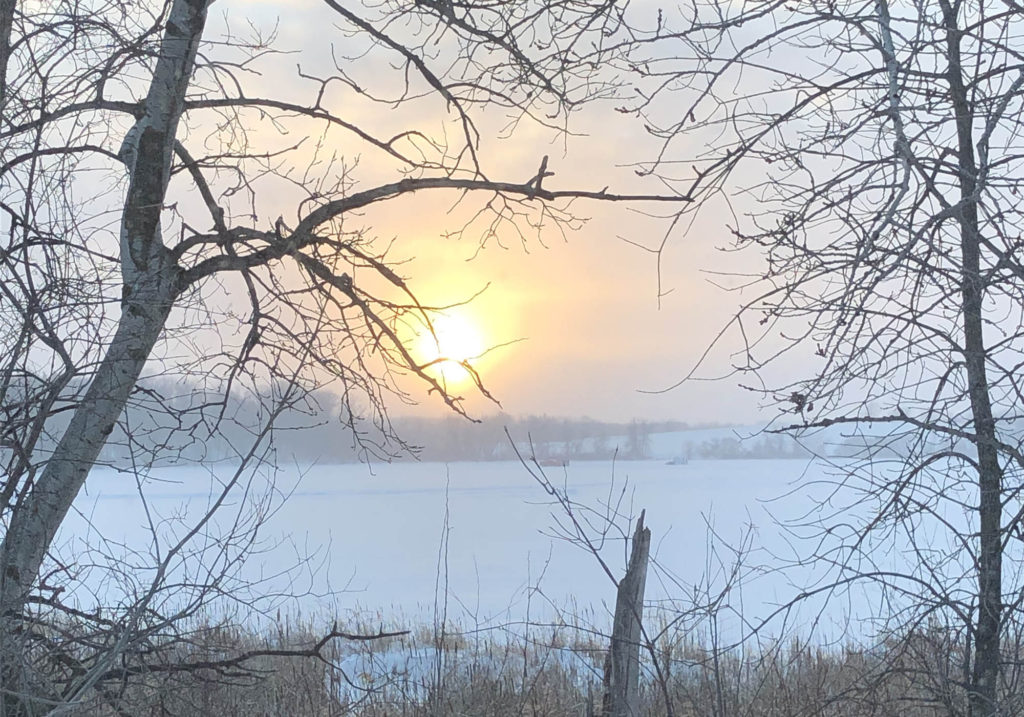
For the most part, the weather of winter 20/21 was quite mild. After a large amount of snowfall in the fall, we only had a few days that included any snow during the months of January and February. That is simply unheard of in the Midwest. Chances are, we are in for some spring storms. For now though, we are appreciating the fact that we were able to get outdoors nearly every day.

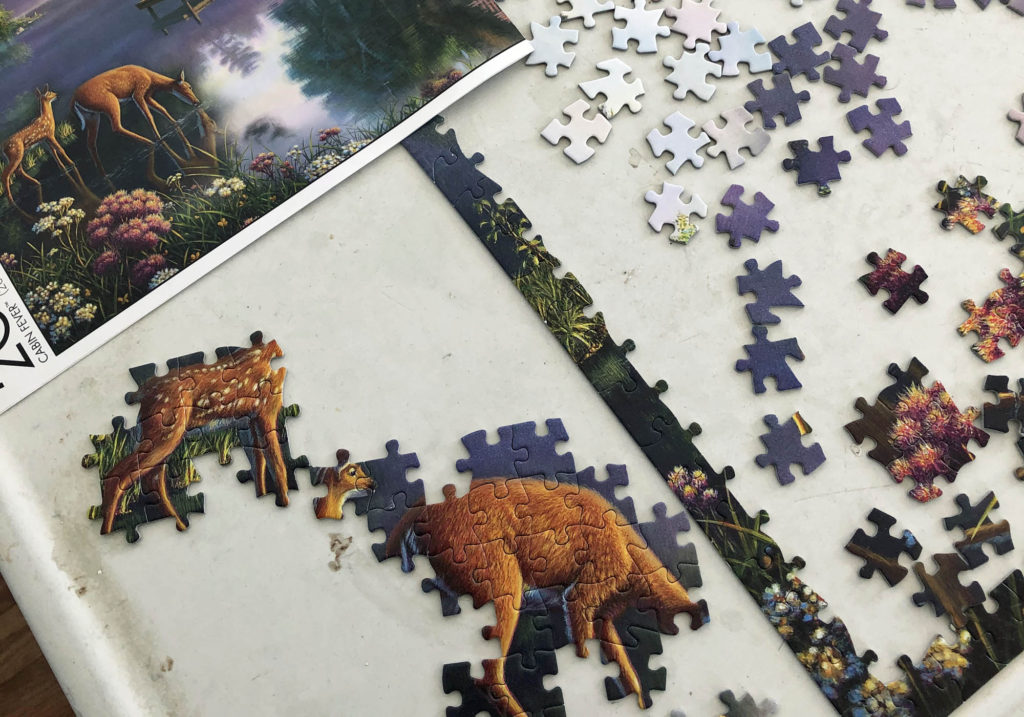
We had plenty of indoor activities to keep us busy throughout the winter as well. Our favorite indoor winter pastime was, again this year, putting together puzzles. Collectively, our family successfully completed a record ten puzzles. Most were 1,000 pieces or more!

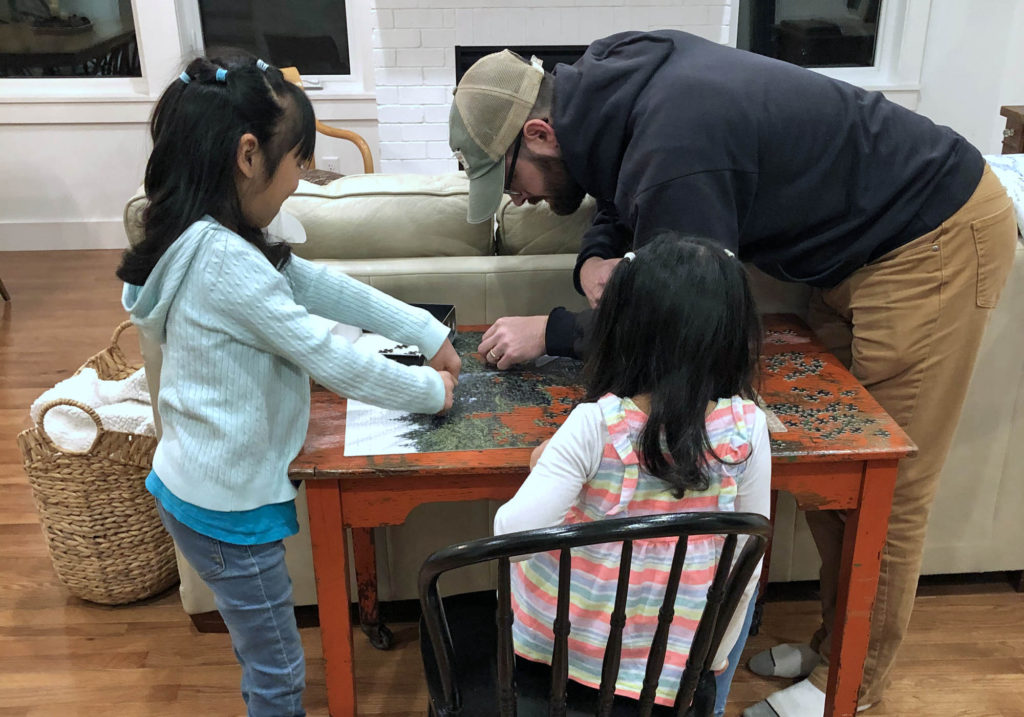
Near the end of winter, Angela went antique shopping and found a perfectly sized puzzle table. We anticipate many more hours spent around this table as a family.


It has been such a blessing to our family that the small private Lutheran school our children attend has been able to remain ‘in person’ for the entire school year so far.  The kids have been able to keep a slice of normalcy during this crazy pandemic time, which we are thankful for.

We are proud of all of the kids for working hard at their schooling, tackling any subjects that may be more difficult for them with a good attitude.

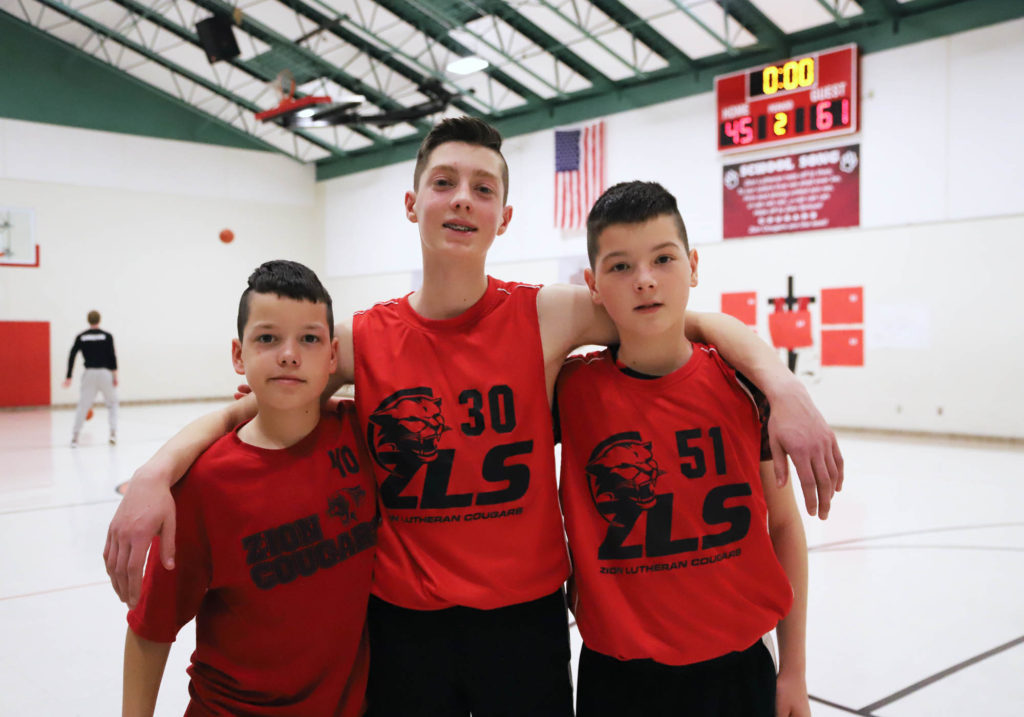
The boys are all on the same basketball team this year, which has been really fun. There has been a limited number of game opportunities, but we are so grateful for the times they have been able to play against other teams. They have each improved in their basketball skills and confidence on the court.

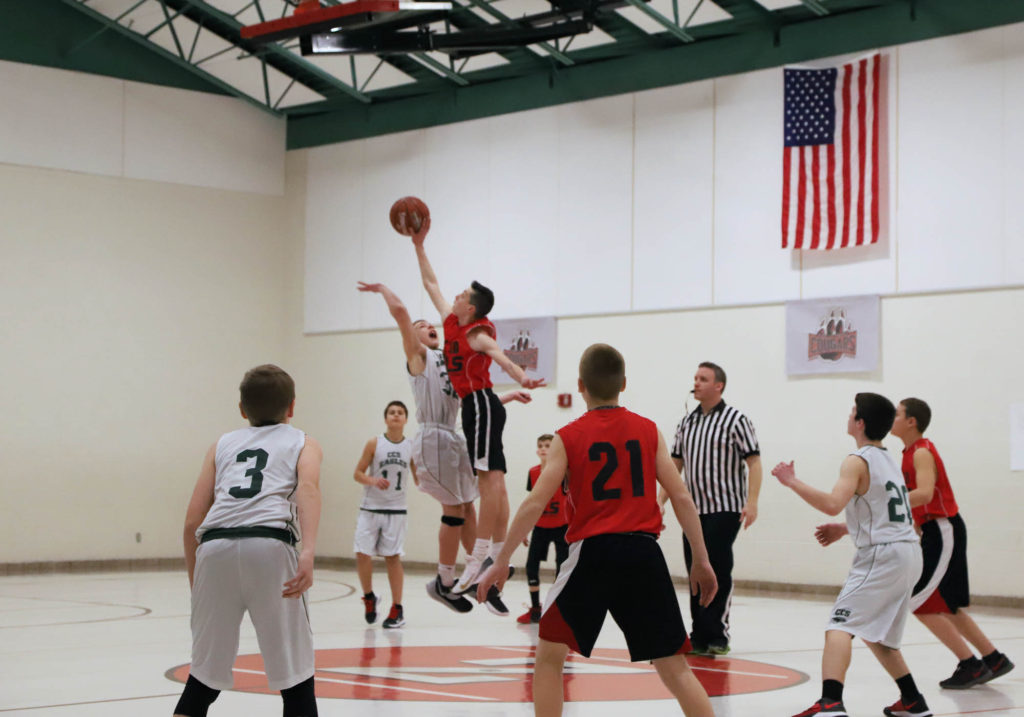
It is especially sweet this year to have them all together, knowing that is likely one of the only times they will ever all be on the same team again. Our oldest son, {D}, will be heading to senior high next year at a brand new school.

A couple of milestones were reached for him this winter. He got braces on his teeth AND he started his very first job!

He is working at the same office where Craig is employed, doing some entry level data organizing. It is a perfect fit, especially since the two of them will be able to ride to and from work together during the summer months. For now, during the school year, he just gets in a few hours here and there.


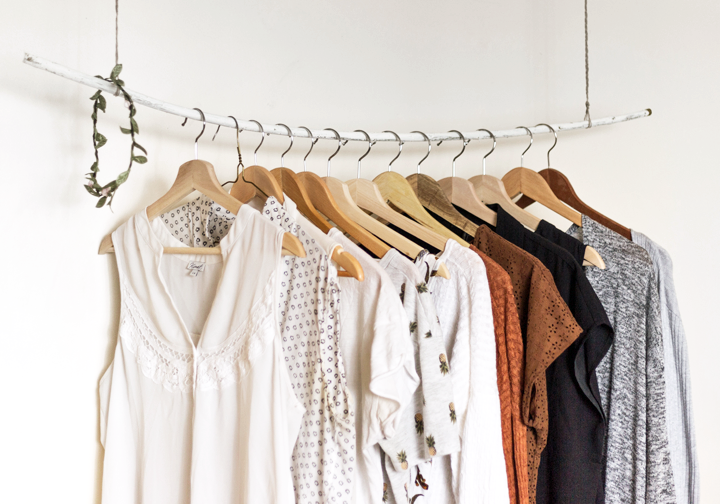
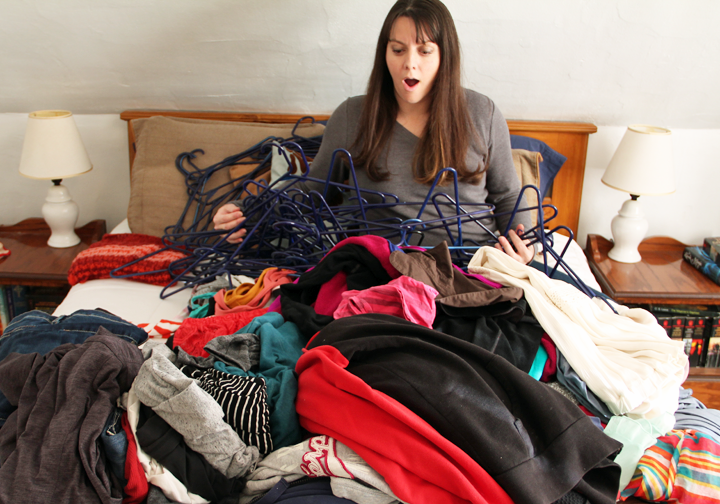
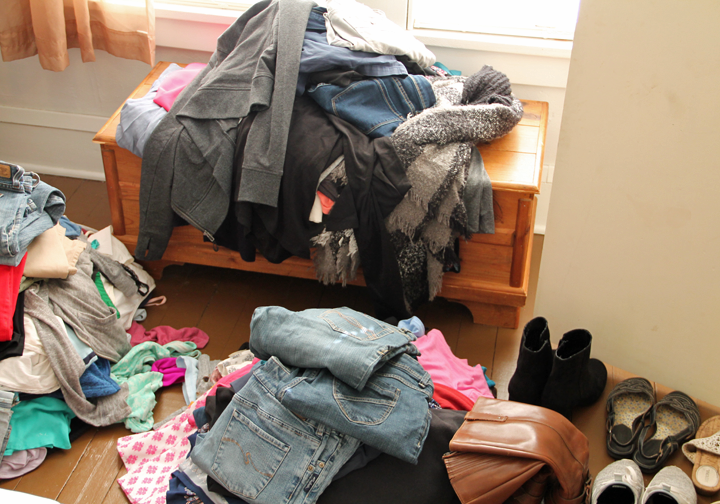
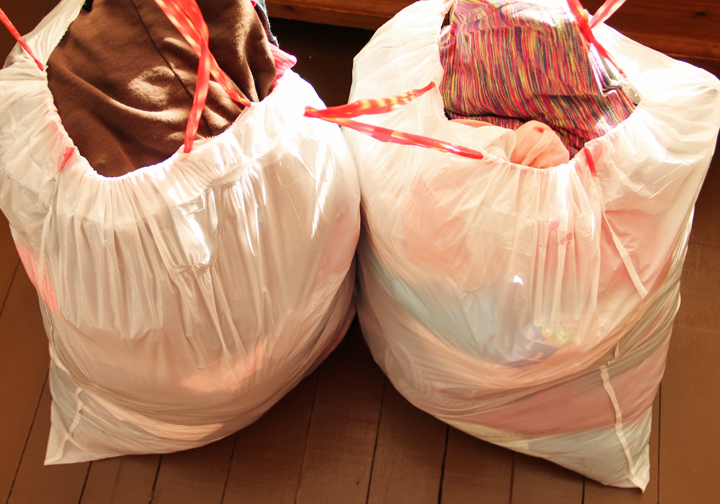
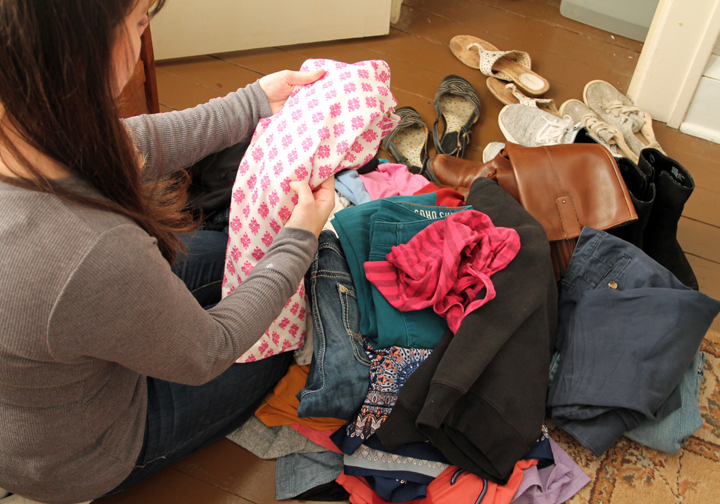
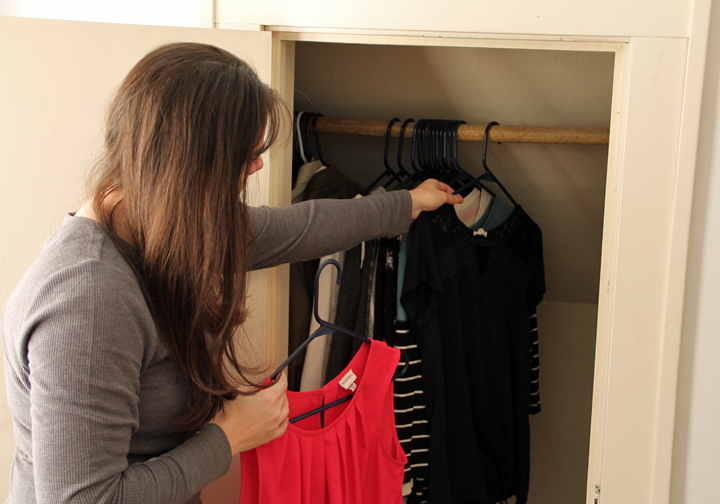
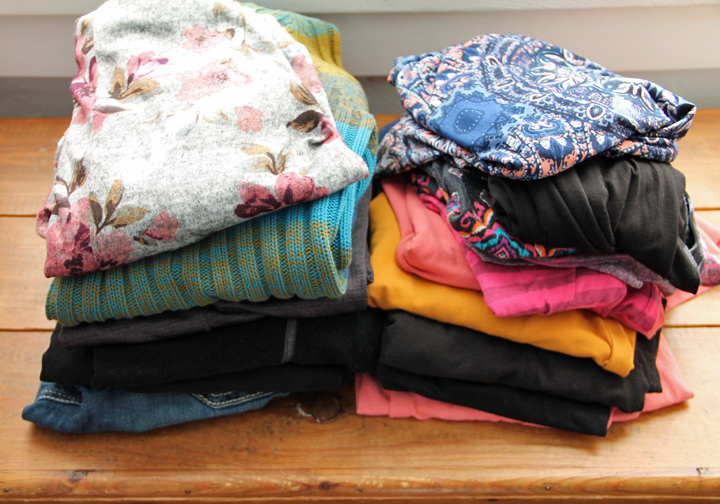
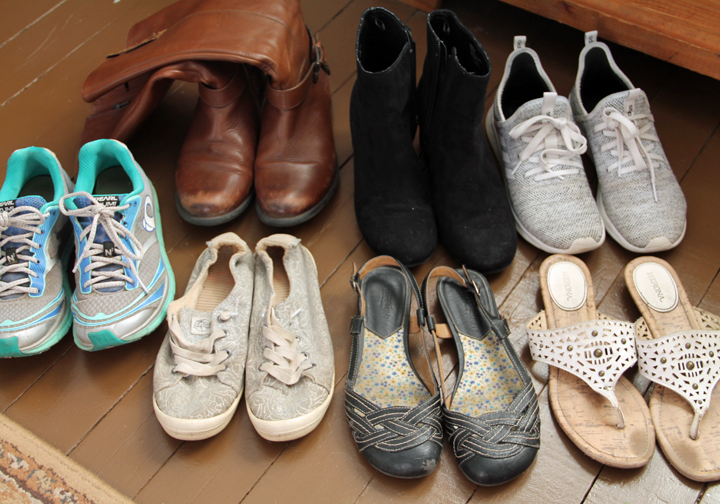
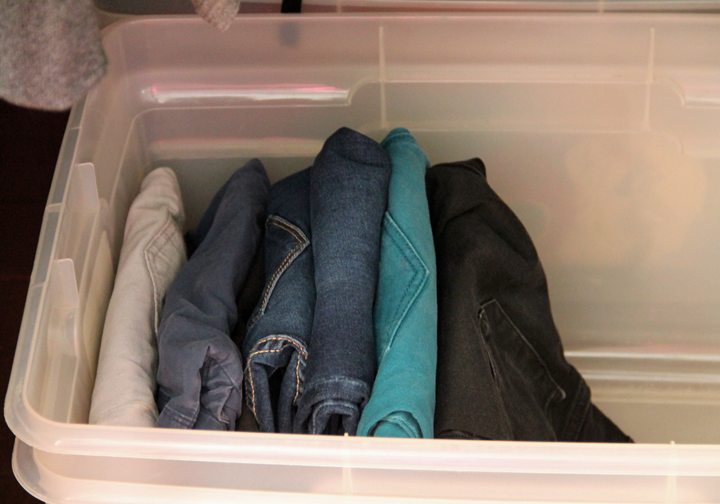
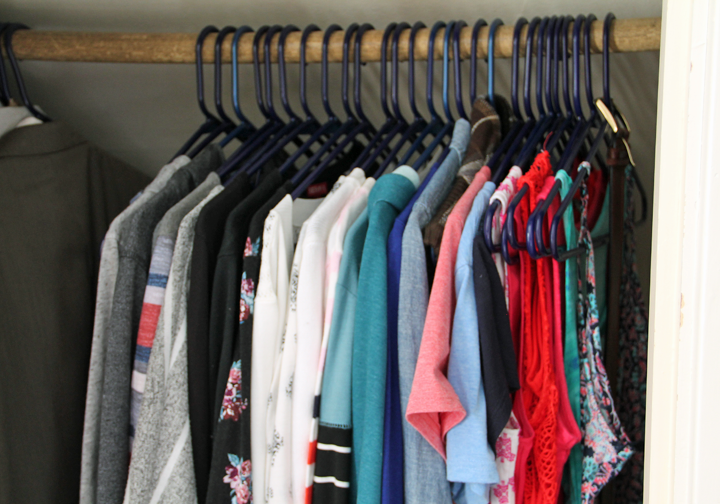
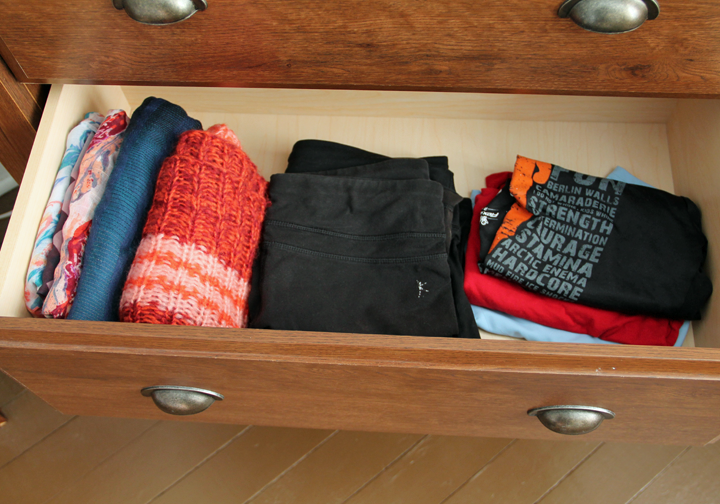
Angela has been busy decluttering and getting things organized around the house. In fact, during the month of January, she took on a challenge with her mom – and was able to donate, sell, or toss over five hundred items.

It’s amazing how great it feels to simplify our belongings! At times, people who visit our home mention that it looks a bit bare. Simplified / minimalistic living isn’t for everyone, but it is something our family has come to love. A clean home allows us all to have more clear minds, and focus on the important things in life rather than the managing of stuff.


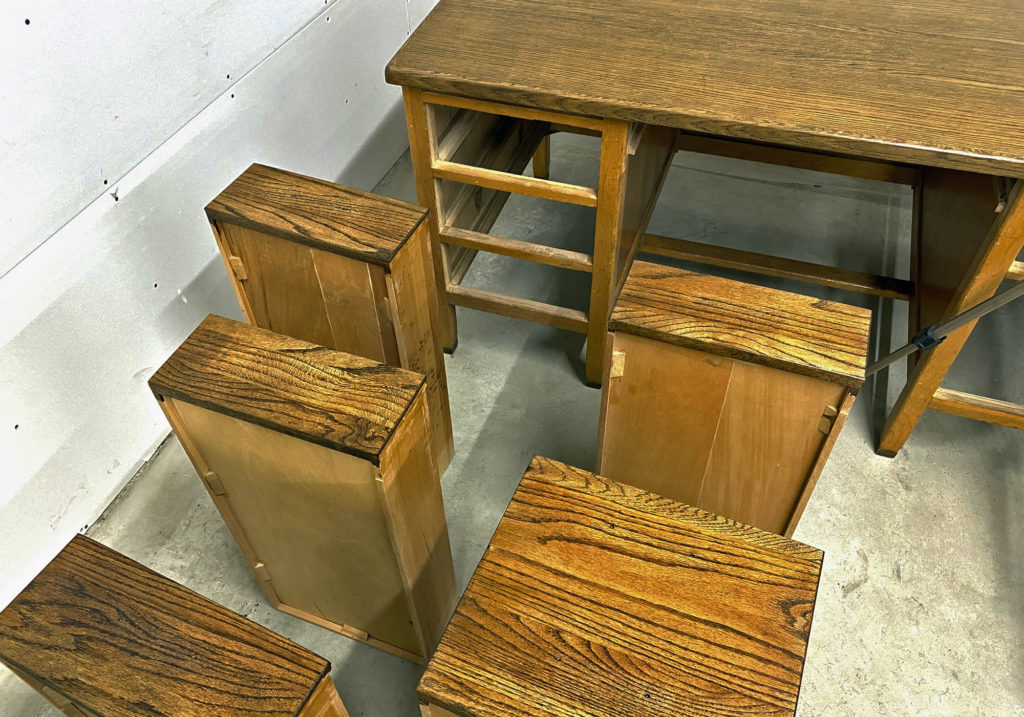
Craig has kept busy with a few projects this winter. He has been working on refinishing an antique oak desk, which is turning into a very beautiful piece. We are excited to get it into his office.

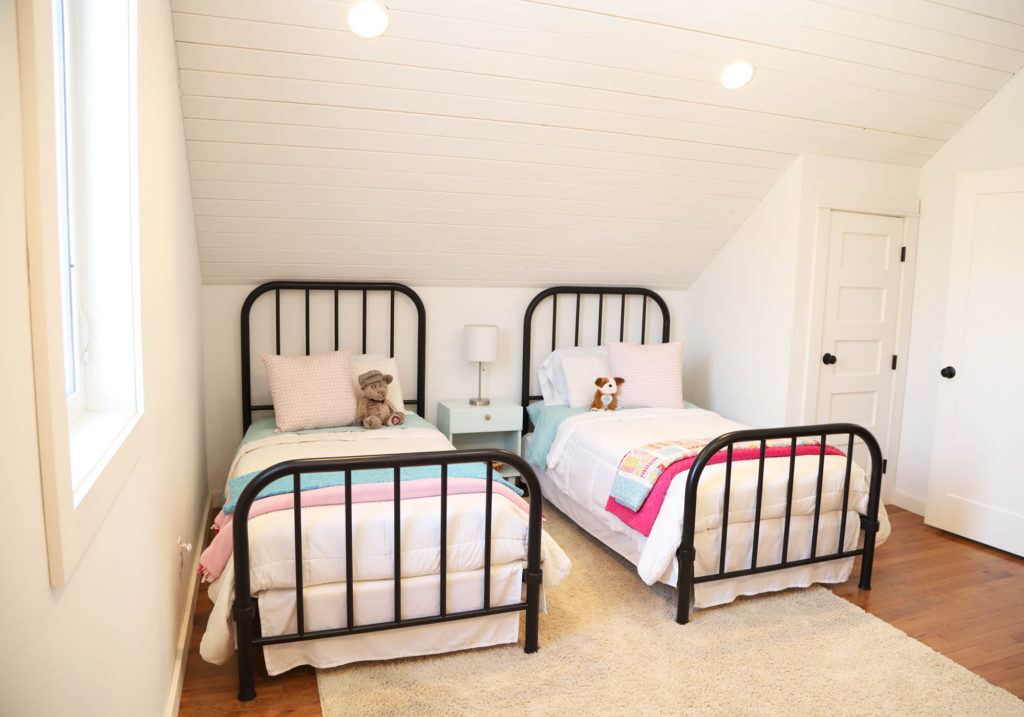
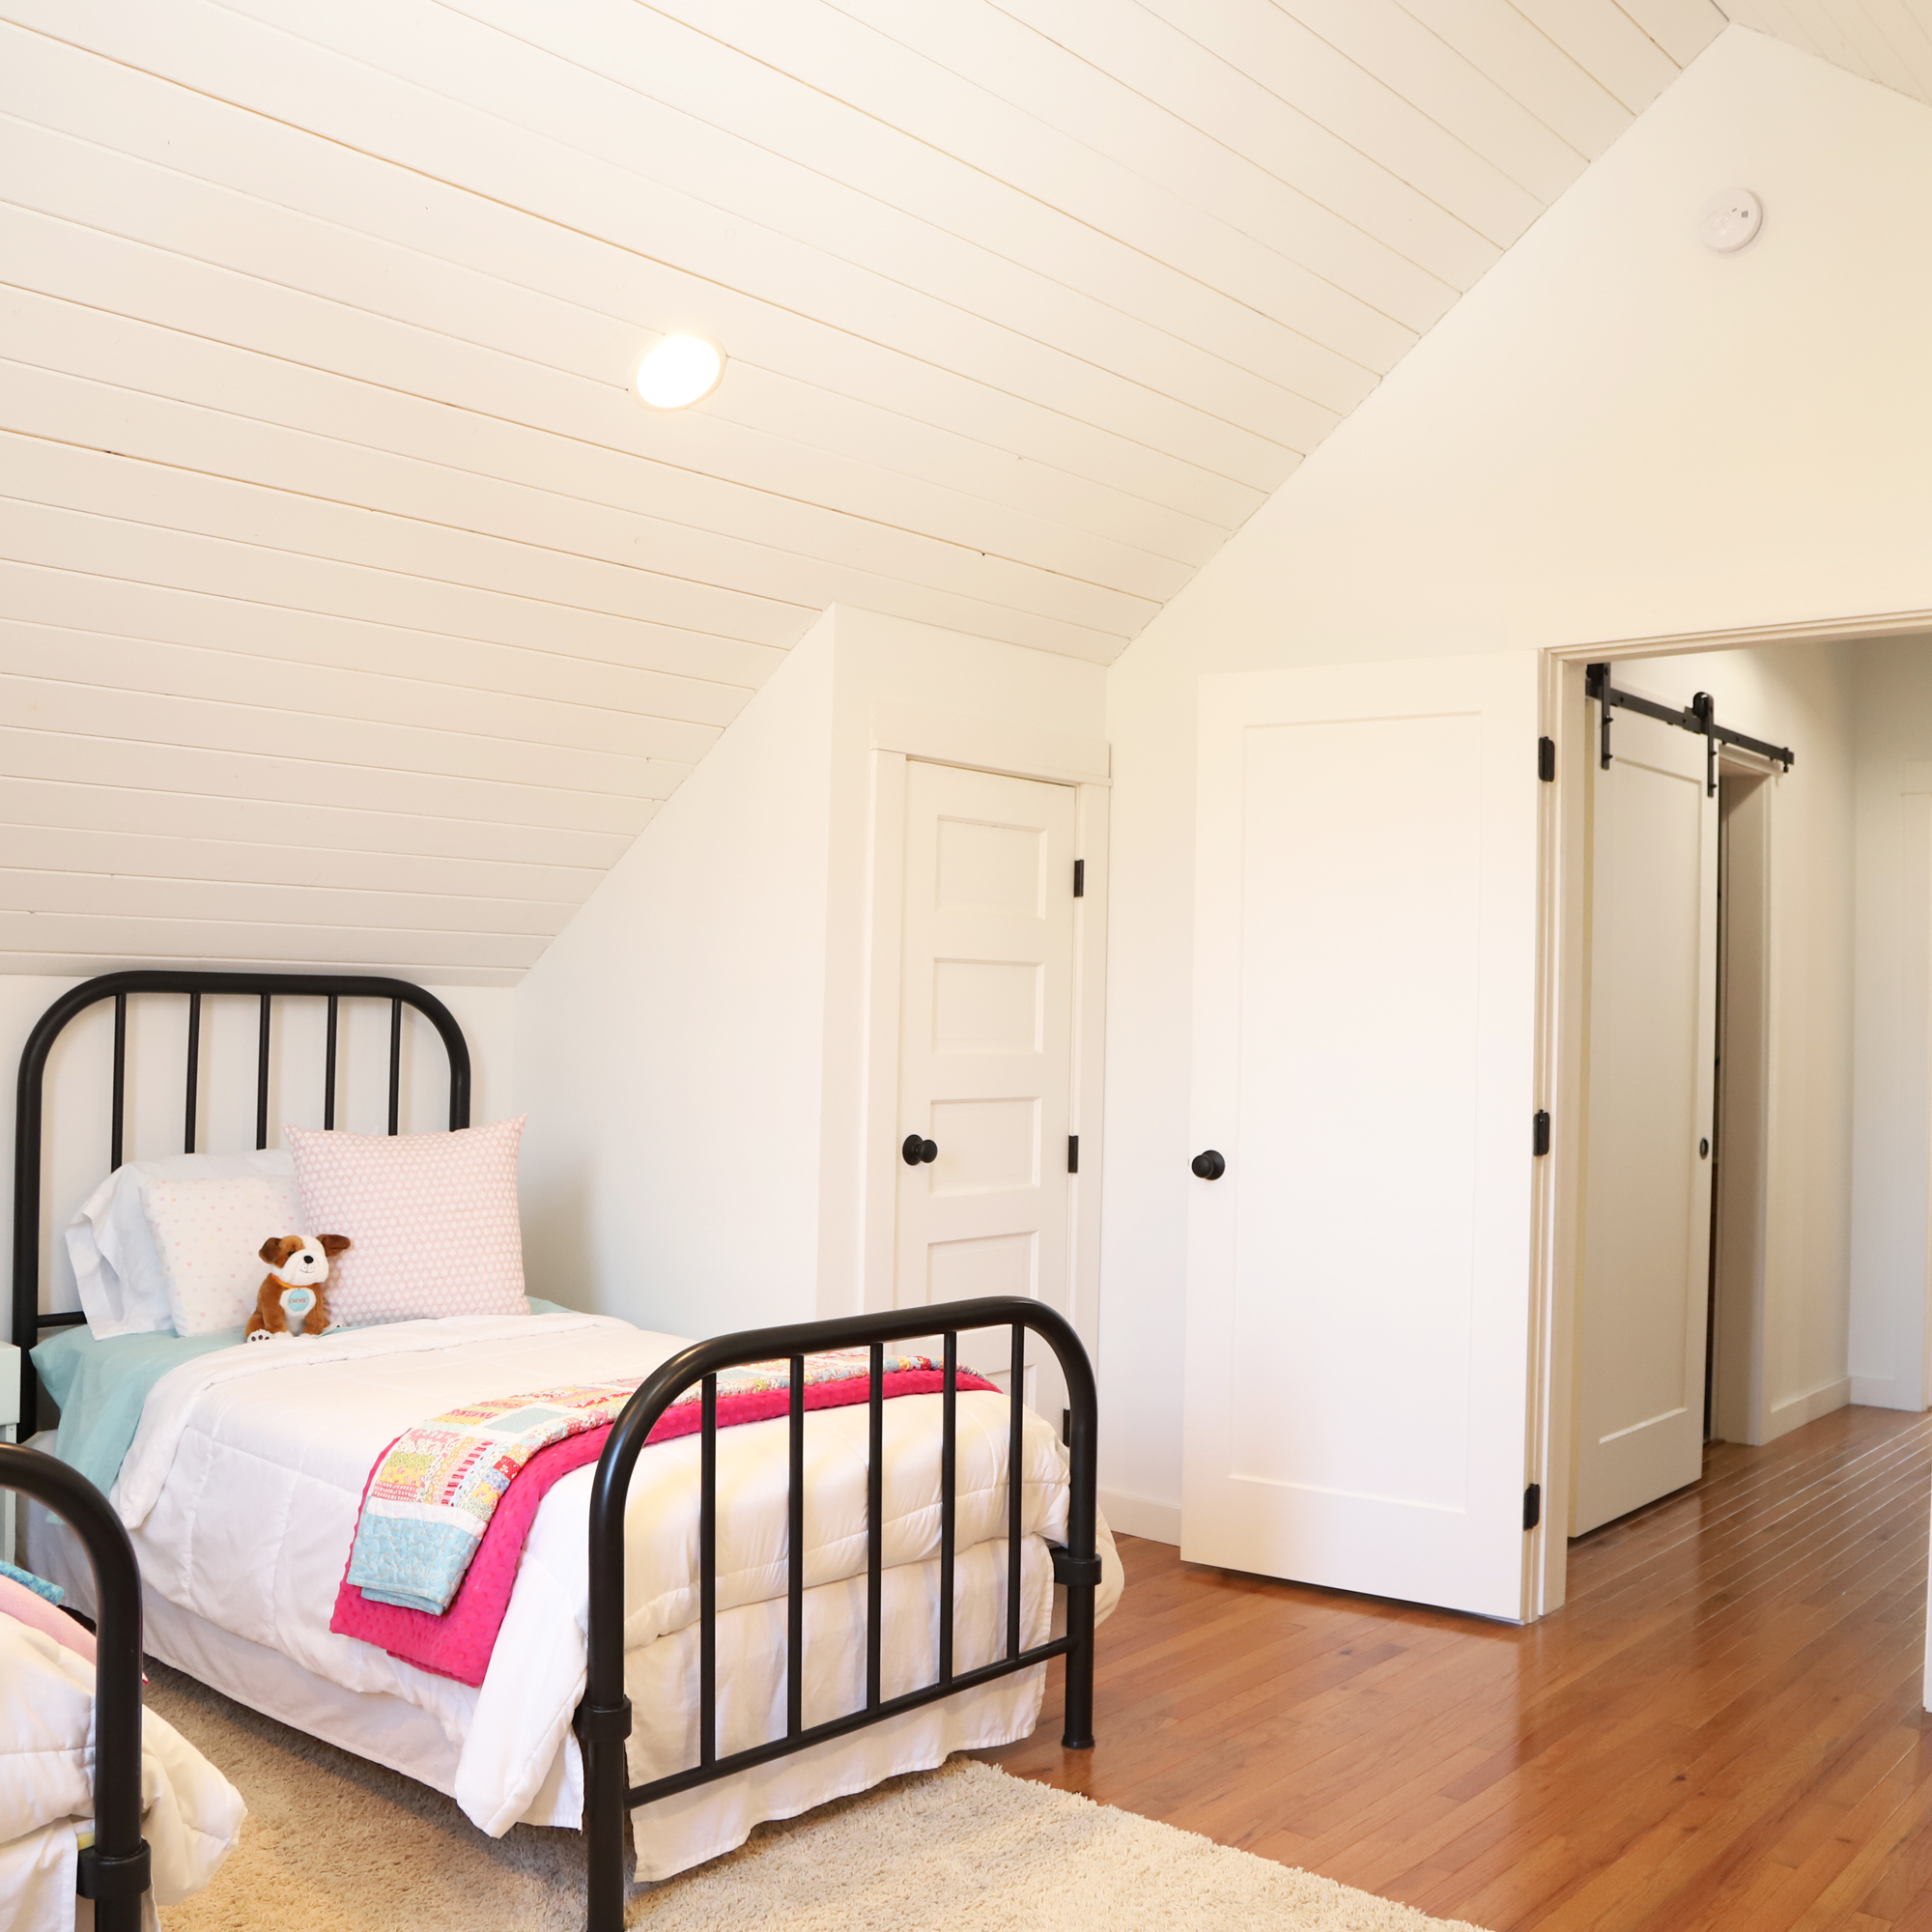
Additionally, he also finished the metal beds for the girl’s bedroom. They look so wonderful, and the girls absolutely love them!

There is never a shortage of projects here at the cottage. Stay tuned to see what we tackle next.


I hope you enjoyed this glimpse into our lives here at the cottage. Be sure to check back at the end of the spring season for more updates on our family!

Until then, you can always like a closer look by visiting our family YouTube channel , Arrow Hill Family, to watch our weekly photo vlogs. Be well everyone!


Shared Girls Room | Bedroom Tour

Today I am excited to give you a tour of the shared girls room at the cottage. Though far from fully decorated, we have done quite a bit in the space already and would love to show you around!

cottage bedroom | shared girls room

Our newly built cottage has a total of three bedrooms (technically four if you count the basement bonus space). The master suite is on the main level, and there are two additional bedroom upstairs. One for the boys and one for the girls. Our entire family appreciates the simplicity of this arrangement. Truthfully, our kids do not mind one bit that they share with their siblings. In fact, they prefer it!


Shared Girls Room | Basics

We covered the entire upper level ceiling of the cottage with pine tongue and groove boards, which were then painted white. My husband recently created a video which documents the long process of installing them.

As a result of our hard work, we are extremely happy with how the ceilings look. Because they are vaulted, the natural daylight that comes in through the single window bounces around and really brightens up the entire room.

shared girls room with sloped ceiling

Oak flooring creates a beautiful, neutral backdrop for furnishings and decor. In addition, the all white walls and trim have the same effect.

white walls and trim in shared girls room

When I designed the girls room, I was careful to create a space that would serve the girls for years to come.  For example, although the girls currently enjoy having their beds close together at night, they might not always prefer this set up. The dimensions of the room were worked out so that each girl could eventually claim their own ‘half’. There are two closets in the room as well.


Sleeping Space

One side of the bedroom is designated for sleeping and quiet time. The two antique metal beds found on this side were an absolute labor of love for my husband. He painstakingly restored the beds over the course of several months. Although the beds spent many years in a friend’s barn, you would never know it now!

refinished metal bed frames

My husband documented the process of restoring the beds through a series of videos. I am so impressed with how they turned out. Most importantly though, the girls love them.

A small table is positioned between the beds. It is the perfect size for a reading lamp, and a few books.

antique metal beds in girls room

I chose white comforters for the beds. They are easy to clean and provide a neutral base that can be changed up easily with accent bedding and pillows.  For now, the accents of pink, aqua, and yellow are fun and girly, while not being age specific. One thing I am still on the hunt for are matching quilts or duvet covers for the ends of each bed.

girls bedding


Play Space

The opposite side of the room is set up as a kind of pseudo mini house – every little girl’s dream! It is complete with a small play kitchen, table, and two pink chairs. In addition, a sweet doll crib – made by the girls’ great grandpa – holds special sentiment.

The girls have literally spent hours creating make believe scenarios with their stuffed animals and dolls.

play space in girls bedroom

Their play kitchen is something I posted about a couple of years ago. It was made using a vintage dresser as the primary structure. More information about the process of building the play kitchen, and links for many of the accessories, can be found in THIS POST.

small antique table

You may recognize the small red table from this past year’s Christmas decorating. I recently found an enamel top table at a local antique shop. This new table is a bit larger and more useful for our annual winter puzzle endeavors. For this reason, we moved the little red table up to the girl’s space – and kept the enamel topped one on the main level. These two tables will definitely be moved around the house throughout the years, depending on the needs of our family and my seasonal decorating desires.


Other Furniture + Decor

The only other piece of furniture the girls have in their bedroom is a dresser. It is, yet again, another special hand me down item. Purchased by my grandparents, the dresser was mine as a little girl. The perfect size, it has four drawers – two for each daughter. We have it organized so that each girl has one drawer for their shirts, and one for their pants/shorts/skirts.

girls bedroom decor

Atop the dresser are a few special and sentimental items. A beautiful watercolor print, which was purchased on Etsy, provides a bit more color to the room. The small wooden box holds the some of the girls’ cherished special items. Lastly, the pink bunny was hand sewn by the nannies at our older daughter’s orphanage. They gave it to her as a gift on her adoption day.

Though I have more decor ideas for the room, there is no rush on getting everything implemented at once. Kid spaces have a tendency to evolve and change as the occupants grow. The girls bedroom will be no different, I’m sure.


Girls Shared Room Video Walkthrough

Sometimes, it is easier to see a space in video format. I’ve created a video tour of the room for just that reason.


I hope you enjoyed this little tour! Stay tuned for more space reveals, as we continue to decorate at the cottage!

FRAMED HOUSE TOUR | BUILD UPDATE NO. 6

Join me today as I share a full tour of our framed house! So much has happened since I last posted about the progress at the site, and I’m excited to show you everything!

building a simple house

Last we left off, on construction update no. 5, the second floor trusses were just being delivered to the site. Boy have things changed a lot since then!


PROGRESS IMAGES

Here’s a quick photo recap of all the little steps that have happened from then until now.

scissor trusses for second level of house

The large scissor trusses for the second floor were delivered. They are massive! With no dormers on the roof, they were able to get everything in place very quickly. In just a few hours they were ready to put on sheathing!

Next, the concrete for the porch was poured. They did beautiful work, and applied a broom finish. Because the posts needed to rest on the concrete, the porch floor needed to cure a bit before the next step.


They finished sheathing the front gable end and began to set up the framework for the front porch. The posts are only temporary, until the thicker cedar posts are ready to be installed.

building a house adding shingles

Once the porch roof was on, it was time for the shingles! We were more than excited for this step, as our area has experienced heavy amounts of rain for most of the Fall. It was finally time to get this huge asset of ours protected from the elements!

View from the front of the house with the shingles finished, windows framed out, and temporary porch posts. We will be doing some grading so that we don’t have so many steps to the porch.

The waterproof wrap was added to the exterior, and the windows installed! This step really helped to brighten up the entire exterior of the house! Since our final siding and trim will all be white, it is fun to see it this way.


FRAMED HOUSE TOUR

While all this was happening on the outside, a ton was also going on inside the house. In fact, the inside framing process is essentially complete! The HVAC crew has started running ductwork, and the plumbers have been coordinating as well. I thought it might be fun, before all the walls are covered with drywall, to take you on a full house tour!

fully enclosed framed house


Below are a few pictures from the interior of the house. Scroll through to the bottom of this post for a link to the video tour, and see every nook and cranny of our future house!

living room framing

View of the living/dining space


framed kitchen

Looking toward kitchen and stairway, from the living room


master bedroom interior framing

Master bedroom


laundry room space

Mudroom/ laundry room space


upstairs hallway

View of upstairs hall space and vaulted ceiling


girls bedroom framingGirls bedroom space


Boy bedroom framing | framed house tour

Boys bedroom space


second floor hallway space

View from hallway space into boys bedroom


basement family room

Basement family room


ping pong room

View from family room into the ping pong table space


FRAMED HOUSE VIDEO TOUR

Join me on the first full house tour of Arrow Hill Cottage!


PIN THE PROGRESS

new home construction | framed house tour


CAPSULE WARDROBE | DECLUTTER CHALLENGE

Clothes have a way of sticking around and cluttering closets and drawers. This week I attempted to build my very first capsule wardrobe, as the fourth challenge in the December Declutter!

starting a capsule wardrobe


Welcome back to the fourth and final week of the December Declutter Challenge! This month I have already completed a Konmari declutter of our Christmas Decor, a speed declutter, and a deep cleaning of one room, top to bottom. Today I am sharing how I decluttered my clothing in an attempt to create my first capsule wardrobe.


CAPSULE WARDROBE PRINCIPLES

The main idea behind the capsule wardrobe is to fill your closet with clothing items you like and that you like on your body. Though the term was coined in the 1970’s by  Susie Faux, the concept has become even more popular in recent years. With people busier than ever, overwhelmed by their lives and jobs, minimalism has gained recognition as a way to slow down and simplify. Capsule wardrobes are in line with minimalism techniques.

A typical capsule wardrobe includes between 25 and 50 pieces. Some include enough pieces for year round wear, while others offer a seasonal selection only. The great thing about a capsule wardrobe is that it is personalized to fit each individual. As such, the rules can vary from person to person.


MY CAPSULE WARDROBE RULES

Because we live in the Midwest, we experience dramatic temperature changes with each season. My wardrobe has to incorporate shorts as well as sweaters. For this reason, I opted to allow my capsule to include the maximum number of fifty pieces.

This will be a full year capsule wardrobe. I chose not include jewlery/scarves, pjs, or outerwear (coats, snow boots, etc.) Even so, I attempted to minimize the number of items in these categories to a combined twenty. Undergarments were not included in any item totals.

My long term goal for this challenge is to actually use the clothing I have. To create different outfit combinations with a minimal amount of items. I want to get to the point that I love everything in my closet.


CLOTHING CLUTTER (BEFORE)

My husband and I share a teeny tiny closet that is built into the eaves at our rental farmhouse. It was pretty well stuffed to the brim on the hanging bar.

how to create a capsule wardrobe

We also had some bins on the closet floor that held bulkier items such as pants and sweatshirts. And I had one dresser drawer plump full of workout and lounging clothes.


SORT THROUGH THE CLOTHING

I used a method outlined on the website The Penny Hoarder when sorting through my clothing. The first step involved gathering all clothing items and footwear in one area, similar to what is done in the KonMari method.

Taking every item out of the closet, drawer and bins and laying them all on the bed was a huge eye opener to me. It was a massive pile of clothing. Considering that I can only wear one outfit at a time, I would say it’s obvious that I had far too many clothes.

clothing clutter to capsule wardrobe


The next step in the process is to sort all of the clothing items into three separate piles. One pile for items that you love, your favorites. Another pile for items that you like, and a final pile of items that you are certain you no longer need. Clothing that doesn’t fit properly or has stains/tears should go into the third pile.

Even if at one time the pieces were your favorites, if they don’t fit or are damaged do you really want to include them in your minimal wardrobe?

sorting through clothing to create a capsule wardrobe


After my sorting was complete I was left with quite a few items that were destined to be sold or donated. I went ahead and bagged them up straight away. In this way, I wasn’t tempted to go back through those items searching for something to keep.

clothing donations. Clothing declutter


FINE TUNE THE SELECTIONS

The two remaining piles including clothing pieces that I love, and those that I like. At this point I needed to do some more critical thinking. I thought about which items could be used in multiple ways to form various outfits. I thought about how many seasons each piece would be useful in. Further sorting through these two piles back and forth, I was able to narrow down my capsule wardrobe to the pre-set 50 pieces.

clothing declutter challenge. Creating a capsule wardrobe


HANG UP FAVORITES

My favorites were then hung back into the closet. I tend to arrange my clothing in color categories and by sleeve length.

how to create a simple capsule wardrobe

Because this is my first capsule wardrobe, I decided to keep a ‘back up’ of 16 items that were from my maybe pile. These clothing pieces were placed into a bin and are stored in the back of my closet for the moment. If, after 365 days none have been needed, they will be moved into the donation bags.

year round capsule wardrobe

While I am learning the ins and outs of my particular capsule wardrobe, I am giving myself lots of flexibility and the freedom to make fine tuning decisions. For example, I may find that I need fewer long sleeve/ winter items but more short sleeve options.

Each time a new item is added, either from my back up pile or purchased new from a store, one of the items in my capsule must be set aside. This will allow me to keep the item count consistent throughout the year.

I am hopeful that after a full year using these fifty items that I will have a good handle on what I need and use most often.


WATCH ME CREATE A CAPSULE WARDROBE

Take a virtual tour of my clothing before, and watch me declutter my clothing to create my very first capsule wardrobe!


MY CAPSULE WARDROBE SELECTIONS

I will admit that this was probably the most difficult of all the challenges I was faced with this month. Perhaps it has something to do with the intimate nature of clothing, which causes a person to become attached more easily.

Even still, it was an exciting exercise. I personally am really looking forward to knowing that everything in my closet fits and is useful. My final capsule wardrobe includes the following 50 items:


FOOTWEAR

7 pairs total: 2 flats, 2 boots, 1 casual canvas, 1 nicer pair of sneakers, 1 pair of running shoes.

capsule wardrobe shoe collection


BOTTOMS

8 total: 4 pants/jeans, 1 Capri, 2 shorts, 1 yoga pant

50 piece year round capsule wardrobe


TOPS

27 total: 6 tanks, 3 short sleeve, 1 vest, 1 cover/wrap, 4 cardigan/pull over, 6 long sleeve, 5 sweaters, 1 dress

small year round capsule wardrobe. Minimalist clothing collection


WORKOUT

8 total pieces: 3 bottoms (1 short, 1 Capri, 1 pant), 1 long sleeve shirt, 1 short sleeve shirt, 3 tank tops

clothing in minimalist capsule wardrobe


ADDITIONAL ITEMS (not included in the capsule wardrobe total)

20 total items: 1 swimsuit, 1 pair of snow boots, 2 winter coats, 1 spring/summer jacket, 1 poncho, 4 PJ pieces, 5 scarves, 3 necklaces, 1 pair earings, 1 ring.


OUTFIT OPTIONS

Probably my favorite part of the entire challenge was coming up with different outfit ideas with the smaller number of pieces. These are just a few of the options that I am excited to wear!

outfit options from year round capsule wardrobe

one year capsule wardrobe outfits

I love how most of the items can be either dressed up or down depending on how they are paired and with different accessories. For example, a basic t-shirt can be worn with a pair of shorts or yoga pants for a comfortable casual look. The same shirt can also be dressed up with a scarf and nicer shoes.

I plan to print off index card sized pictures of outfit options. These cards can then be placed on a binder ring and stored in my dresser. That way, if at any time I feel that I have ‘nothing to wear’, I will have visual outfit inspiration!


WHAT I LEARNED FROM THIS CHALLENGE

This challenge was eye opening for sure. If you had asked me before how many total clothing items I had, I doubt I would have thought I owned even fifty total. The truth is that I had nearly two hundred. Essentially, this exercise cut my wardrobe in less than half.

While having a final item count might seem restrictive to some people, I actually found it useful. Knowing that I couldn’t go over my predetermined number caused me to really think about which pieces I wanted to hang onto.

I also found it surprising that the items I chose to keep in my capsule wardrobe shared a lot of similarities. Apparently, I enjoy wearing comfortable pieces that are generally plain or have small patterns/prints. There are also quite a few striped items that made the cut. Color wise, there is a definite palette of favorites – something I never realized before!

capsule wardrobe color palette


My side of the closet is in order and looking awesome. Perhaps for this reason, my husband has given me the green light to tackle his wardrobe next. I call that a declutter win!


PIN THESE IDEAS FOR LATER

Are you ready to tackle a clothing declutter and create a capsule wardrobe of your own?

clothing declutter. How to create a basic capsule wardrobe. Capsule wardrobe for beginners