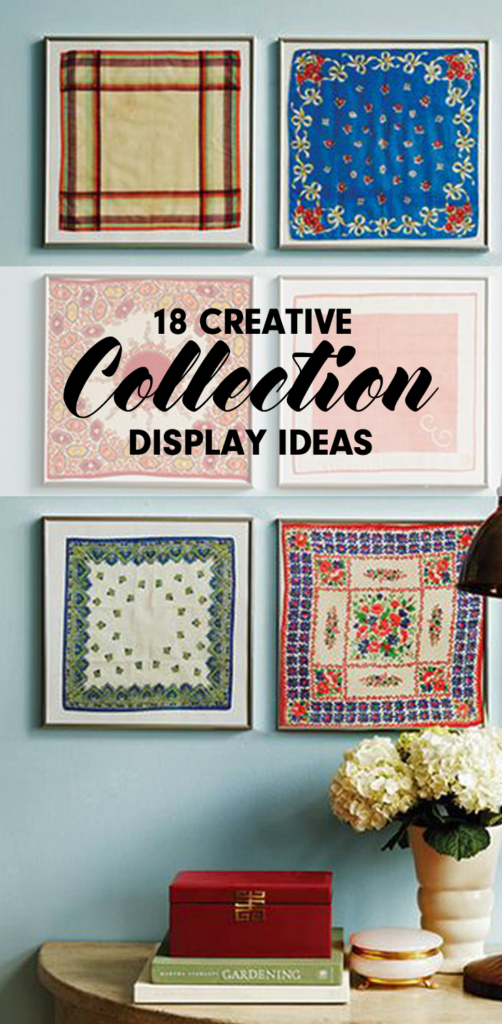
There is a saying ‘What goes around comes around’. It’s true in fashion, entertainment, and even home decor. Wallpaper is in the middle of a revival moment that doesn’t appear to be going away any time soon.
WHAT IT IS
Machine printed wallpaper was introduced in the late 1700’s, as a means to decorate interior walls of domestic and public buildings. It is most commonly sold in rolls, with graphics in repeating patterns. These patterns overlap so that they look continuous when installed.
Unlike the wallpaper of years gone by, the newer versions are much more simple to install and don’t require the paste to be awkwardly applied to the back of each piece before being hung. Some types are even removable, meaning that if your style changes, you can switch it out easily.
The patterns and colors available today are so diverse that there is sure to be something that matches your style.
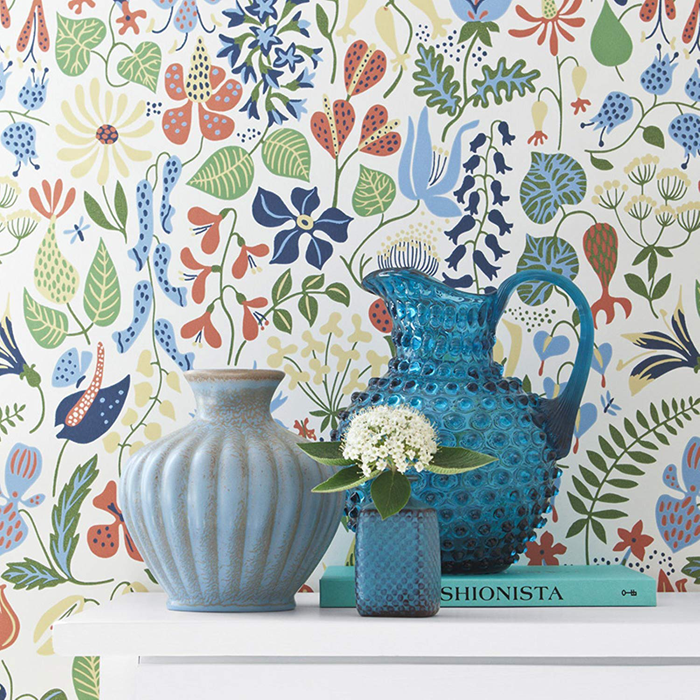
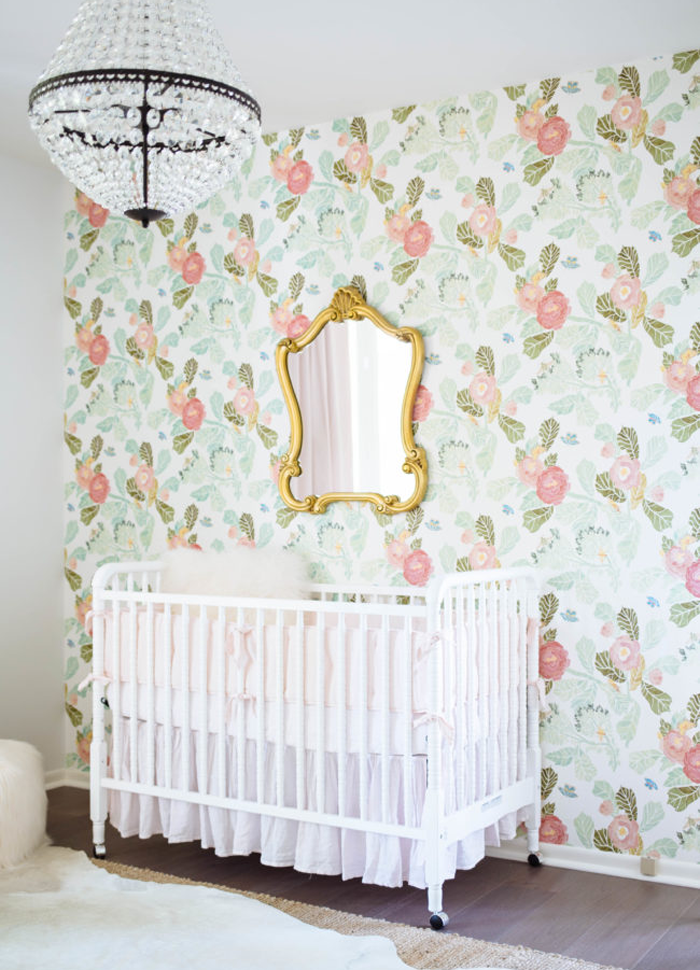
OVERSIZED FLORALS
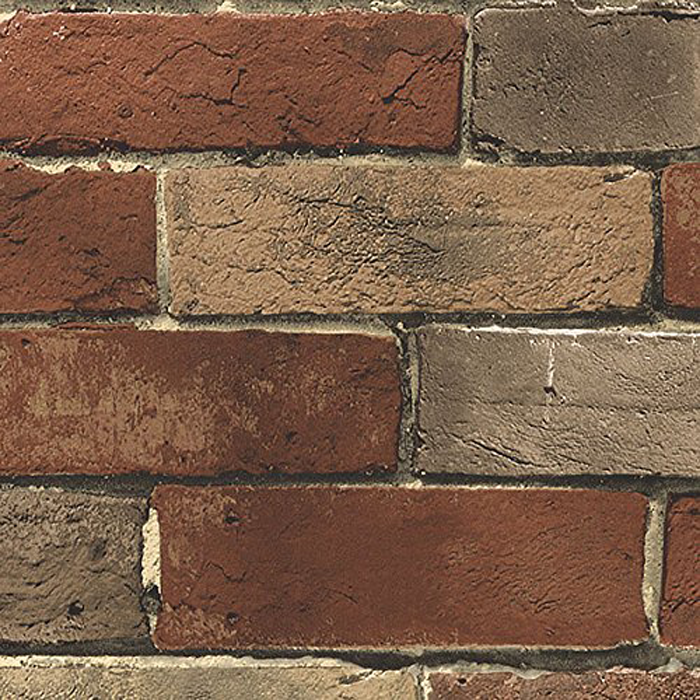
TEXTURED/3D
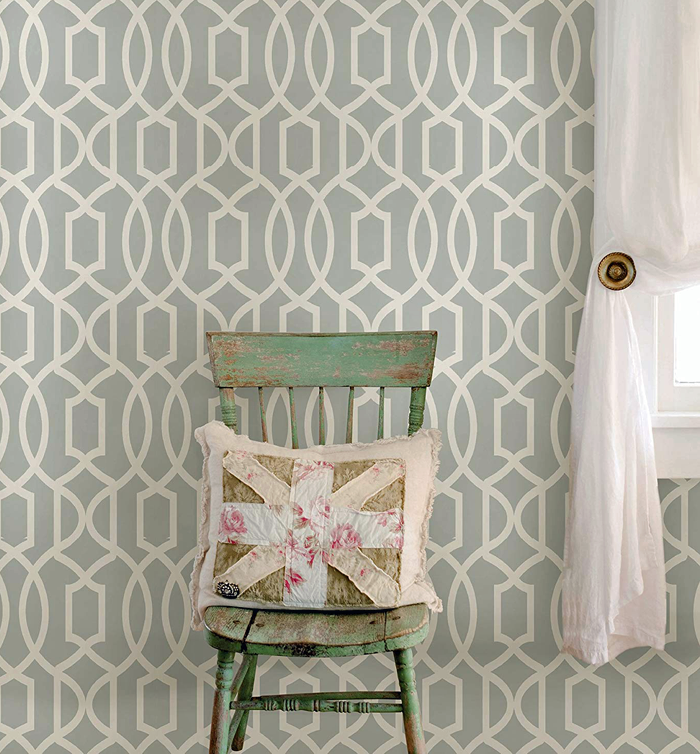
GEOMETRIC
WHERE/HOW TO USE IT
Wallpaper is most typically used, well, on walls of course! From the bathroom to the kitchen, homeowners are finding a pattern they love and making a major statement!
FULL ROOMS

ACCENT WALLS
Creative people have proved that wallpaper is useful for other purposes as well! These are some interesting applications:
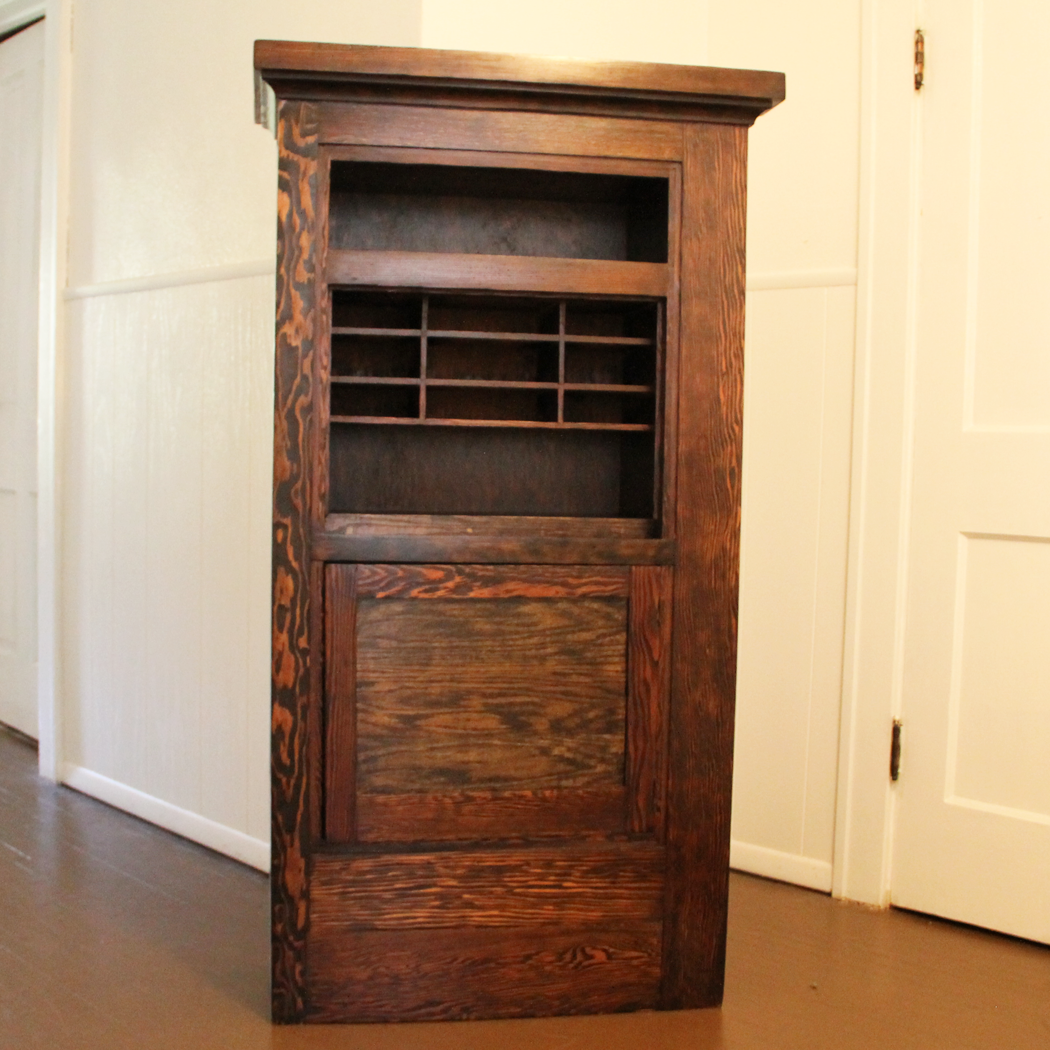
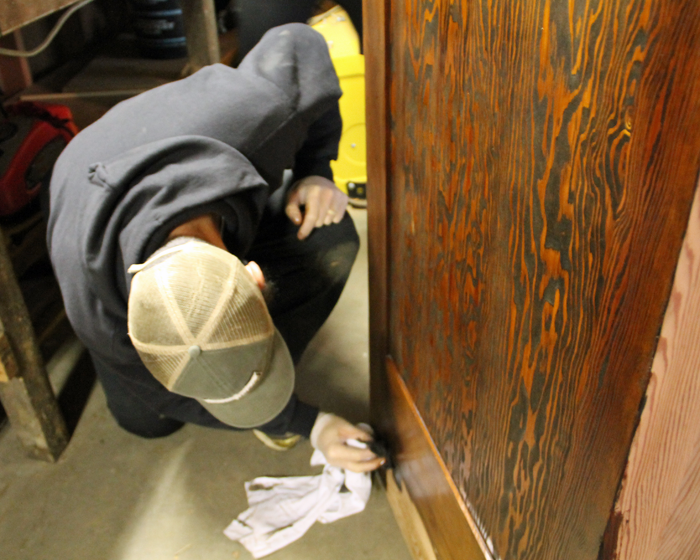
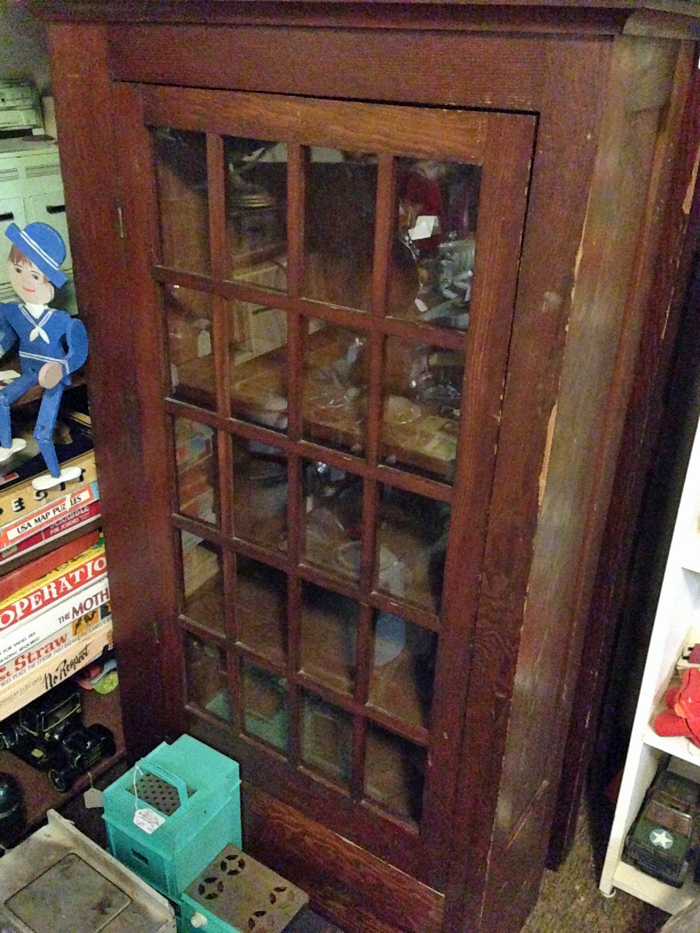
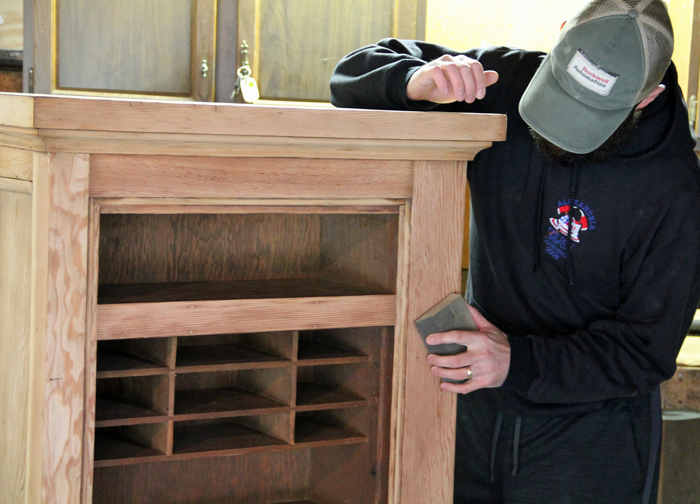
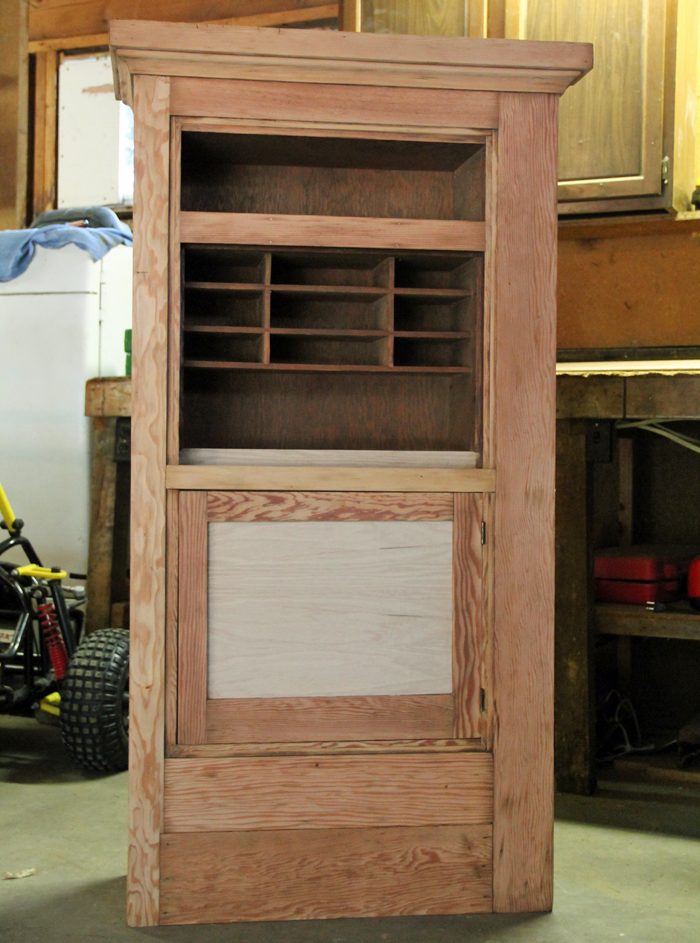
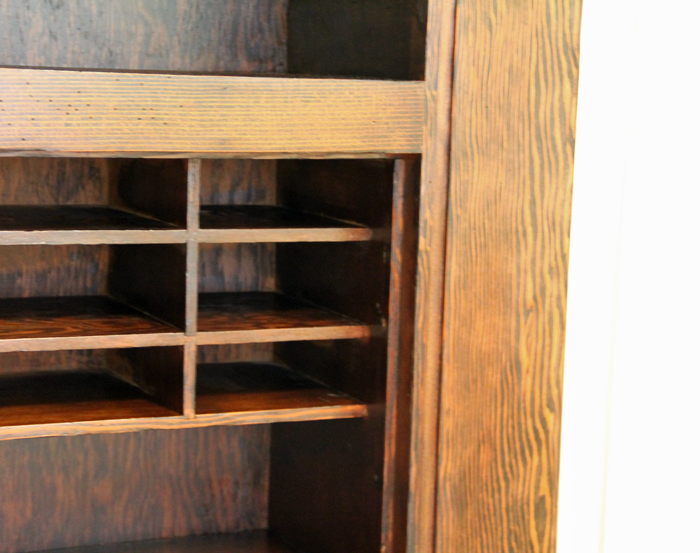
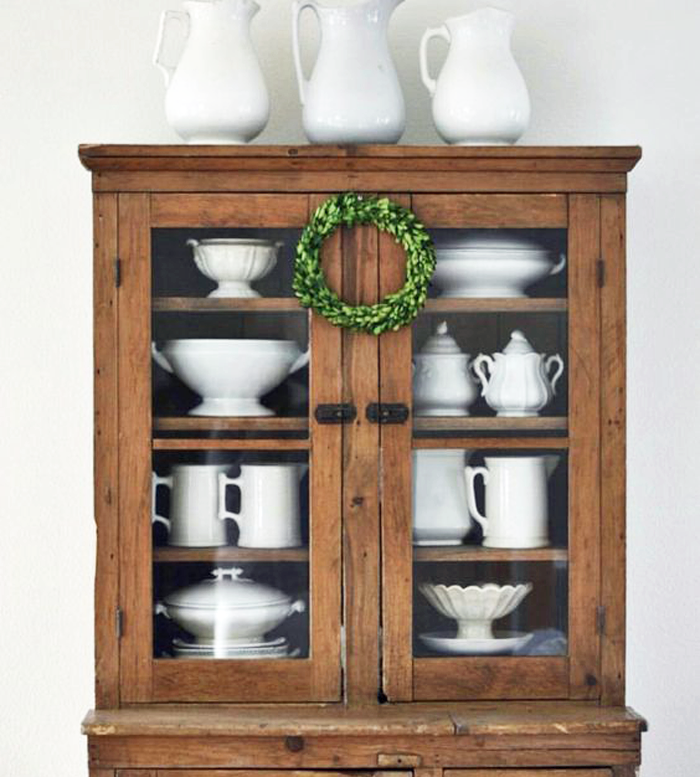
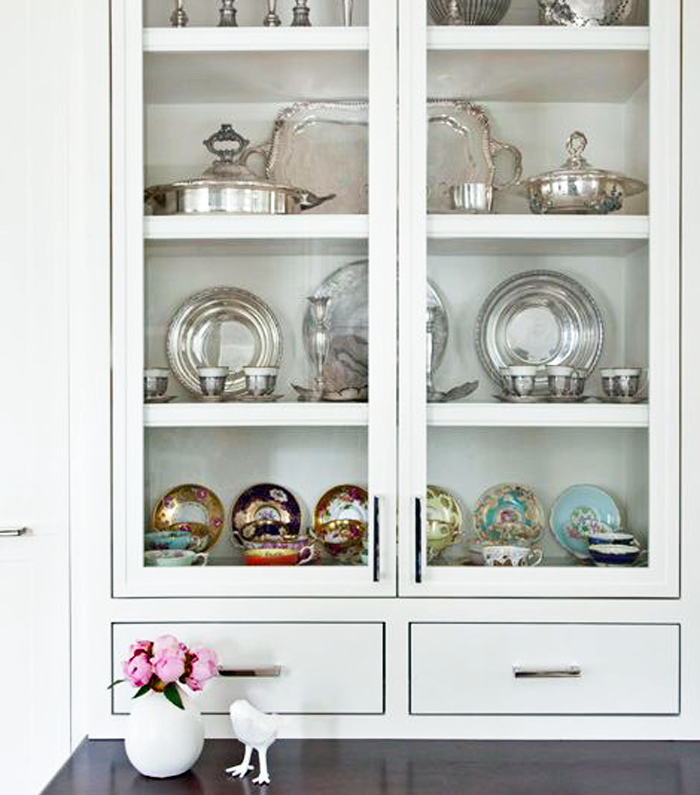
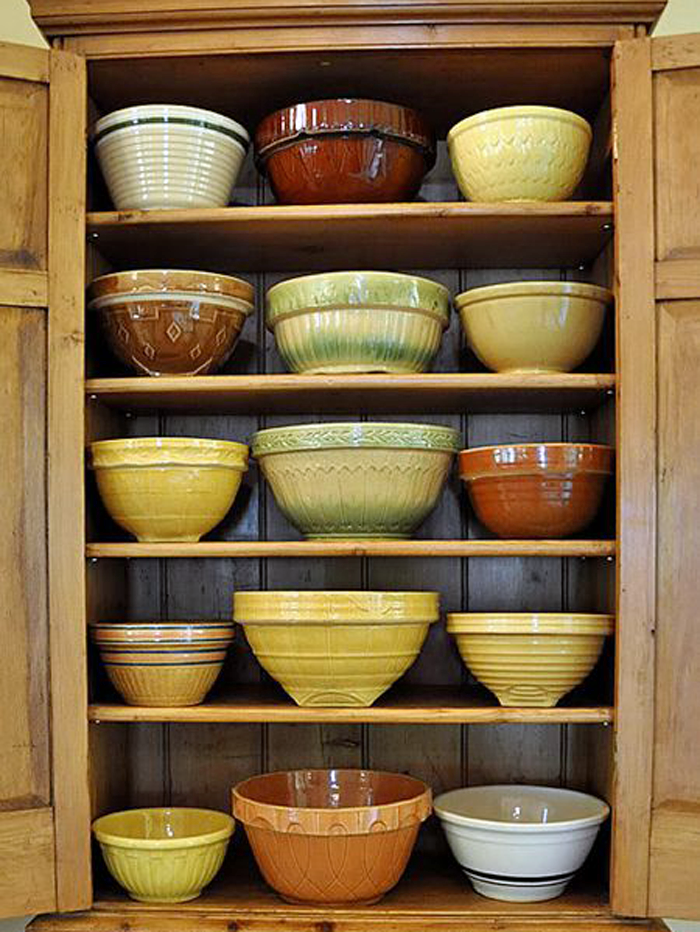
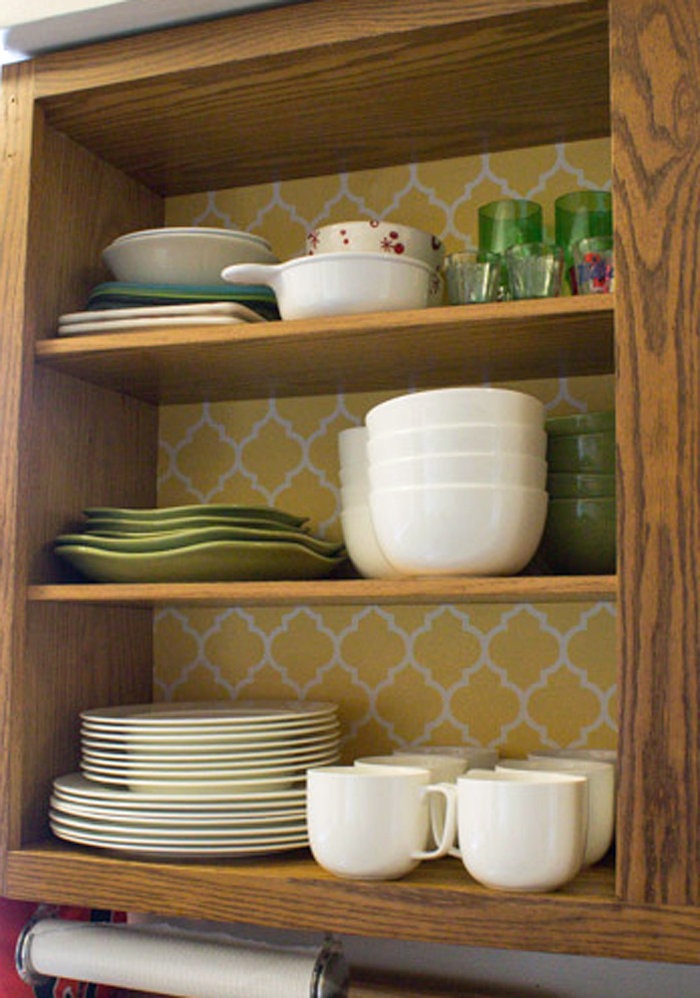
ACCENT THE BACK OF CABINETS
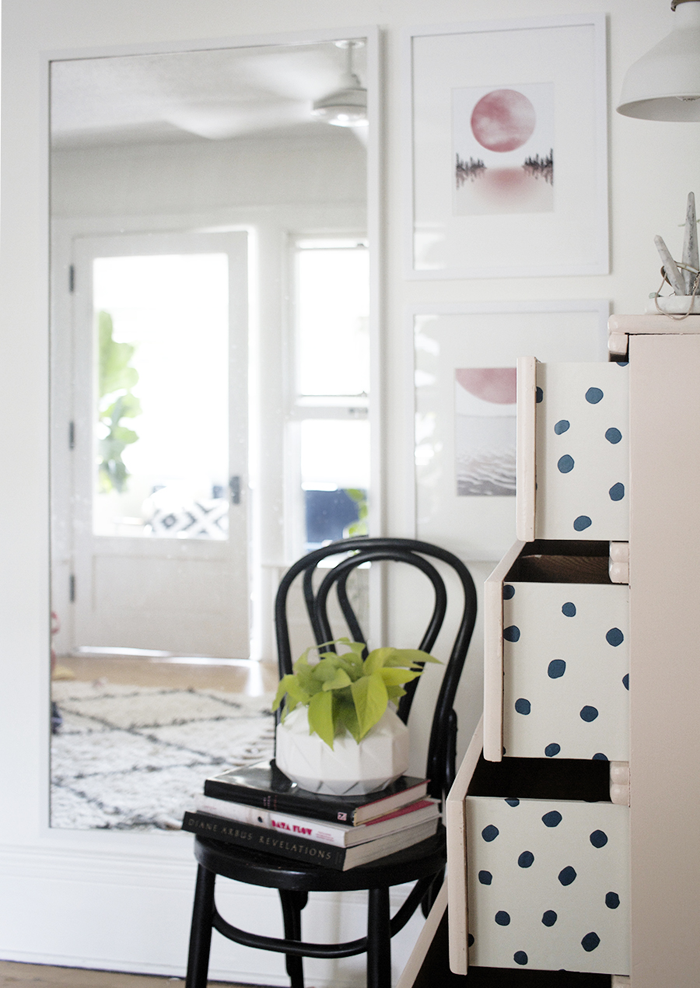
LINING DRAWERS
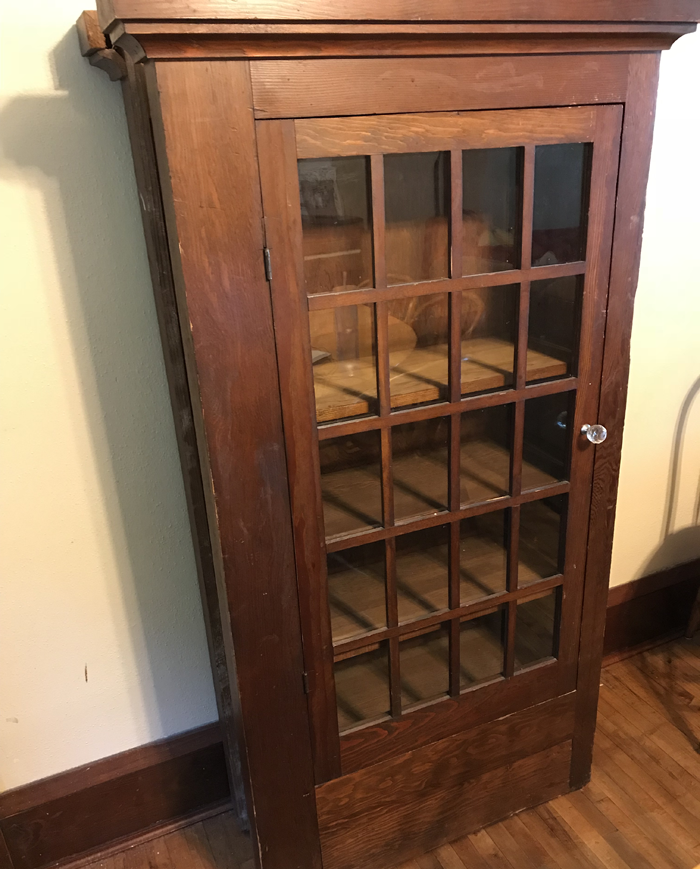
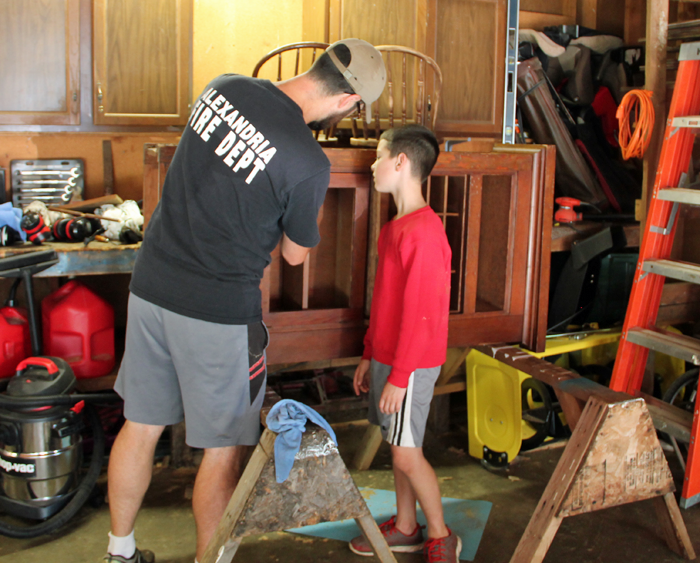
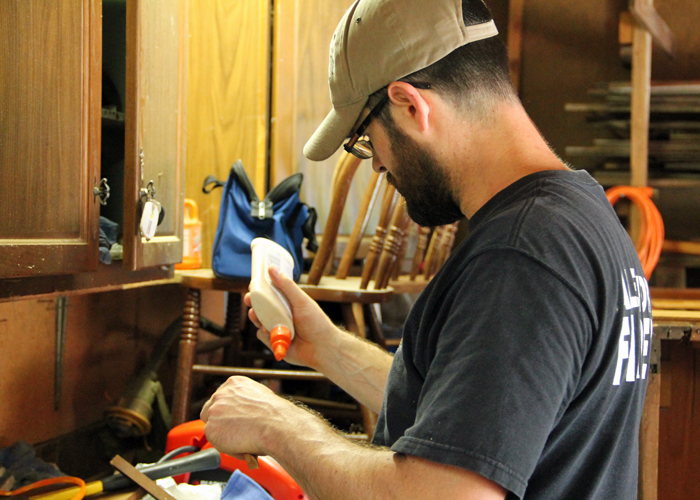
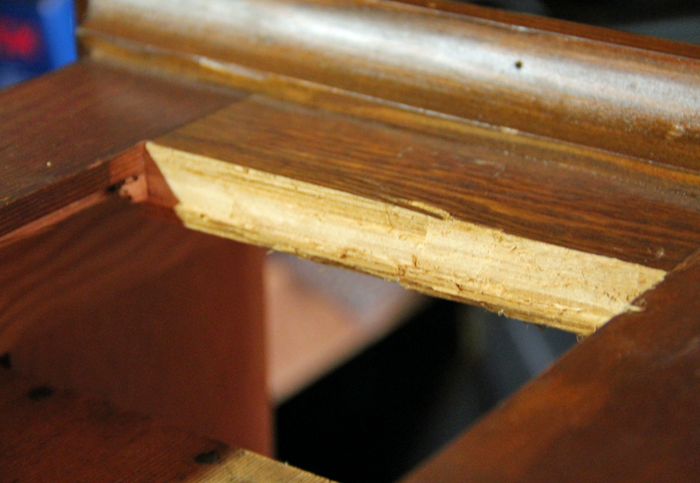
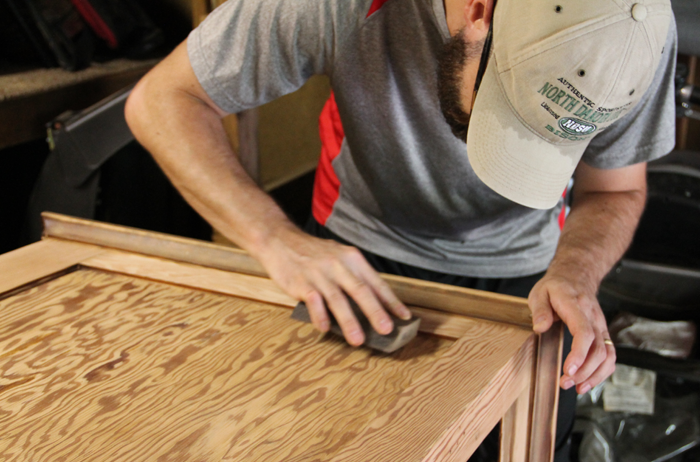
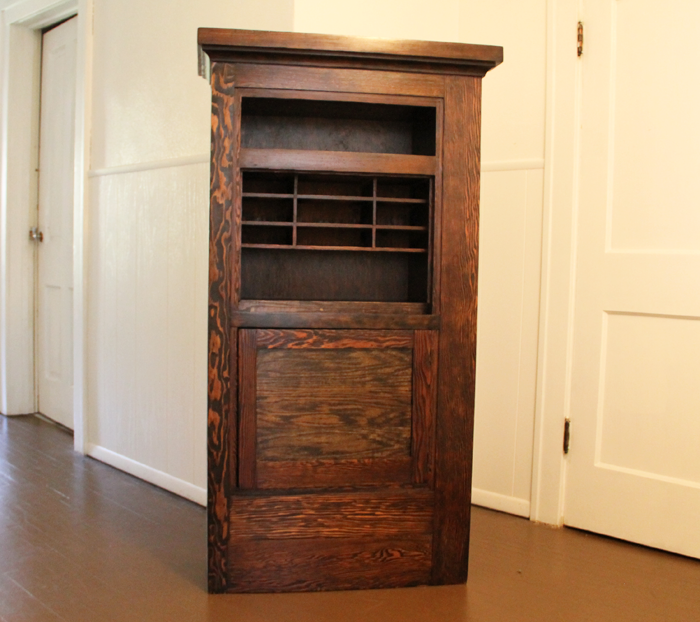
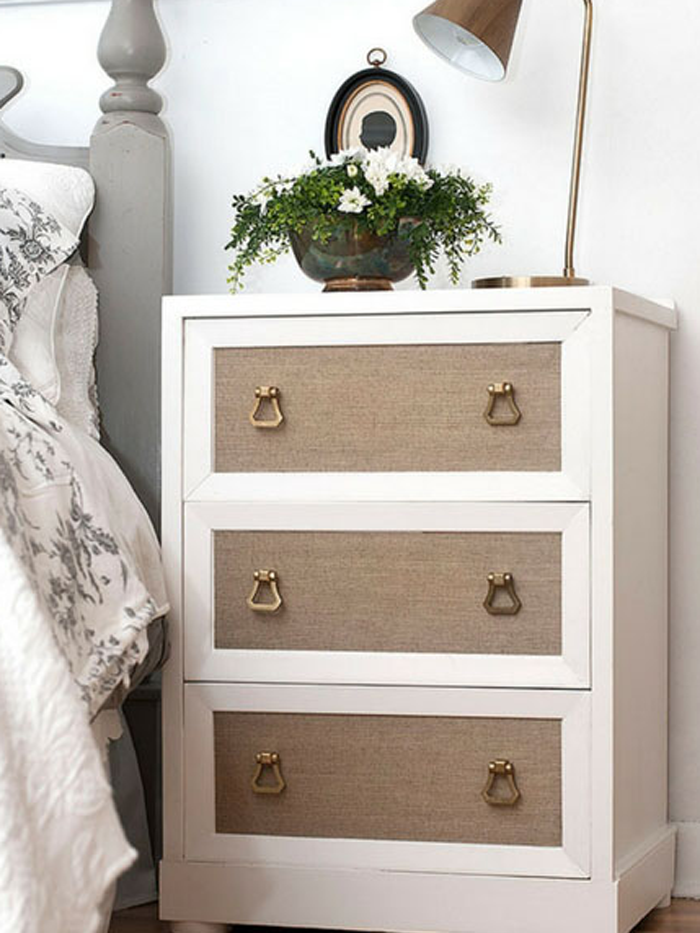
FURNITURE
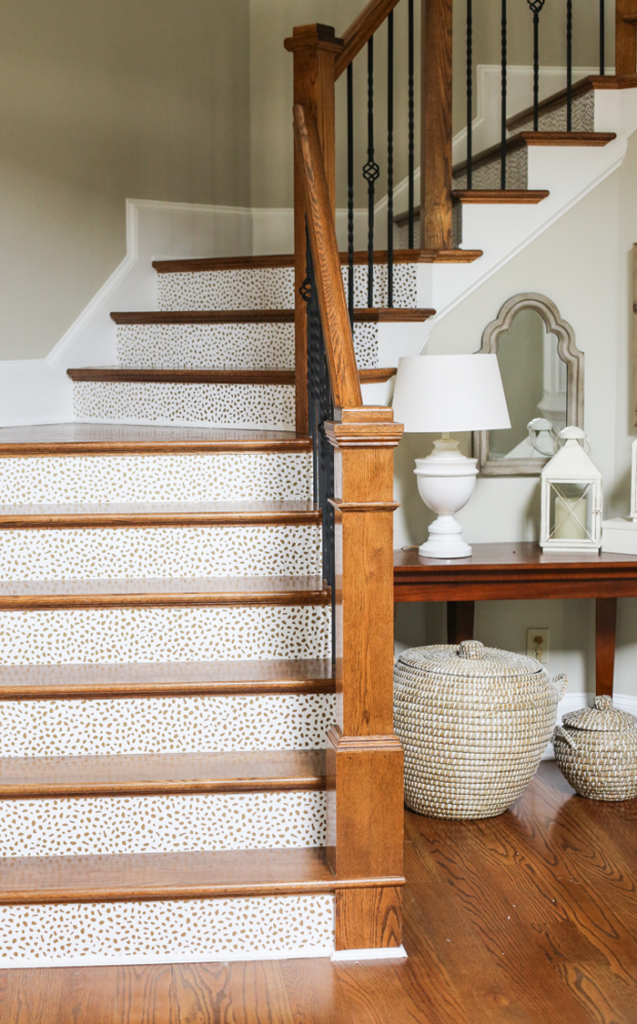
STAIRS
If the thought of installing wallpaper is what is holding you back, read this article from dwell titled ’12 Pro Tips For Installing Wallpaper In Your Home’. It is well written, and the step by step guide proves that this DIY project can be done easily.
WHERE TO BUY
Wallpaper can be purchased in home improvement stores, as well as Interior Design shops. The most common place to find the widest variety of options though, is online.
This a collection of my favorite finds from Amazon
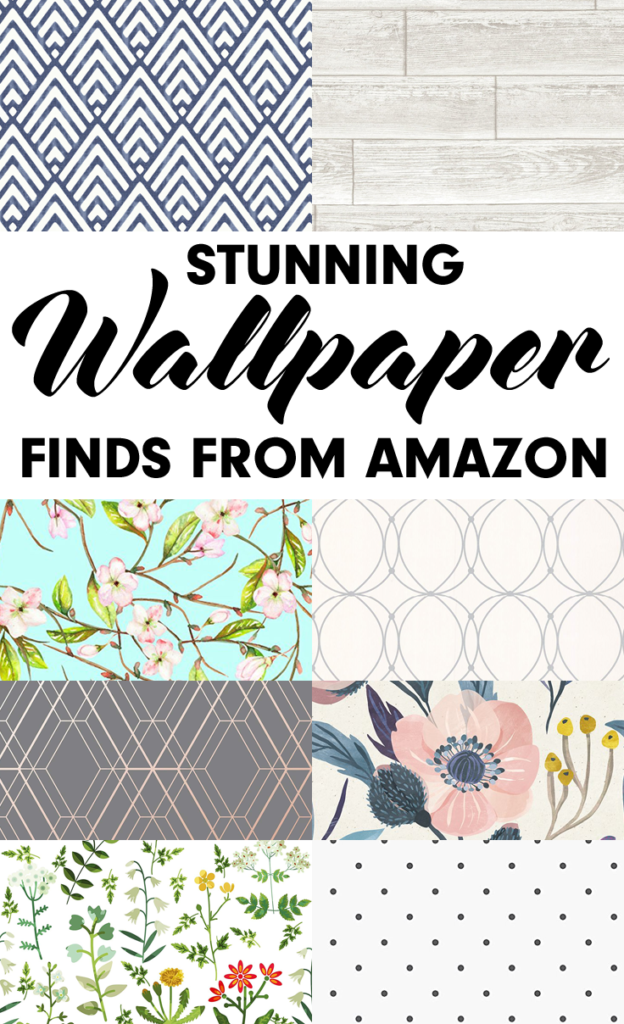
From top, left to right
MY THOUGHTS ON THIS HOME DESIGN TREND
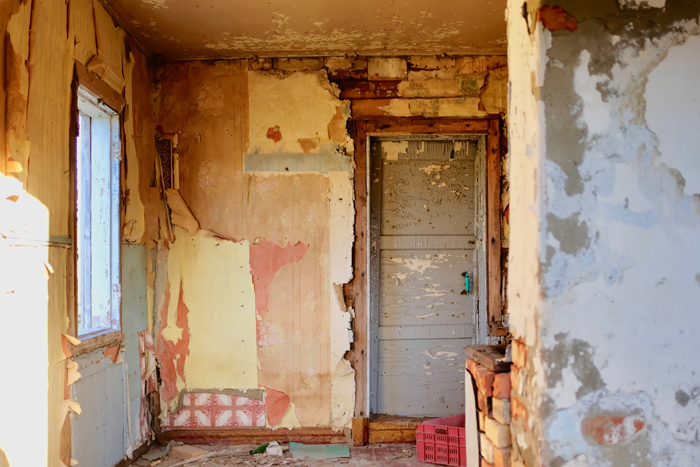
Wallpaper has notoriously had a bad reputation of creating a ‘dated’ look to a home, and is typically one of the first things removed when new owners move into a house, along with popcorn ceilings and shag carpeting. That fact has more to do with the personal nature of wallpaper than anything else. Though one homeowner may find a print that they love enough to make a statement on a wall, or in an entire room, that print might not be a favorite of someone else.
With that being said, I think that wallpaper is a great way to personalize. If you are living in your ‘forever home’ then by all means, go with what you love. But, if you will be selling your home in the near future, you might want to consider something in a neutral tone or with a simple pattern, or better yet with a peel + stick backing so that it can be removed before the house is listed.
If you would like more wallpaper inspiration, check out my Pinterest Board on the topic!
***This post contains affiliate links***