HOME MAINTENANCE BUDGET TIPS

Anyone who owns a home knows for certain one fact: THINGS WILL BREAK. And unlike renters, homeowners need to be able to pay for the repairs out of their own pockets. Because of this, it is wise to have a home maintenance budget in place.

home maintenance budget ideas

Issues may be a minor patch jobs that can be done over a weekend. Or there may be extensive damage that requires the expertise of a seasoned professional. The tricky thing is, you never know which kind will pop up, and/or how much these fixes may cost.

It is very wise to be prepared upfront, but starting a home maintenance budget. The following tips can help you determine how much to save, and where to keep the funds for the inevitable ‘rainy day’ when they will be needed.


TIP #1: THE ONE PERCENT RULE

budgeting for home maintenance

If you have just moved into your home, and have yet to repair anything, you may want to start with this rule. Use the purchase price of your home as a guide, and save 1% of that figure for repairs. If you purchased your home for $250,000, for example, expect to save $2,500 per year for maintenance.


TIP #2: THE SQUARE FOOTAGE RULE

home maintenance

Another easy calculation is to save $1 per square foot per year. If your home is 1,500 square feet – that would equate to $1,500 available for repairs each year.


TIP #3: CONSIDER THE AGE OF THE HOUSE

home maintenance budget amounts

Obviously, a newer home should need less maintenance than one that is older. In the first 5-10 years after a home is built, there should be only minor repair needs. Between 10 and 20 years, common maintenance includes re-painting, window replacement, and flooring removal/replacement. Homes that are over 30 years are more of a challenge. Major systems such as the roofing, electrical, and plumbing-  may begin to fail.

A graduated savings plan might be a good idea. Save a smaller amount of money each year for the first 10 years and increasing the amount put into the account as the house ages. Any money that isn’t used in the early years can be applied to the more costly repair items that inflict a home in it’s later years.


TIP #4: CONSIDER THE CLIMATE THE HOUSE RESIDES IN

amount to save for home maintenance budget

Houses located in areas of the country that receive freezing temperatures, large amounts of snowfall, and ice storms are more susceptible to exterior damage.

Houses located in areas that receive heavy annual rainfall and humid summer months can be subject to termite damage, which can weaken the wooden structure.

If you live in one of these areas, it is a good idea to pad your savings a bit.


TIP #5: CONSIDER PRIOR  + FUTURE MAINTENANCE

maintenance and repair budgeting

Small problems will become larger ones if left unattended. It is important to keep on top of the small issues as soon as they are discovered.  If you aren’t the first owner of your house, you may have inherited unresolved issues that are beginning to turn into big problems. A house that has had poor past maintenance is going to require a heftier savings for repairs.

On the flip side, the previous owners may have done a great job keeping the house maintained. If this is the case, you will be able to primarily focus on future repairs.

Not all repair and maintenance items are surprises. Be sure to consider what ELECTIVE projects you plan to tackle in the future. Do you dream of a brand new kitchen or hardwood floors throughout? Go ahead and beef up your fund to reflect these improvements.


TIP #6: KEEP THE MONEY LIQUID

home maintenance budget tips

Once you determine the amount you will be saving for your home maintenance and repair, you need to decide where to put the funds.

The primary thought is that this money should be available, yet forgotten about. For example, keeping the funds in the standard checking account might not be the best idea. They will be more susceptible to being used for not house-related items.  Converting the cash into savings bonds is also not ideal, as they can be more difficult to access when the need arises.

A money market account may be able to get you a bit of interest over time, but also has the disadvantage of losing value if the money needs to be pulled out at a low point in the market.

The best approach is to set up a separate savings or checking account that can be linked to your primary checking. When maintenance costs are incurred, you can easily move funds from savings to checking in order to pay the bills.


Use these tips to determine how much money to save, then be diligent to do just that! Having a home maintenance + repair budget isn’t the most glamorous thing you can imagine doing with your money, but it will give your family a sense of peace knowing that if a problem arises it can be easily taken care of, without a financial burden.


PIN THESE IDEAS FOR LATER

home maintenance budgeting tips


RESTORING OLD WOOD DOORS

I have to say, I’m pretty proud of myself.  Just two weeks after my big post regarding all the projects I want to accomplish, I was able to check one of them off of the list, and start two more!

There are projects on the list that range from minor to major, and I had a bit of a tough time deciding which to tackle first. Ultimately, I chose to work on the doors for the girl’s future bedroom closet – a project that I felt pretty confident I couldn’t mess up, and that wouldn’t take too long.

These old five panel doors were found in a barn over 15 years ago, and stored in various garages and sheds ever since. They were looking pretty rough, grungy and with mismatched paint – but for the most part were still solid.


STEP 1: REMOVE PEELING PAINT

I had a hunch that the doors were covered with lead-based paint. To confirm, I purchased a 3M lead test kit from our home improvement center. Sure enough, the reddish color appeared, indicating that lead was present.


The presence of lead paint isn’t overly alarming. If the application is solid and it is left untouched, it can be harmless. However, lead poisoning can occur if flaking, peeling, or chipping paint is ingested, or through the inhalation of dust created during removal. Because of this, sanding with a power sander is not a safe removal technique.


Instead, I found an article by Family Handyman – which outlines the steps needed to properly remove lead paint. I’ll admit that it did feel a bit cumbersome, especially wearing a face mask on a 90 degree + humid afternoon, but it wasn’t overly difficult.

I started with wetting the surface down with water, and then used a scraping tool to remove the paint.


I made sure to wear my face mask and rubber gloves the entire time, and disposed of the paint chips properly. I then cleaned it all really well and let it dry. Because of the intensity of the job, I only removed the paint areas that were flaking or damaged. If I had been able to sand, I may have gone all the way down to bare wood for a completely fresh start.


STEP 2: FILL/REPAIR CRACKS

In some ways, because it was covered only partially in paint, the doors looked more rough after the first step was complete. There was a bit of repair that needed to be completed though, before the new paint could be applied.

A panel on one of the doors was broken. There wasn’t a hole, but more like a pushed-in crack. Craig and I tried to position the wood back into place, but it wasn’t possible – likely because the area had warped through the years. Instead, I attempted to fill the crack with a product called Plastic Wood.


I applied the filler to the cracked panel, allowing it to dry and sanding between applications. I also filled in the areas on the side of the doors that were cut out for the hinges. The hinges were removed earlier in the prep process, because the doors will be hung with barn hardware.

The product did an amazing job of covering up the blemishes. I was super impressed! After another round of cleaning the doors, It was finally time to paint!


STEP 3: PAINT THE DOORS

It’s no secret that I love the clean look of white paint. If you have seen the 3-D renderings I have done for the cottage, you know that we will be using quite a bit of it in our home decor. I have known all along that I want to have white trim, cabinets, and doors. I’m not sure if you’ve researched white paint at all – but, there are about a million shades to choose from. It’s a tad overwhelming!


I caught a lucky break though, when I received the kitchen cabinet samples from Cliq Studios. Their ‘Cloud White’ finish is, to me, the perfect shade of white! Not too creamy or glaring, no grey or yellow tint. Just right. And since it is looking pretty positive that we will use their company for our cabinetry, I figured it would be nice to have doors that coordinated.

Turns out, Dutch Boy ‘Ultra White’ is a nearly identical match! I bought the DuraClean paint + primer in a satin finish. It went on really smooth!


I chose to use a foam roller to apply the paint.  I like using small rollers because I can more easily get into the little corners, using the end of the roller. I also feels like I am able to cover more evenly with a roller. You can see from this side by side picture the difference that even one coat of paint makes. It’s pretty incredible.


After three coats on each side, the doors were officially finished! I am so happy with how they turned out! Once we move into the new house, we will have the doors installed on barn hardware and I will do any touch-ups that are required. I haven’t decided yet if we will keep the silver knobs or not. That’s something else that can wait a while.


As I mentioned at the beginning of this post, I have already started the next two projects from the list. One is sanding down all the wood boards that will go on the ceiling in the master bedroom, the other is sanding down one of the wood chairs in preparation for painting it black. So yes, a whole lot of sanding – which is something I actually love! Sanding gives me a lot of time to think and let my mind wander, to daydream about our future home.

If you’d like to follow along with these projects in real-time, I record short clips on Instagram stories and have them saved as ‘Projects’ under my profile. I hope you can check it out!


*This post contains affiliate links*

THE SUMMER PROJECT BUCKET LIST

With the building of Arrow Hill Cottage on hold at the moment until at least the Fall, and quite possibly until Spring of 2019, I am finding myself thinking about what CAN be done in the meantime.

I started this bucket list of projects that I hope to tackle in the next couple of months, during Summer break – when the weather is decent for outside work. The list is a doozy! There is so much that can be done. I think it’s time to get to work!


PAINT DINING CHAIRS

I purchased an amazing set of 8 chairs this past winter at an antique store in town. They had been lovingly stripped of years of paint and stained a beautiful color, and all pieces glued so that they are nice and sturdy. The antique shop owner confirmed what I was suspecting.. that chairs of this age (1940’s) are rarely found in such large sets anymore. Groups of 2 or 4 are much more common.

A couple of months later, I found just that – a set of 2 – painted brown. They were offered at a great deal and I decided to purchase them as well – to bring our collection up to 10 matching chairs. I love the spindle details and the curved backs.

My vision for the kitchen/dining space in the cottage includes these chairs painted black. Although I love the wood grain/stained chairs, I have a feeling that the wood floor, wood chairs, and wood table might be a bit much. I am going to do some testing with the two painted chairs – to determine if I like the look before I paint them all.


DETERMINE DESIGN FOR A HARVEST TABLE

Speaking of the kitchen/dining space. If you remember from THIS POST we have made the decision to not use an island in the space, and instead center the dining room table. This will not only save square footage in the overall floor plan, but it will also allow the dining table to be used both for meals and for food prep.

Because the table will be a central feature in the space, we want to make sure it is very well designed and functional. We have said all along that we would like the the large trees that need to be moved from our property to be milled into wood boards. We envision some of these boards being made into a large harvest table.

This table base that I saw at an antique store is sort of what I am thinking about.

We purchased a set of table legs when on our surprise anniversary trip to Kansas. I love that the sweet memories of that amazing mini-trip will live on in our house. They came to me looking just like this – wrapped in blue. I haven’t even taken the time to unwrap them yet! I suppose that could be considered Step #1.

I will need to take some time to measure, sketch and determine the design for the table itself, and also find someone locally who is able to mill tree trunks into boards.


METAL BED REFINISHING

When thinking about our girl’s shared bedroom, I have always had the vision of identical metal beds. Over the past couple of years I have casually scrolled through websites trying to find the perfect metal bed frames. Those that I found and liked were always just too expensive to pull the trigger on.

Then, just a couple of weeks ago, a friend of mine posted about how her family was clearing out their storage shed and unearthed a whole slew of metal beds that she wanted to find new homes for, free of charge. I asked if she had any that were the same shape and size, and lo and behold she did!

Authentic cast iron, matching farmhouse beds! I about squealed with excitement!  She and her husband were even nice enough to haul the two frames to our house so that I can begin work on them. After a good sanding and spray paint job, they should be good as new!


SINK REPAIR

I dedicated an entire post to the amazing cast iron apron sink that we inherited from Craig’s grandparents. At the moment it is sitting in a storage shed on Craig’s parents property. There are a couple of chips and scratches that will need to be fixed in order to get it ready for install. It’s too delicate of a job for us to take on personally; But I am adding it to my list to find someone locally who can!


FRIDGE CLEANUP

We also have an old fridge that we would like to have cleaned up a bit so that it can be used in the basement family room as the ‘snack fridge’. The fridge is unique in that it is a General MOTORS brand. Yes, before GM locked up a niche in the car industry, they had a focus on appliances. We scored this gem at a yard sale 10 years ago at a home in the historic neighborhood we used to live in. Because we had no truck, we carted it home on a two wheel dolly. Fun times, fun times.

We are excited to see it restored to it’s former glory. It’s possible that the same person who restores the sink could take on this project as well.


SAND + PREP BARNWOOD

As part of our master bedroom design, I included a tray ceiling that will feature some old barn wood that was removed from a shed on Craig’s parents property. It is really beautiful wood – that is currently stacked up in our garage, covered in years of dust and dried up mud.

Not only do I want to get it cleaned up – I want to make sure that there is even enough here to get the job done! I am kind of thinking it would be good to get some 5/8″ plywood and cut the sheets into the size of the tray – which is 7’4 x 9’6 – then clean the barn wood and attach it… so that when the time comes to actually install on site, it will be as simple as screwing up a few sheets of plywood. Could save our builder some time I think!


CHAIR REFRESH

Another master bedroom project involves this sweet chair that I bought second-hand, about 5 years ago. I absolutely love the shape of it, and think it will make a wonderful accent piece for the room.

Problem is, it’s run down. Though it is a solid piece, the fabric on the cushion is beginning to fray and the wood portions are stained an odd color. It needs a refresh, and I think the summer will be a perfect time to do that.


TUFTED HEADBOARD

Rounding out the future master bedroom is one of the projects I am most excited for – the tufted headboard!

The headboard we currently use for our bed is the very first piece of ‘furniture’ Craig and I ever bought together. We scored it from the bargain bin at the very back of the furniture store. I have an idea to use this dated headboard as the framework for the new version – and add a little height with 1×4’s. I’ve never tufted anything before, but I’m a big fan of the look and the tutorials I’ve seen online make me feel like it isn’t super complicated.


DOORS FOR GIRLS BEDROOM

Way back, a long long time ago, at the very first house we bought together – Craig and I had a backyard ‘mini barn/shed’ that was filled to the brim with corn cobs, electrical components, and a few treasures. Hidden within was a set of cute wooden doors.

Though I haven’t finished designing the girl’s shared bedroom yet, I have been working on it; And have found the perfect spot for the doors as access to their closet! One of the doors has a bit of wood patching that needs to be done, but for the most part this should be a semi-simple sand and re-paint job. Famous last words, I know.


DOUBLE CHAIRS RE-UPHOLSTERED

Another of my discount finds were these two overstuffed arm chairs with matching ottomans. I got all 4 pieces for $125 – which is an absolute steal! They are super comfy and sturdy, but ugly as can be. I’ve got to figure out if this is a reupholstering project that I am willing to tackle on my own, or if I need to hire the professionals. Either way, I don’t want these pieces to make their way into Arrow Hill Cottage in their current state.


PAINT THE PIANO

Our piano will reside in the entry space of the new house – and I want it to really make a statement. It’s kind of a dull/aged brownish color right now and I think that a fresh coat of paint will make a world of difference. I’ve never painted a piano before though, and I will admit it does make me slightly nervous. The good news is that it isn’t a super fancy baby grand or anything – and we got it for about $100 – so if it does happen to get ‘ruined’ we won’t be out much dough.


CABINET REPAIR

Last on the list, but not least – is this set of semi-matching little cabinets. The antique dealer who sold them to me said they came out of a historic home in which they were installed as built ins. They are each about 5 feet tall, 2 feet wide and 1 foot deep.

One of them has a glass front, and shelving. I think it would look cute as a small linen cabinet in the upstairs hallway

The other is in a bit more rough shape, but has some really neat features. I believe it will make a perfect mail sorting station in the mudroom, and also serve as a spot where we can charge all of our devices. I imagine it as the Family Command Center for the cottage.

Both cabinets will need some work done on the side faces, where they were previously built into the wall. I might also do a sand and re-stain, although I do adore the patina – especially on the glass front cabinet.


Whew! That is quite the list! And since it’s already mid-July, I had better get in gear if I want to accomplish all (or most) of these items before school starts! What do you think I should tackle first? Leave a comment below!

As I work on these projects, I plan to share them on Instagram Stories. If you aren’t following me over there – here’s the LINK! Have a wonderful weekend!

10 THINGS TO CONSIDER WHEN HIRING A CONTRACTOR

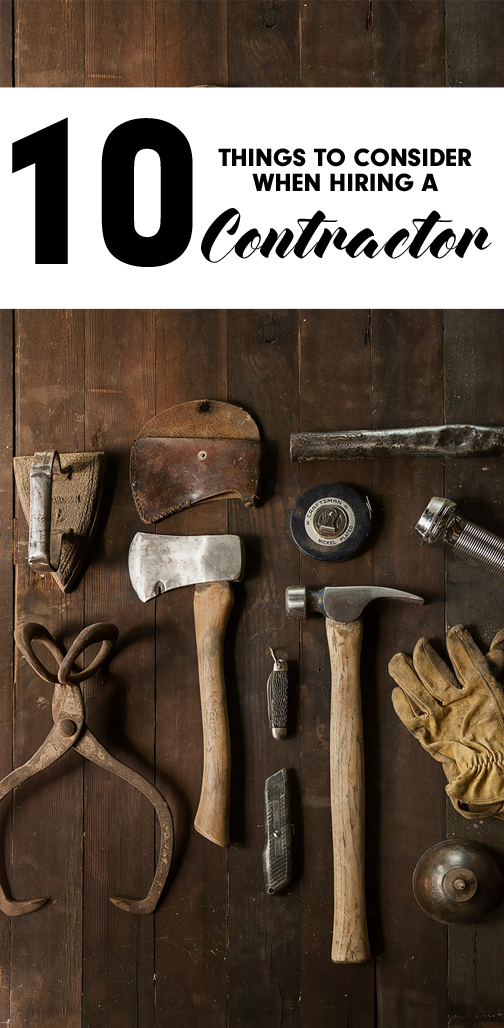
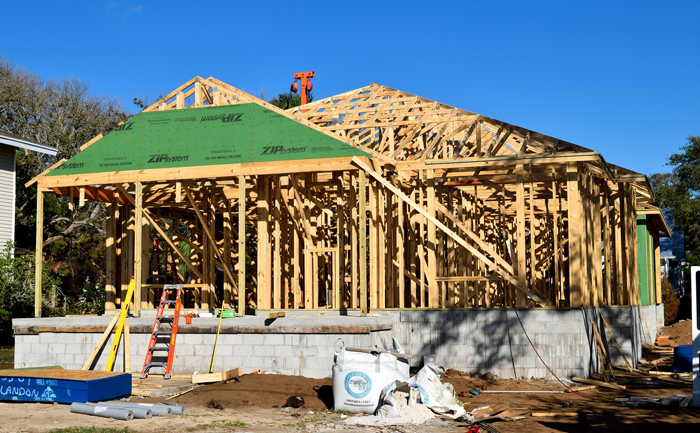
Nobody loves your house like you do. Nobody. Even if that house is still lines on a page – it will never bear the same emotional connection to anyone other than you and those who will reside under it’s roof.

Whether you are looking for someone to build your dream house or need an extra hand with a tricky remodel project, there are 10 things you need to know before hiring someone to work on your house.


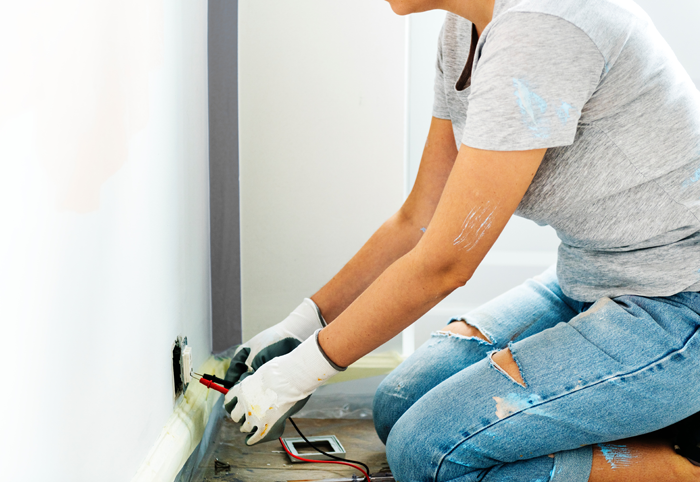
1. IT’S OKAY TO ASK FOR HELP

It might be tough for you to hand over the reigns. Maybe you have tackled a variety of projects in the past all on your own and have come out successful. You have pride in your work, no doubt. But it is also okay to realize that maybe you can’t do everything on your own.

Whether it is a time constraint issue or just the fact that you do not have the skills to complete the task at hand, don’t feel ashamed. There are people who are specialized in this work, who are just waiting for your phone call.


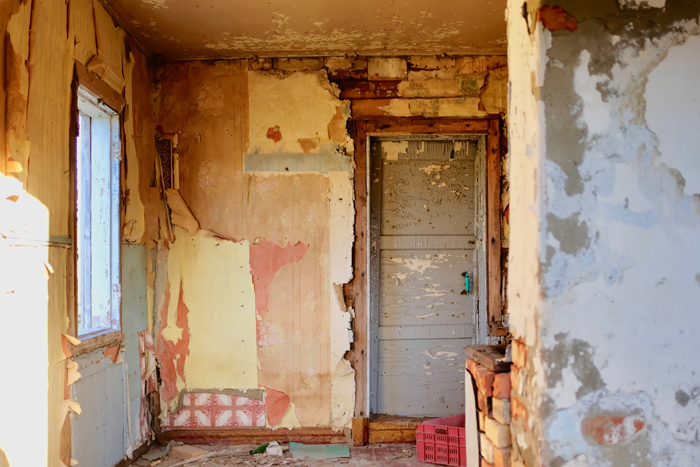
2. DETERMINE IF YOU NEED A CONTRACTOR


Do you need a full blown general contractor, or someone who specializes in one specific area. Are you looking for a ‘jack of all trades’ handyman or a license professional? The size of the project will likely be a deciding factor in this decision.

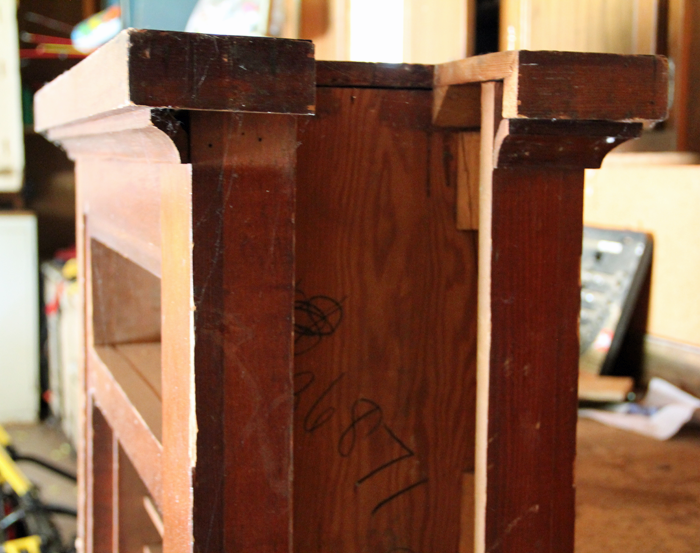
If a small area of your existing home needs new flooring, for example, hiring a handyman may be perfectly fine. The large and complicated projects – and whole house builds – should be left to the seasoned contractors.


3. ASK TRUSTED FRIENDS FOR RECOMMENDATIONS


Who better to get referrals from than the people you know and trust? This is simple, and free word of mouth marketing. It is why contractors are looking to do their best work. They know that their reputation will precede them.

You may also get good results from others living in your same community – by posting on an online message board. You might be surprised to learn that the neighbor next door had the same type of work done on their home recently. If you approach the subject carefully, you may be able to find out what they paid their contractor for their similar project, something that may come in handy when considering the bids you are given.

4. PREPARE A LIST OF QUESTIONS

Call a minimum of two different contractors. Ask them the same questions, and write down their responses. Their answers may give you peace or give you pause. Some of the more common questions to ask include:

How long have you been in business? Obviously, a contractor who has been in the business locally for many years will have the experience and references to back up their work. That doesn’t mean you need to count out the new guy though. They may be hungry to build their business and put forth their best effort.

How many projects like mine have you completed in the last year? It won’t hurt to also ask to see examples of their work.

Do you have a license? The requirement varies from state to state, and also between trades. Check this site for details on state specific licensing requirements.

Can I see your certificate of insurance? Contractors should have both liability insurance and workers’ compensation for the specific job they are doing. Seeing the physical certificates is important.

Who are your main suppliers? Contractors will generally work with supply companies time and time again. Consider them additional references. Go ahead and call the suppliers (tile stores, lumberyards, home improvement stores) and find out if the contractor does reliable work or if they have left a path of unhappy customers. If a contractor is unwilling to offer suppliers names, you can consider he or she has something to hide.

What is the size of your crew? How many people will be working on my project? It is unlikely that the contractor themselves will be doing much, if any of the work on your project. They generally will have a crew, whether that is 2 or 20+ employees. Ask to meet with the foreman who would potentially be heading your project – preferably visiting with him or her on a current job site. You will be working closely with this person, and it is important to determine early in the game if your personalities mesh. Visiting on the job will provide an added bonus of allowing you to witness if their work is running smoothly.

Do you bid estimates or offer fixed prices? If possible, ask the contractor to provide you with a breakdown of how much each portion of the project will cost, including the breakdown of how much will be applied toward materials and labor expenses.

Will you be pulling the permits and scheduling inspections? The answer to this question should be yes. Not only should the contractor be aware of which pieces of the project will require permits and inspections and how to get them, he should also be willing to do the leg work.

What is your timeline for completing my project? Determine when they would be able to start the job. If they are booked up and you have a project that is time sensitive, you may need to move on. Ask the contractor to estimate how long the job may take, and also what factors may delay progress (weather? other jobs they are working on, etc).

What is your typical working day schedule? Determining the core hours your contractor and his crew plan to operate will help you know what to expect. Do they start early in the morning? When are the tools packed up for the night? Also ask what type of noise level can be expected and if they want you to be present at any point during the day.

How will you care for my home during your time there? Find out what the protocol is for storing supplies and tools for projects that span multiple days and learn if you can expect a daily site clean-up. Also be sure to ask what measures will be taken to protect the portion of your home that is not included in the project (if a remodel). For example – will they be sealing off the work zone?

The communication between contractor and homeowner is an important one – and it shouldn’t be a one sided conversation. Before the project is handed to them a good contractor should have some questions for you as well!


5. DETERMINE A PAYMENT PLAN

The Better Business Bureau advises against paying in full upfront for a job that has yet to be completed – but you may have to make an early payment for supplies. From there you will need to discuss how much will need to be paid at what point during the project. Your chosen contractor should be able to give you a reasonable payment schedule.


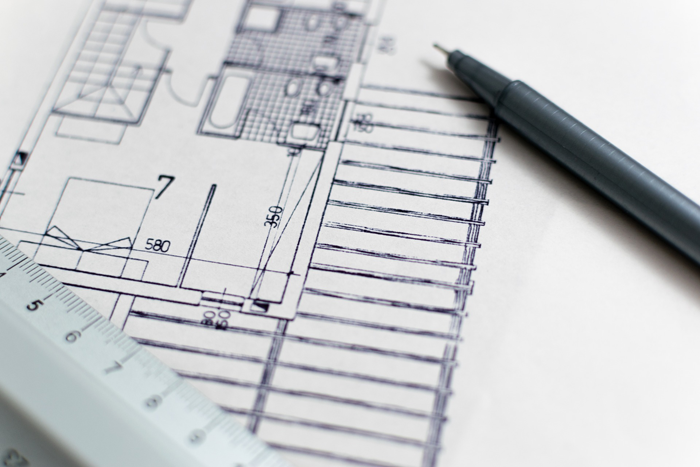
6. OBTAIN A WRITTEN CONTRACT

Make sure that all the bases are covered and written down. Even if your state does not require a written contract, ask for one. Before signing, make sure it includes all of the following information:

The contractor’s name, address, phone and license number (if required)

Details on the estimated start and completion date

Payment schedule

The contractor’s agreement to obtain necessary permits

Information about how change orders will be handled

A list of materials that will be used – the more detailed the better. Determine who is responsible for choosing the products that will be purchased at a later date, and who is responsible for paying for them (If it is in the budget, know what ‘allowance’ will be given to each item)

A list of what the contractor is or is not responsible for


7. KEEP RECORDS OF COMMUNICATION

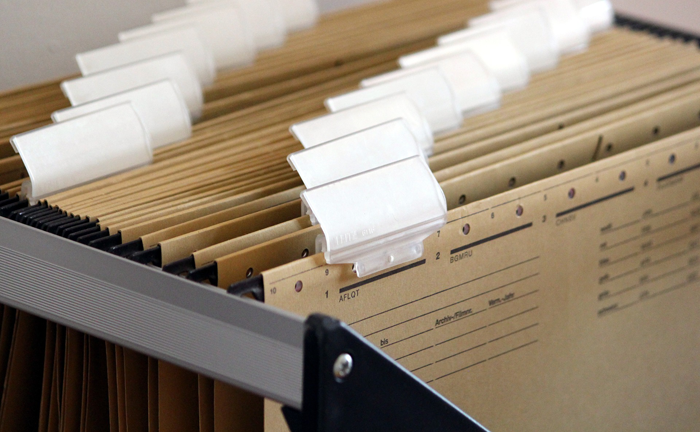
Change orders are quite common during construction. They can be as small as moving the location of a light switch or as large as eliminating an entire portion of the project. Whenever a homeowner and contractor or builder agree on a change, it needs to be documented. Keep notes of these changes in a file, including the date they were made, who discussed the changes with you, and if the monetary impact was discussed.


8. BE PRESENT

Very rare is the situation where the homeowner shakes hands with their contractor and walks away until the construction is finished. It is understandable that you will want to know what is going on with the project, but it is important to note that a construction zone is a dangerous place to be.

You should discuss with your contractor early in the process how often you plan to drop in to check on things. It is always best that when walking on the construction site you do so with the job foreman – who can give you a tour of what has been completed and point out what is to come. For job site safety tips, check out this post from Construction Dive – which highlights 5 ways to keep the homeowner safe when they visit the job site.


9. FINISH THE JOB WITH A CHECKLIST

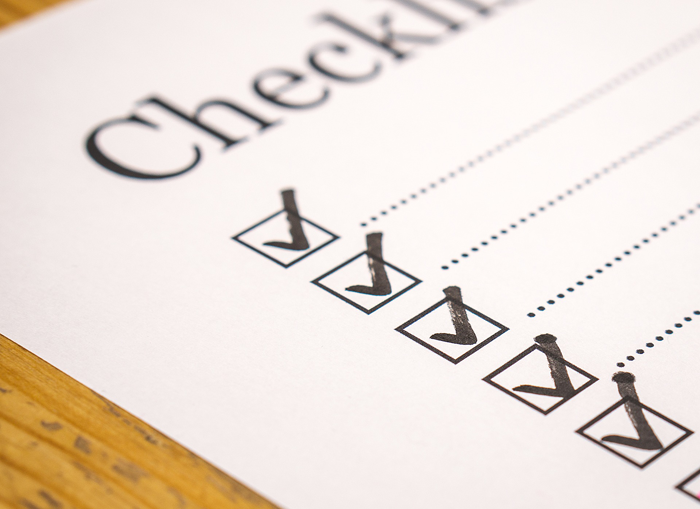
Before that final payment is made, check to make sure these things have been done and/or collected:

The work has been completed to the specifications outlined in the contract. As the homeowner, you should inspect the final product to be sure it meets your satisfaction.

Written warranties on products and services, including who will honor them and the expiration date of each

Written proof that all subcontractors and suppliers have been paid in full

The job site has been cleaned of debris and extra construction material


10. BEWARE OF SCAMS

If you have done your research and walked through steps one through nine, chances are number 10 won’t be a problem; But be aware that there are contractor scams out there. You should be wary of any contractor who:

Knocks on your door asking for work and offering you money for the referrals you make

Pressures you to make a decision more quickly than you are ready

Only accepts cash or asks you to pay upfront for the job

Asks you to obtain the building permits

Offers a ‘lifetime warranty’ or long term guarantee

Doesn’t list a telephone number in the local business directory


I hope that this list of 10 things to consider when hiring a contractor is helpful as you prepare for your next house project.


ON THE ROCKS

At the start of this summer season, we busted out the grill.  A hand-me-down 1970’s Weber charcoal unit that has seen it’s fair share of misery through the years.  Dents and rust prove that it has been well loved, and we decided that it was finally time to let the old guy retire.  As a Father’s Day gift, Craig chose a brand new dual burner unit with a unique feature – it can cook with gas OR charcoal!  Charcoal for the days when taste is a high priority and gas for convenience.  It is the best of both worlds, but it did present us with some challenges because of it’s size. It is at least 3 times larger than the Weber and does not hide discretely near the side of the garage when not in use.

Craig has been such a good sport for the past 15 + years we have been together.  Most of the time he will entertain my crazy ideas and is usually the one handling the bulk of the labor to bring them to life.  Begrudgingly at times, perhaps… but he gets the job done.  Every once in a while I try to contribute my own sweat equity and tackle a project without enlisting his help – to give the poor man a rest!  And so, with the goal of giving the grill a home and Craig a space to enjoy some solitude while he uses it, I set to work on a long forgotten corner of the yard.

Many of you know that we sold our American Foursquare home in the historic district of our city and moved out to ‘the farm’ in 2015. We are currently renting the homestead of Craig’s grandparents.  The lived here for well over 50 years before moving to an apartment when they were in their late 80’s.  Needless to say, in those last few years they lived at the farm, they did not have the energy to keep up the yard work and other home repair projects.  This little patch was no exception.  While it used to be the backdrop of nice landscaping, it had been overtaken by weeds. The landscape rocks? They were pretty well buried under the weeds and years of sediment.  Exhibit A: The Before

Ugh, well that was embarrassing to share!  See that broken window?  Yeah, not safe, especially when you have kids who like to roam around barefoot during the summer months!

The idea was simple.  Get rid of the weeds, free all of the landscape rocks from their dirt prison, and clean up the area. Before I go any further let me just say that if any of you reading this believe that sounds like fun, you might want to have your friends and family hold an intervention.  It wasn’t fun.at.all.  Part way through the project Craig looked at me and said something along the lines of ‘Why do you keep doing this to yourself?’ – I could only muster up a small sigh and a shrug of my shoulders. What could I say? I’m a glutton for punishment apparently.  As time went on and the rocks seemed to be multiplying, I came up with some creative ways to sort them faster.  There was the ‘rake sifter’ method, the ‘scoop and sort’, and my all time favorite (and fastest) the ‘rock and roll’ – where I essentially kept rolling the rocks down the sidewalk until the bits of dirt and debris fell off and only the rocks remained.  True insanity.  Every once in a while the kids would stop by to make sure their mom hadn’t completely lost her mind. They would pluck a few rocks into the buckets before boring of the tedious task and finding something fun to do.

Kids are fast learners.

So there you have it:  I sorted and moved around thousands and thousands of rocks.  Now I’m done, and Craig has a place to grill.  If that doesn’t prove my unending love for him, I’m pretty sure nothing will. Please be impressed with Exhibit B: The After