In this post, I describe the steps we took during our antique cabinet restoration – taking a beat up old cabinet and making it look new again!
Last winter, I happened to be driving through a nearby town and noticed an antique store I had never been in. I decided to stop and have a look around.
It was packed with all sorts of treasures, which made it a bit hard to see individual items. I get a little claustrophobic when I am surrounded by things. And so, if i’m honest being honest, I was walking through the shop quickly. Just as I was getting ready to head out, I spotted a pair of antique cabinets in the corner.
They were so wedged in that it was hard for me to determine their condition. I asked the store owner to pull them out a bit so that I could take a look. She did the best she could. However, it was impossible to see all sides of the cabinets without rearranging a ton of items.
She told me about the cabinets history, mentioning they had been salvaged from an old house during a recent remodel. The notches on their sides indicate where they had been built into walls. She also informed me that she would only sell the cabinets as a pair. And that the one in back wasn’t in great shape.
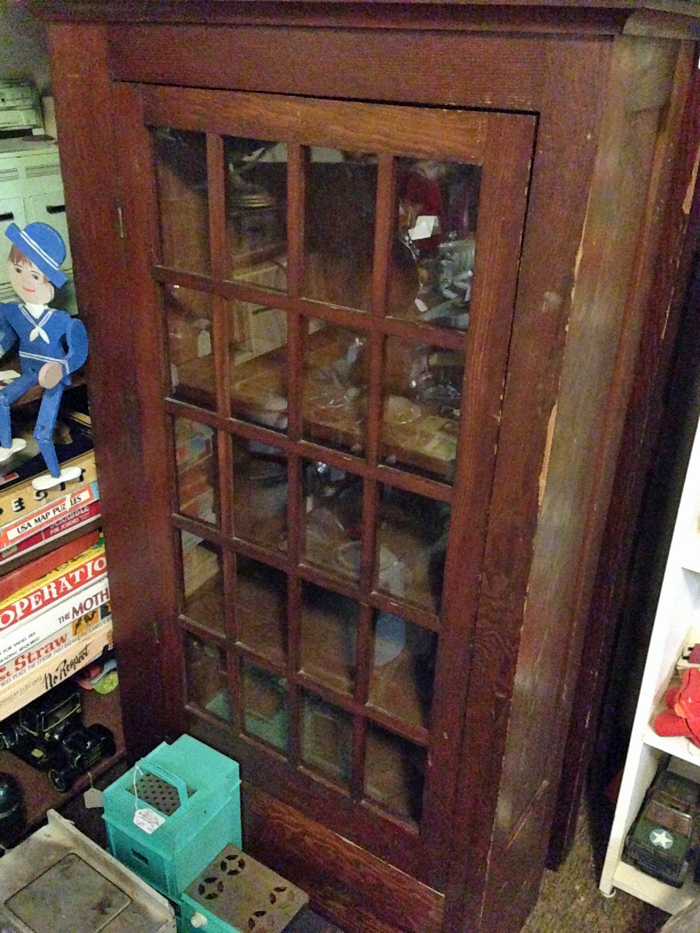
THE CABINETS
Undeterred, I texted Craig this photo and asked for his consent to purchase. This is the cabinet that was more visible. I loved the glass door, and the size of the cabinet seemed to be good for a variety of purposes
Though he was skeptical on what we would do with them, he has known me long enough to realize that once I fall for an item, it is pretty hard to shake it from my mind. He agreed that the cabinets could become ours. A couple of weeks later, he went to retrieve them.
Upon arriving home, Craig announced that the second cabinet was basically falling apart, and that it probably wasn’t worth salvaging.
The ‘nice’ cabinet was given a spot in our rental home. The ‘ugly duckling’ cabinet was left in the garage.
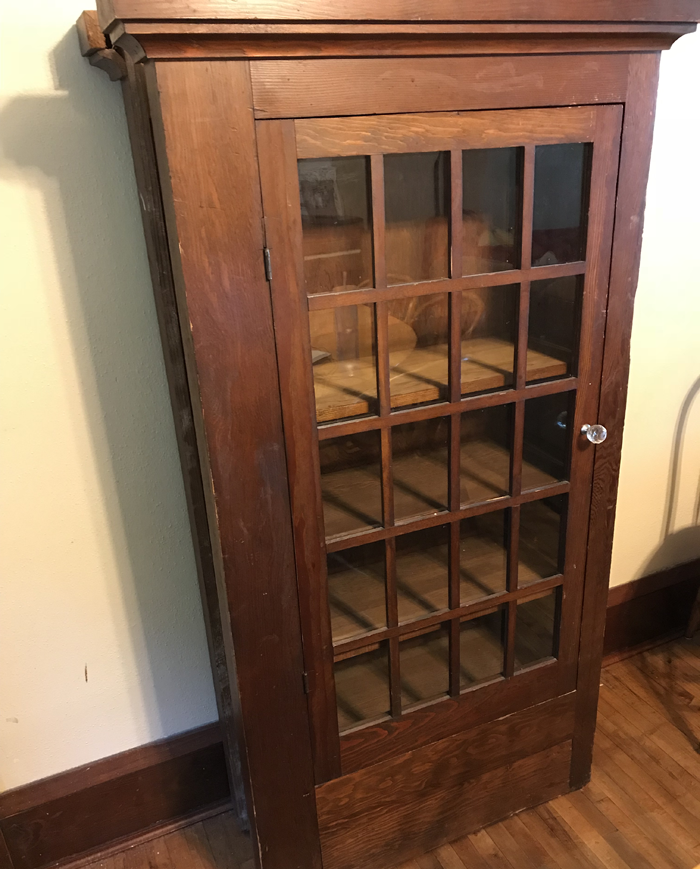
the nicer cabinet, in our dining room
THOUGHTS OF RESTORATION
Sitting in the garage, the cabinet was something we saw every day. Perhaps Craig became annoyed seeing an unfinished project, or perhaps he began to see it’s merit. Either way, he eventually decided to take it on as his personal restoration project.
I was all for it! If he was going to do the work, I certainly wasn’t going to get in his way!

Unfortunately, I didn’t take many good pictures before he started the antique cabinet restoration. I can tell you though, it was in really rough shape. The door was barely hanging on by it’s hinges, the glass was broken, and some of the wooden grilles were missing. There was a large crack on the top, and a broken piece on the side.
ANTIQUE CABINET RESTORATION
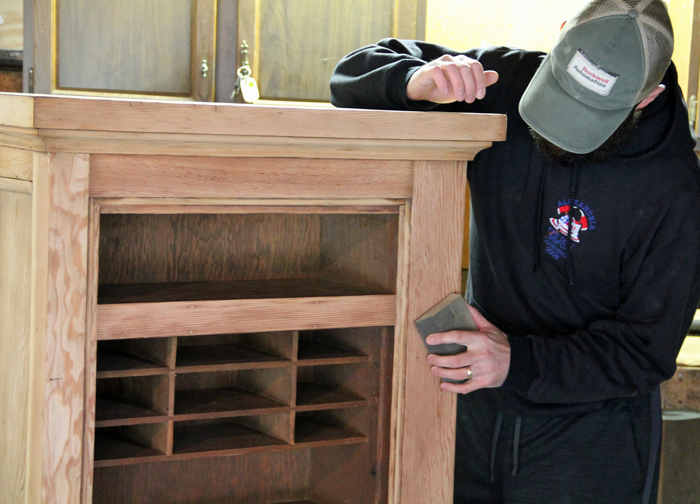
Craig spent many long hours in the garage sanding, gluing, and sanding some more.

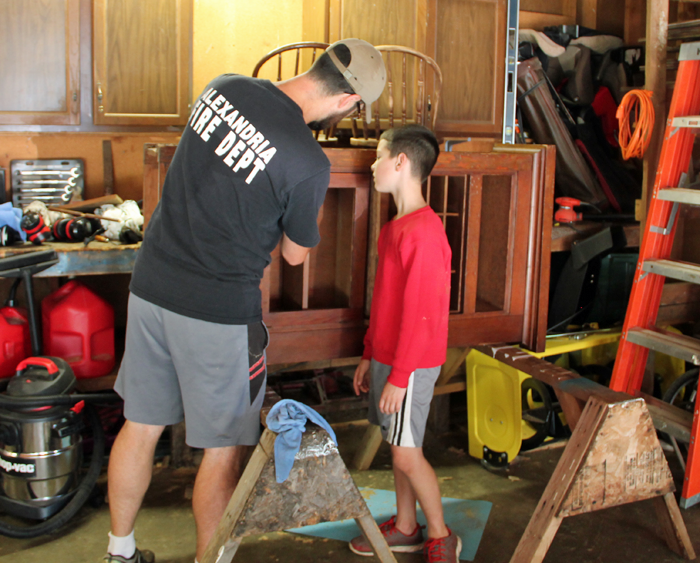
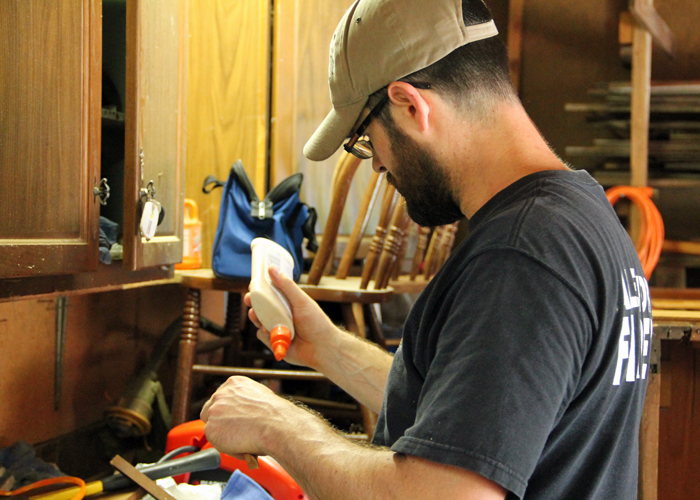
There sure was a lot of sanding and gluing to be done! He mostly used an orbital sander with varying grits of paper. For the finest details, he used a sanding block.
Craig took pieces of the cabinet apart…
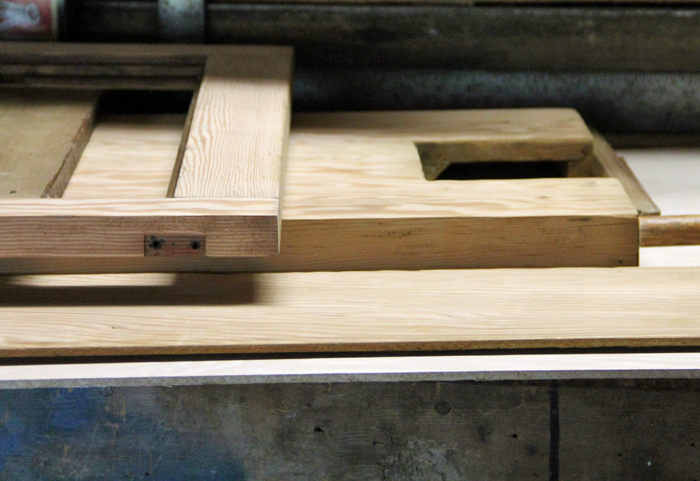
… then put them back together
REFINISHING THE ANTIQUE CABINET
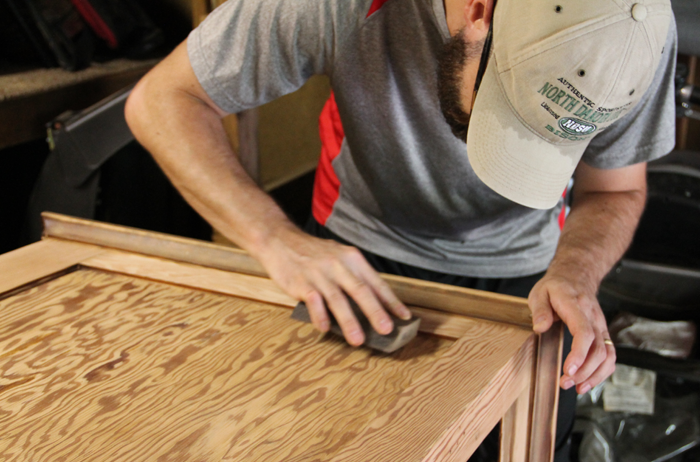
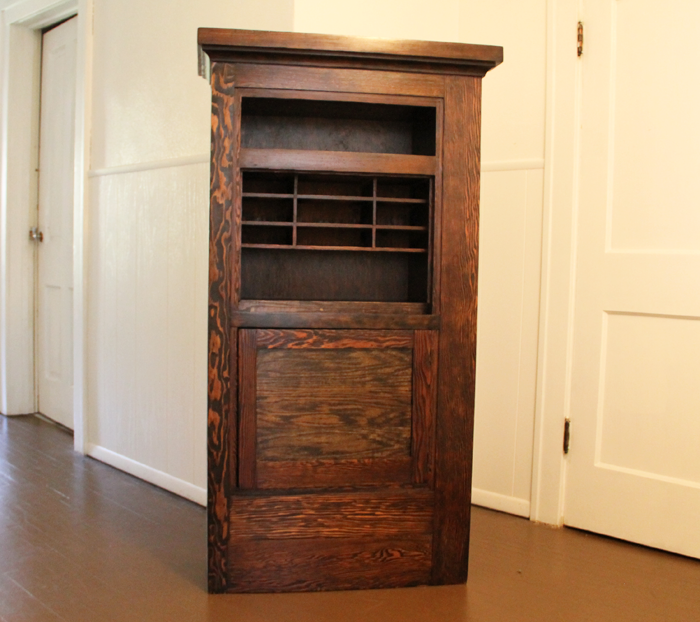
After literal months of very hard work, the cabinet was once again standing tall and ready for it’s finishing. Once the sanding was complete, it was much easier to see all of the beautiful wood grain details.
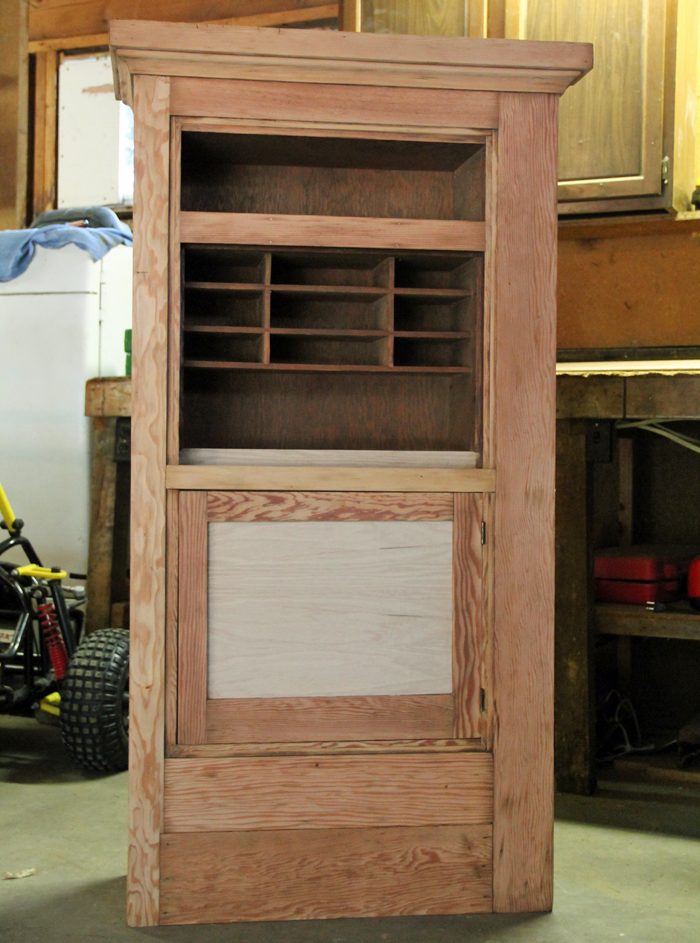
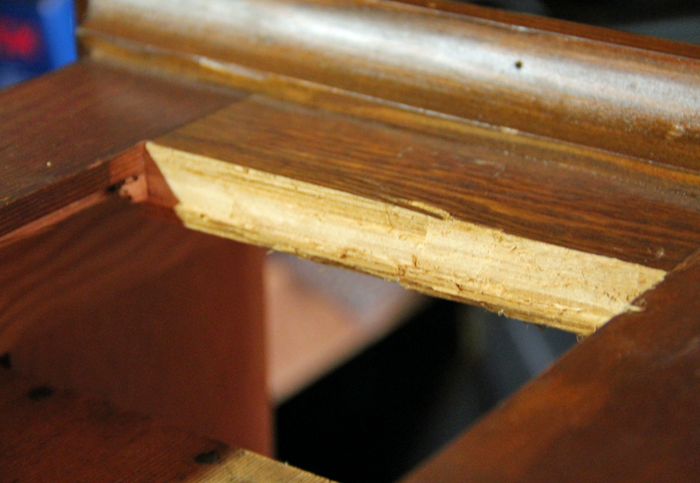
The lighter wood pieces are replacements. Although they are the same wood species, they are not aged in the way that the rest of the cabinet pieces are.
CHOOSING THE STAIN COLOR
It was a difficult decision on what type and color of stain to use. The cabinet is made of 100% red oak – but some of it has a tighter grain, while other parts a more loose and wavy grain.
We had some samples made up at a local Sherwin Williams, then brought them back to the house to look at for a while.

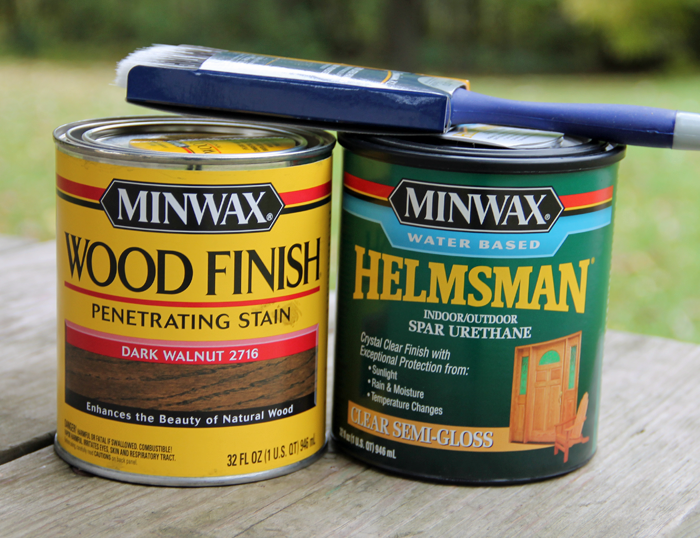
Ultimately, we agreed upon a Minwax stain called ‘Dark Walnut’. We felt that it gave us a nice deep color, which would help to neutralize the grain a bit. The Sherwin Williams associate suggested a Minwax water based urethane in a semi-gloss finish. Popular Woodworking has a great post about how to properly apply stain.
The cabinet absolutely soaked up the stain. The wood looked amazing, but wasn’t quite as dark as I had wanted after the first coating.
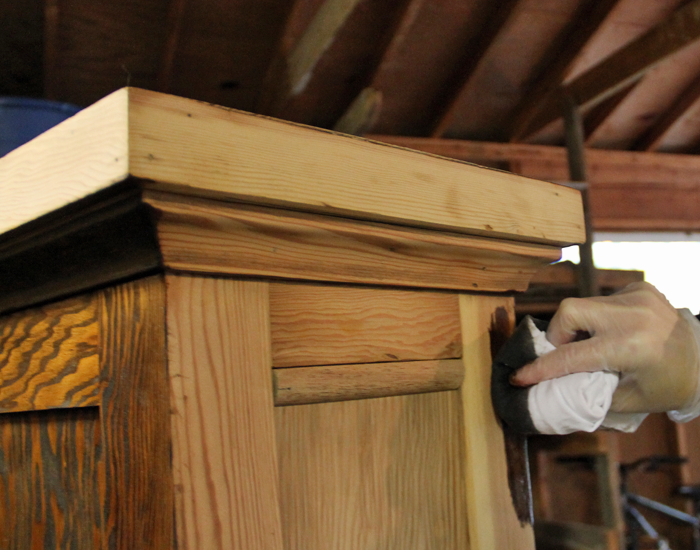
Cabinet after one coat of stain (sitting in the garage)
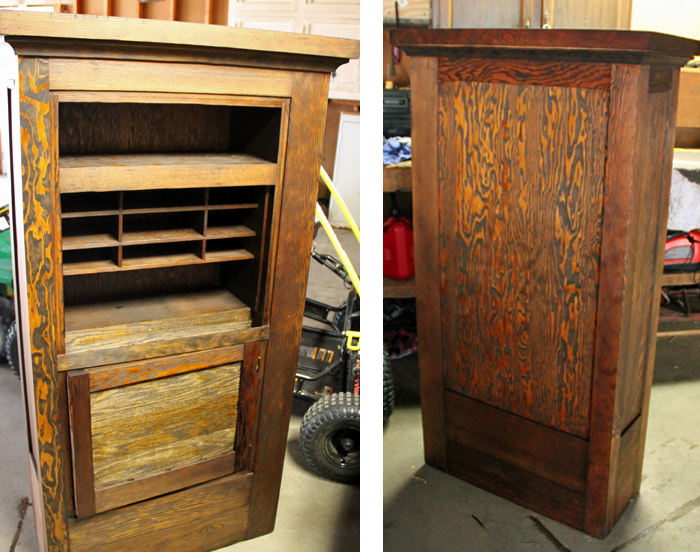
As you can see in the photos above, the newer wood pieces were still pretty obvious after the first coat. We waited a couple of days, and then applied another stain coating. This time we had success with the color. We brought it indoors to dry for another two days, and then added two coats of the clear semi-gloss finish. The spar urethane really made the cabinet shine, and darkened the color a bit more.

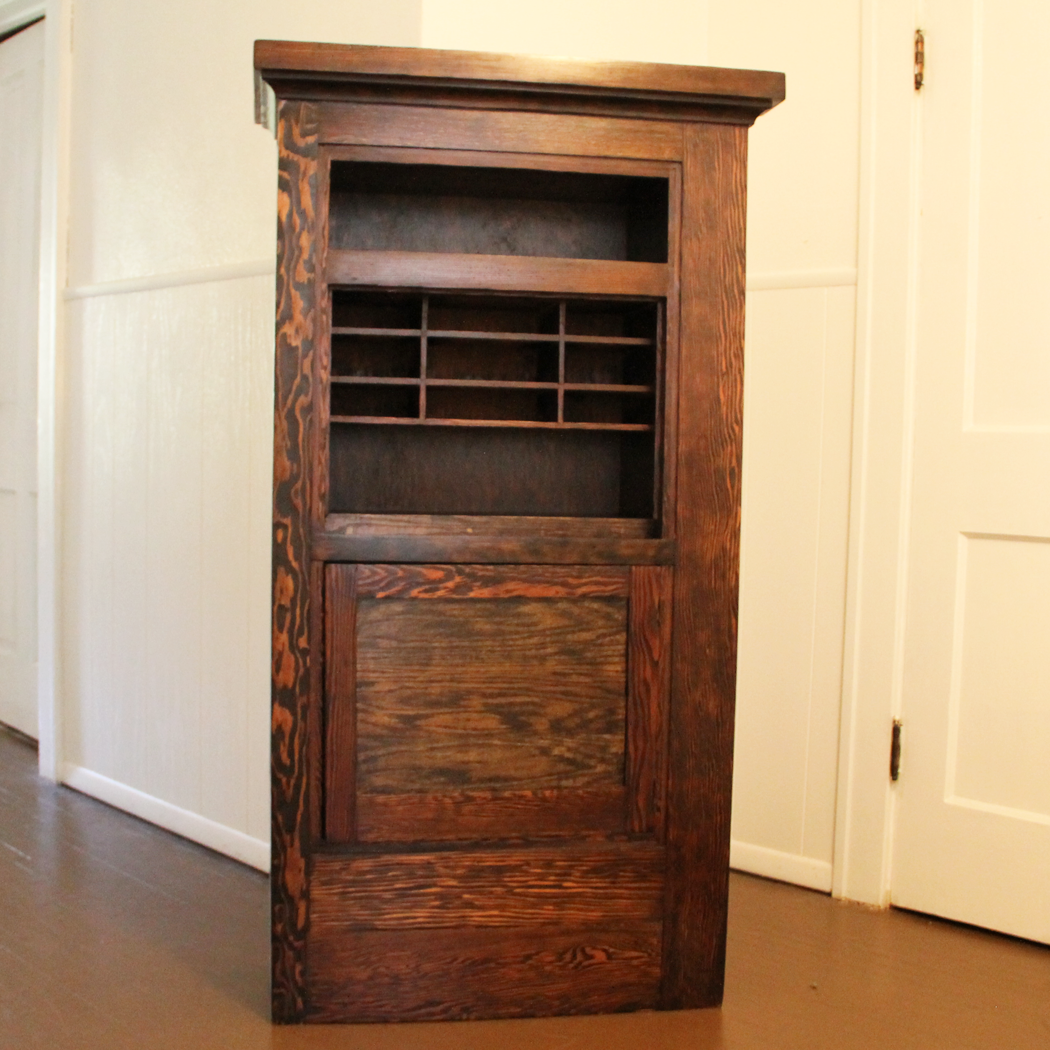
Finished cabinet with lower door open
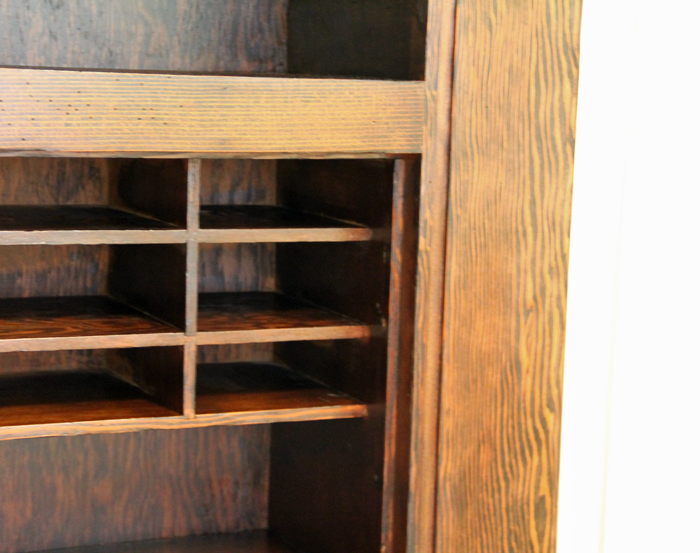
Detail of cubbies. Might be perfect for sorting mail!

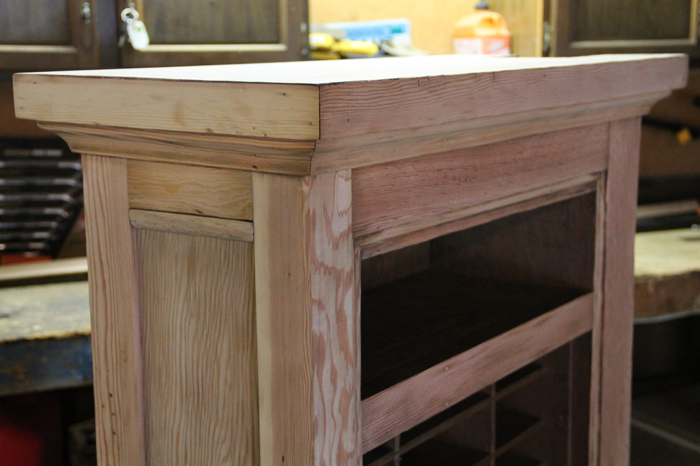
Detail of the molding and repaired cabinet top
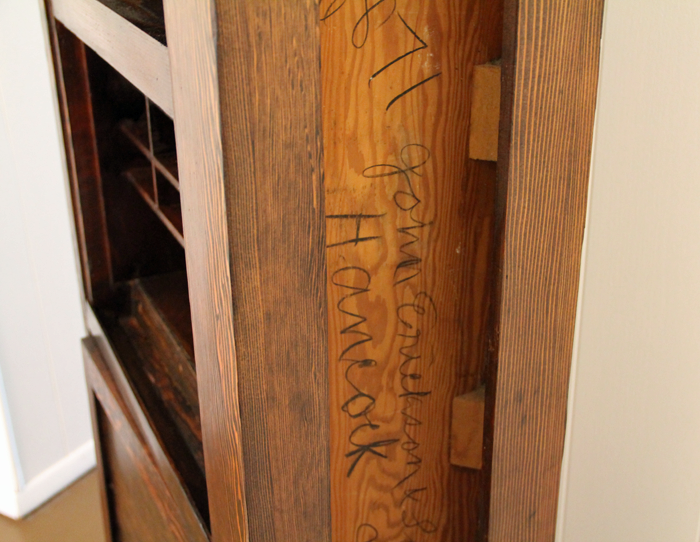
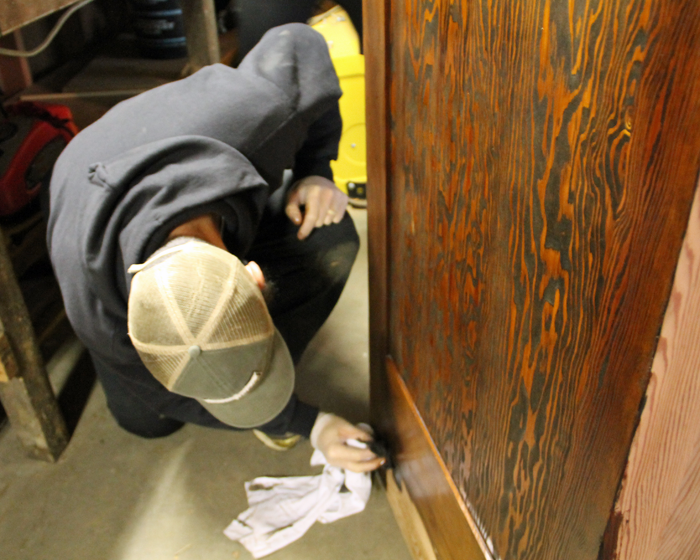
The original writing on the side of the cabinet – which indicates the part number, and the early 1900’s homeowner.
FUTURE FOR THE ANTIQUE CABINETS
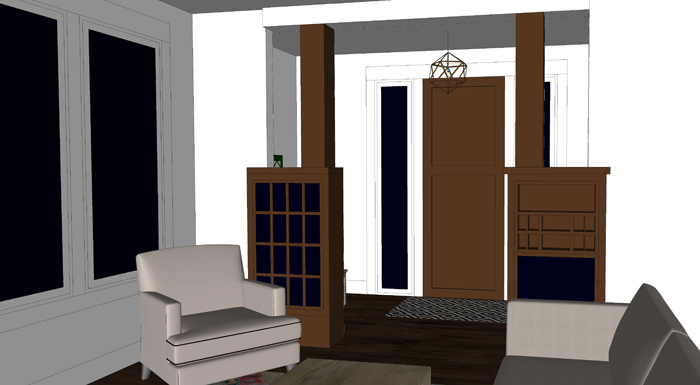
Now that the antique cabinet restoration is complete, we are dreaming about it’s future. We love that this historic piece will be given a prominent spot in Arrow Hill Cottage – to define our entryway from the living room! You can read more about our first floor layout in THIS POST.
We are also very excited to see how the ‘nicer’ cabinet turns out. And to see BOTH of the cabinets, together once again in the new house, will be such a thrill!
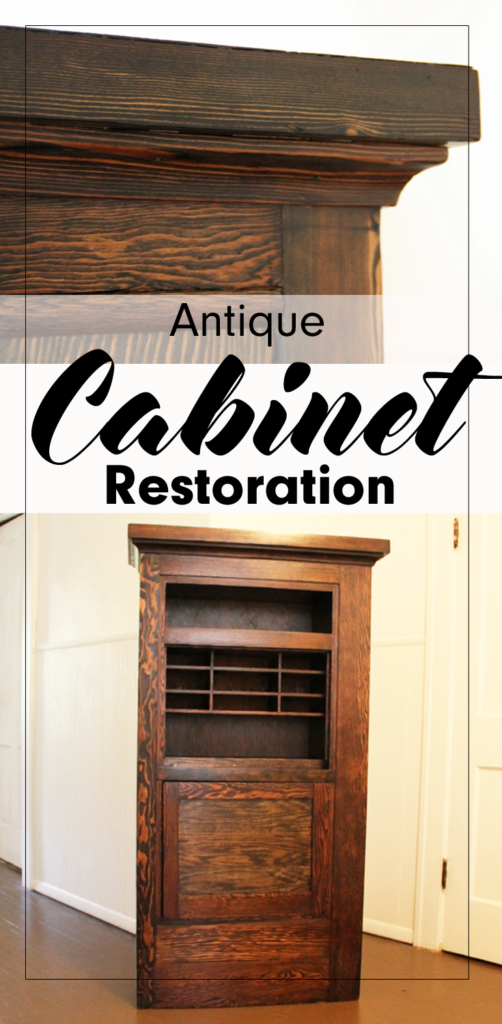
PIN THIS ANTIQUE CABINET RESTORATION
If you enjoyed seeing this old cabinet become new again, be sure to follow this blog to see the other restored!
Beautiful cabinet! It’s hard to believe it’s the same cabinet you brought home.
Thank you! I laugh every time I think about my husbands reaction when they first came home with it. He was ready to throw it in the trash!
You did a great job, I love the colour
Thank you! We love the color too! For some reason we were drawn to the darker shades for these cabinets!
A Big project , turned out better than I would have expected ! Looks GREAT?We now know who to go to for restoration projects ?