Shared Girls Room | Bedroom Tour

Today I am excited to give you a tour of the shared girls room at the cottage. Though far from fully decorated, we have done quite a bit in the space already and would love to show you around!

cottage bedroom | shared girls room

Our newly built cottage has a total of three bedrooms (technically four if you count the basement bonus space). The master suite is on the main level, and there are two additional bedroom upstairs. One for the boys and one for the girls. Our entire family appreciates the simplicity of this arrangement. Truthfully, our kids do not mind one bit that they share with their siblings. In fact, they prefer it!


Shared Girls Room | Basics

We covered the entire upper level ceiling of the cottage with pine tongue and groove boards, which were then painted white. My husband recently created a video which documents the long process of installing them.

As a result of our hard work, we are extremely happy with how the ceilings look. Because they are vaulted, the natural daylight that comes in through the single window bounces around and really brightens up the entire room.

shared girls room with sloped ceiling

Oak flooring creates a beautiful, neutral backdrop for furnishings and decor. In addition, the all white walls and trim have the same effect.

white walls and trim in shared girls room

When I designed the girls room, I was careful to create a space that would serve the girls for years to come.  For example, although the girls currently enjoy having their beds close together at night, they might not always prefer this set up. The dimensions of the room were worked out so that each girl could eventually claim their own ‘half’. There are two closets in the room as well.
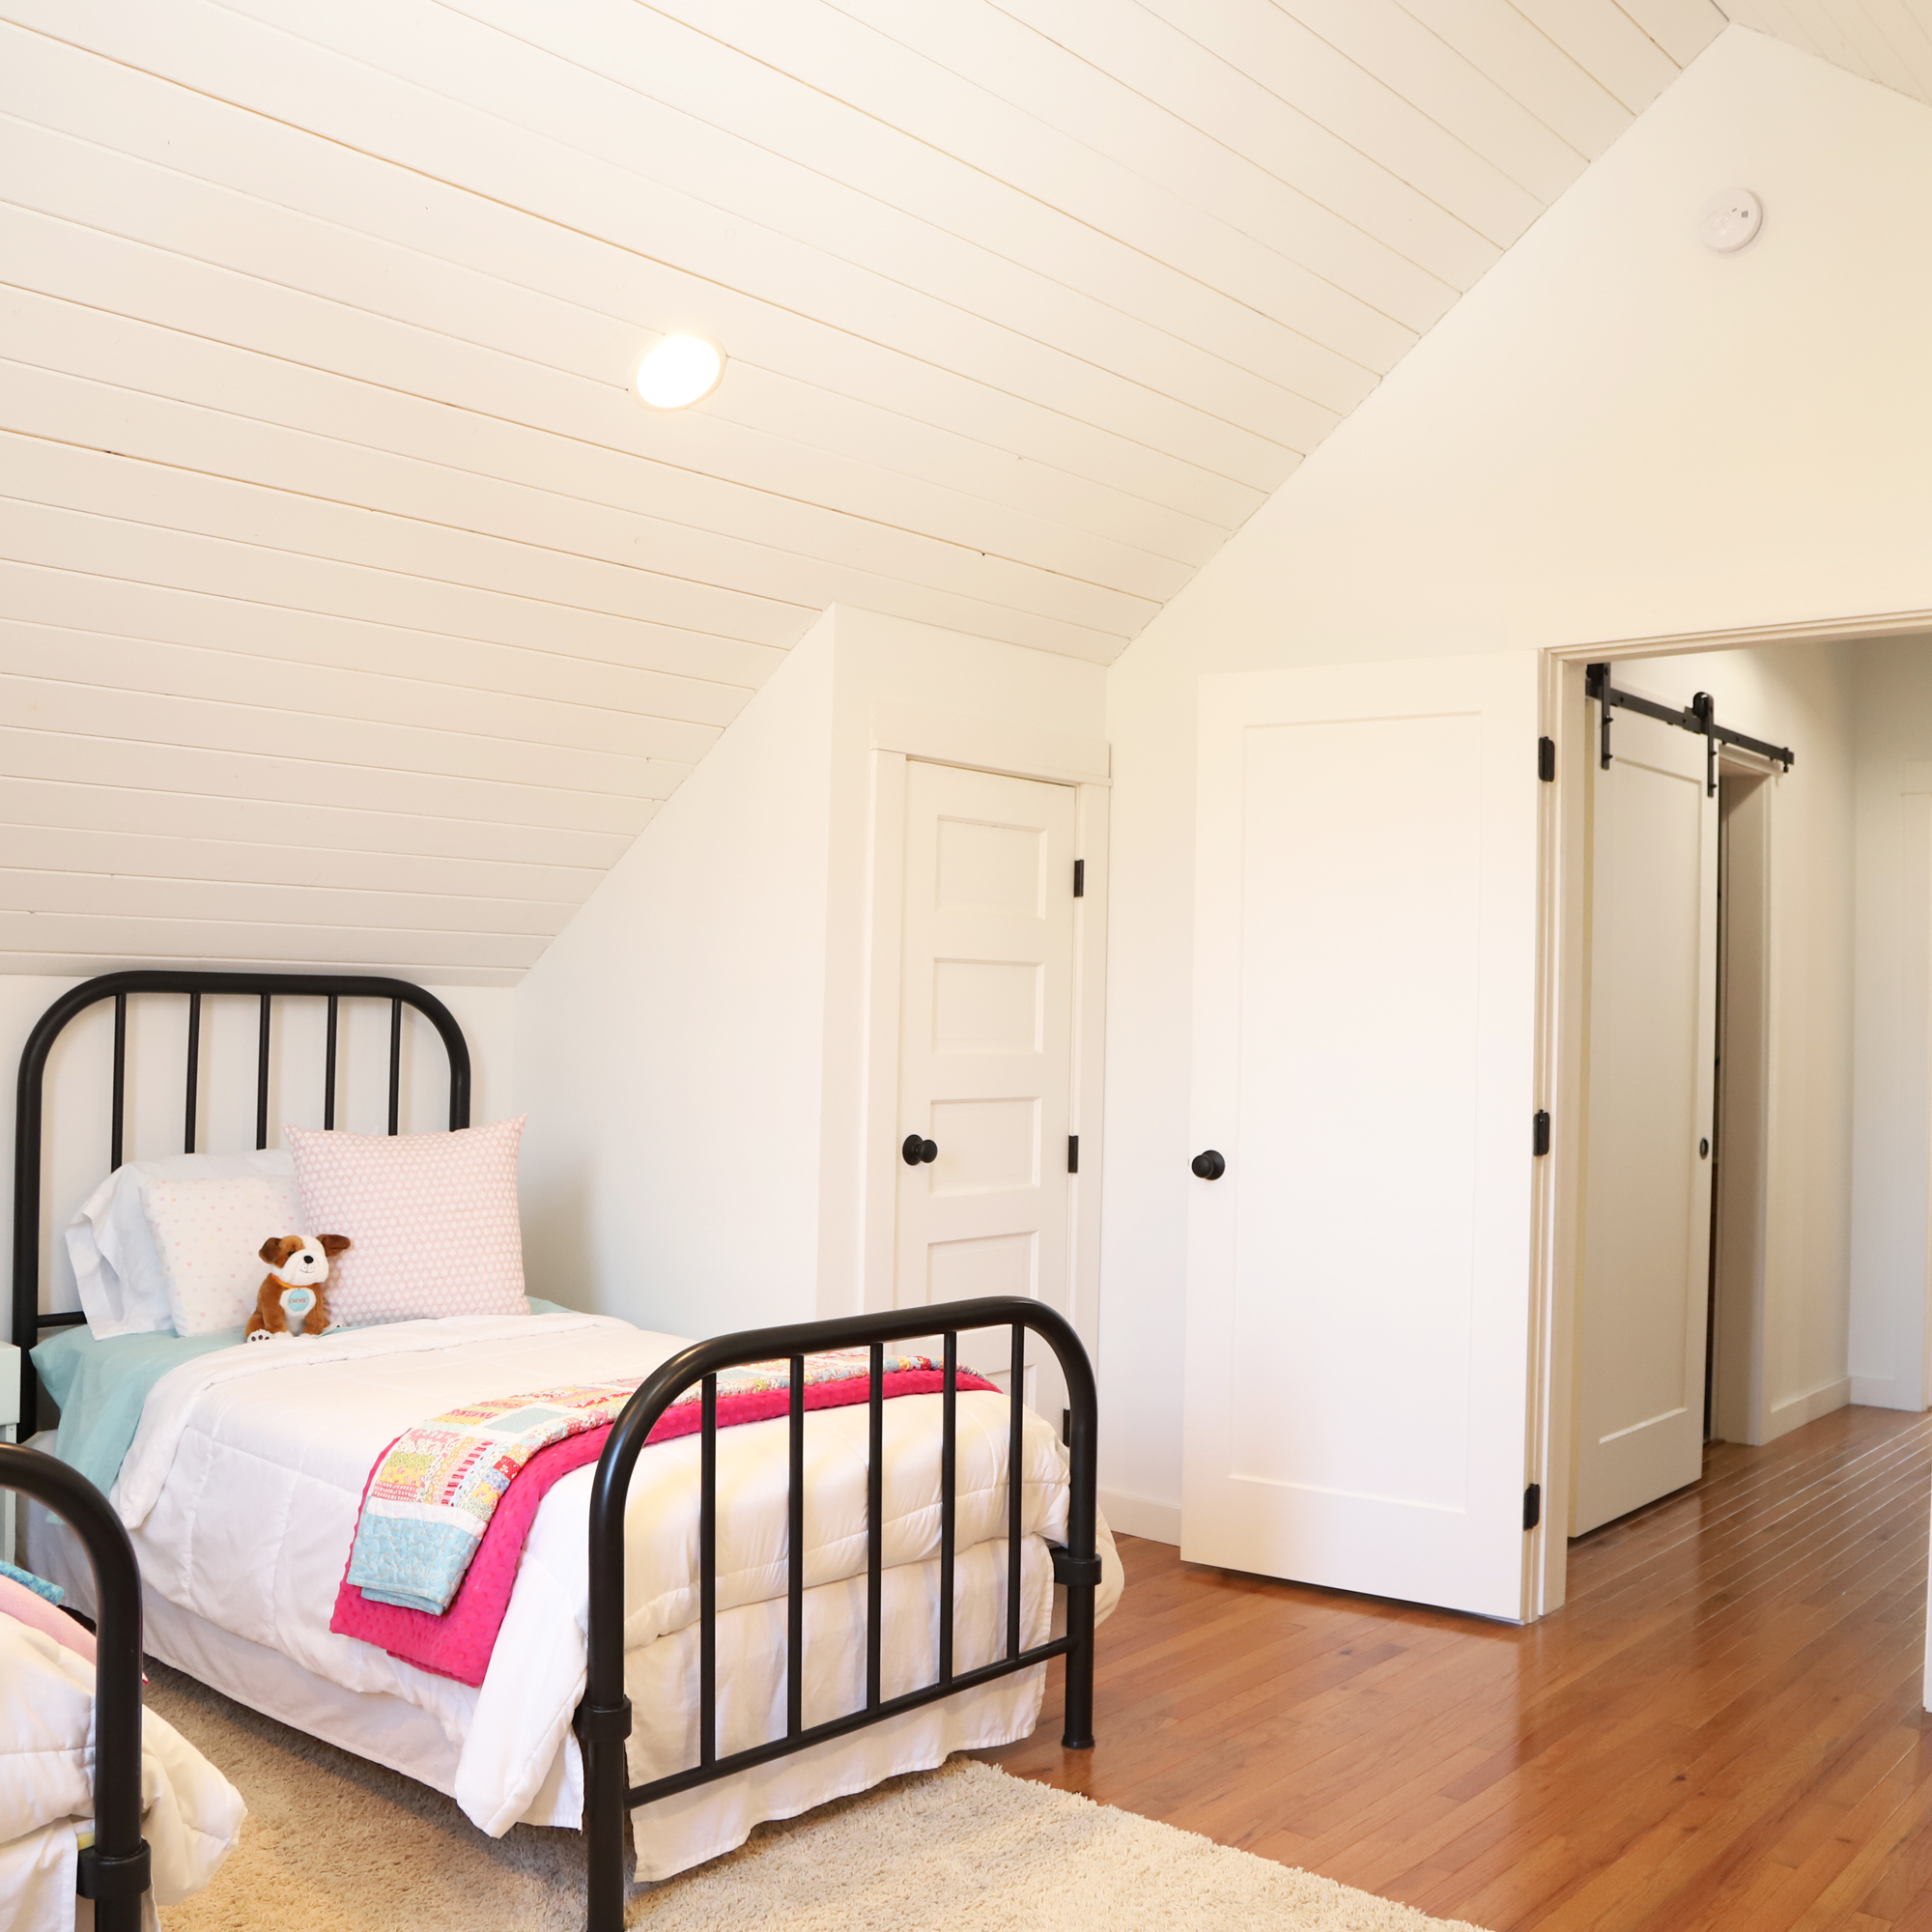


Sleeping Space

One side of the bedroom is designated for sleeping and quiet time. The two antique metal beds found on this side were an absolute labor of love for my husband. He painstakingly restored the beds over the course of several months. Although the beds spent many years in a friend’s barn, you would never know it now!

refinished metal bed frames

My husband documented the process of restoring the beds through a series of videos. I am so impressed with how they turned out. Most importantly though, the girls love them.

A small table is positioned between the beds. It is the perfect size for a reading lamp, and a few books.

antique metal beds in girls room

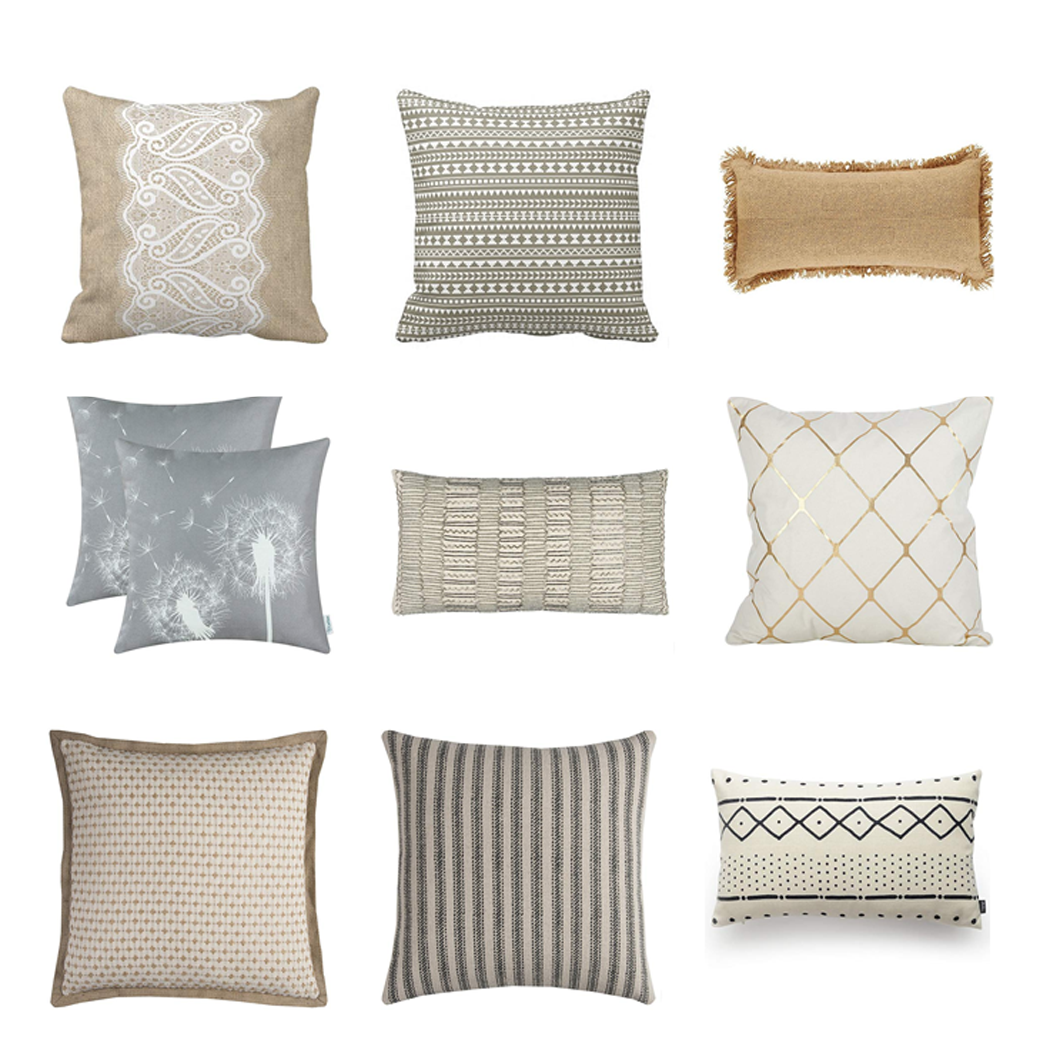
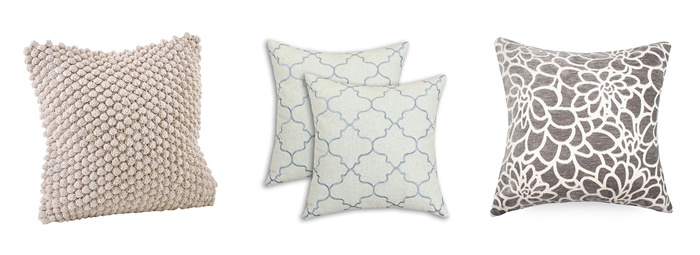
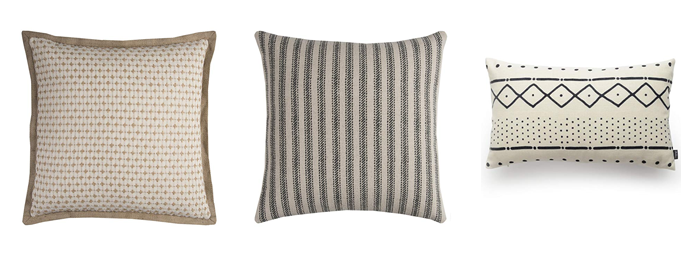
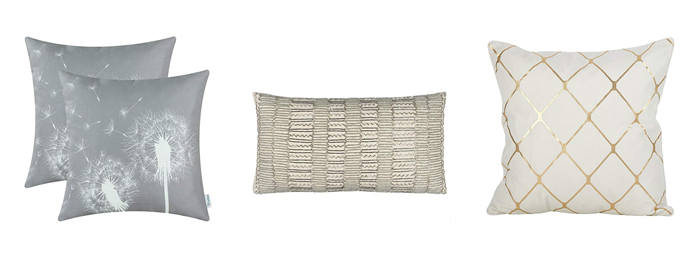
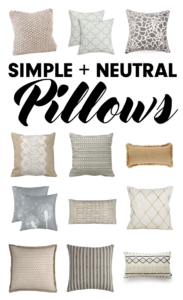
I chose white comforters for the beds. They are easy to clean and provide a neutral base that can be changed up easily with accent bedding and pillows.  For now, the accents of pink, aqua, and yellow are fun and girly, while not being age specific. One thing I am still on the hunt for are matching quilts or duvet covers for the ends of each bed.

girls bedding


Play Space

The opposite side of the room is set up as a kind of pseudo mini house – every little girl’s dream! It is complete with a small play kitchen, table, and two pink chairs. In addition, a sweet doll crib – made by the girls’ great grandpa – holds special sentiment.

The girls have literally spent hours creating make believe scenarios with their stuffed animals and dolls.

play space in girls bedroom

Their play kitchen is something I posted about a couple of years ago. It was made using a vintage dresser as the primary structure. More information about the process of building the play kitchen, and links for many of the accessories, can be found in THIS POST.

small antique table

You may recognize the small red table from this past year’s Christmas decorating. I recently found an enamel top table at a local antique shop. This new table is a bit larger and more useful for our annual winter puzzle endeavors. For this reason, we moved the little red table up to the girl’s space – and kept the enamel topped one on the main level. These two tables will definitely be moved around the house throughout the years, depending on the needs of our family and my seasonal decorating desires.


Other Furniture + Decor

The only other piece of furniture the girls have in their bedroom is a dresser. It is, yet again, another special hand me down item. Purchased by my grandparents, the dresser was mine as a little girl. The perfect size, it has four drawers – two for each daughter. We have it organized so that each girl has one drawer for their shirts, and one for their pants/shorts/skirts.

girls bedroom decor

Atop the dresser are a few special and sentimental items. A beautiful watercolor print, which was purchased on Etsy, provides a bit more color to the room. The small wooden box holds the some of the girls’ cherished special items. Lastly, the pink bunny was hand sewn by the nannies at our older daughter’s orphanage. They gave it to her as a gift on her adoption day.

Though I have more decor ideas for the room, there is no rush on getting everything implemented at once. Kid spaces have a tendency to evolve and change as the occupants grow. The girls bedroom will be no different, I’m sure.


Girls Shared Room Video Walkthrough

Sometimes, it is easier to see a space in video format. I’ve created a video tour of the room for just that reason.


I hope you enjoyed this little tour! Stay tuned for more space reveals, as we continue to decorate at the cottage!

KONMARI DECLUTTER – CHRISTMAS DECOR

Join me as I begin a four week decluttering challenge for the month of December. My first challenge is a KonMari declutter of our Christmas decorations.

Konmari decluttering method


It’s no secret that this time of year gets busy. Extra busy. In years past, we have been right in on the action. Buying all the gifts. Attending all the parties. Hanging all the twinkle lights. This year though, we are attempting to slow down and be truly mindful of the special nature of this season.

Our family is on a journey toward simplicity in all aspects of life. Because of this, we are also attempting to be more mindful of the things that surround us. We want to be faced with less stuff, so that we can enjoy more life.

For the month of December, I will be attempting one declutter challenge each week. It is my hope that by the end of the month, and the start of the new year, we will have cleared our spaces and our minds a bit.

I am starting in week number one with a pretty obvious first step, the Christmas decorations.

Christmas decor KonMari declutter


DECORATING IN YEARS PAST

Each year, our typical first step to decorating for Christmas is pulling all of the items out of storage. Multiple bins are hauled into the room where the tree will be set up. Then, we proceed to dig through each one, in an effort to determine which items will brighten up the room and the tree.

Ironically, but maybe not so coincidentally, we almost always go for the same things. Year after year, our favorites make it out of the bins. The rest is put back into storage.


NEW TECHNIQUE TO TRY

This year, I decided to go through all of the items BEFORE the decorating session begins. Once again, I pulled the items out of storage, but did so while the kids were at school. Without all of their little hands rummaging through the bins, I was able to slow down the pace a bit. This allowed me to hold each and every piece and give it consideration.

I used the Konmari declutter method. This organizing technique was developed by Marie Kondo and is quite popular among minimalists.

Ms. Kondo recommends that all items of a similar type be grouped together and laid out on a flat surface. This allows you to see the large amount of items that all serve essentially the same purpose. In my case, with the Christmas decorations, it was a pretty obvious visual that we had accumulated far more than was necessary for the job of decorating for the season.

Christmas declutter before and after


Most organizing methods have you asking yourself which items can be thrown/ given away. A KonMari declutter is different in that you are supposed to focus instead on which items to keep. The end goal is that you will choose the items that bring you the most joy.


OUR JOYFUL CHRISTMAS DECORATIONS

With everything laid out in front of me, my focus was immediately drawn to my favorites. These items bring me the most joy or have the strongest memories.

KonMari method Christmas decor declutter

I knew for sure that our Willow Tree Nativity Set would be kept. It is usually the first of the decorations to be put up each year. We love the simple details of each piece. And, it is the perfect visual reminder for our family of the true meaning of Christmas.


Christmas decor declutter

Another favorite item that I found is this antique angel Christmas tree topper, which was my absolute favorite as a little girl. I have plans to remove her wiring, and turn her into an ‘Advent Angel’ – the Christian alternative to Elf on the Shelf – as a new family tradition.


SORTING THROUGH THE ORNAMENTS

We had an entire box full of ornaments, most of which haven’t made it up on the tree for many years. Using the KonMari declutter method, I picked up each and every ornament. A quick decision was then made whether it would find it’s place in the keep pile, or the donation box.

Konmari Christmas decorations

While sorting, I found many precious ornaments that hadn’t been used for years because they were hidden. For example, this collection of fire department related ornaments.

Christmas decor decluttering using KonMari method

My husband was on the fire department in our city for ten years. The department gifted him a special ornament each Christmas. We have always said that we would like to have a small tree to display the collection. Unfortunately, we have never actually done it. They will be saved, to be used at our new house.


WHAT TO DO WITH WHAT’S LEFT

After the KonMari declutter was complete, two large boxes of decorations were ready to be donated. In turn, we were left with only a handful of Christmas decor items, and a small bin of ornaments.

KonMari Christmas decor simplified

I decided to keep two vintage suitcases, one of which was my grandparent’s, to store the decorations in. Because they are hard-cased suitcases, I was able to discard most of the protective packaging for the breakable items. I opted instead to wrap them in light-weight bubble wrap. All of our decorations, minus one large basket and the Christmas tree, fit in these two suitcases.

Christmas decoration storage idea KonMari method declutter

They will be easy to store, and bring out each year when we are ready to decorate. Another benefit to having fewer items is that we will not be digging through multiple bins anymore.


DECORATING WITH LESS

A very interesting thing happened when the kids got home from school and were ready to decorate. Though the items that remained were far less, they were not at all upset. Instead, rather than rushing through the task in an effort to be the one who put the most ornaments on the tree, they slowed down. They took the time to observe each individual piece before finding it’s perfect place.

KonMari Christmas decorating simplifying decorations

This alone made the KonMari declutter worth it to me. They truly seemed to enjoy the decorating even more than in years past. In turn, I did too.


WATCH ME KONMARI DECLUTTER

I documented myself sorting through all the Christmas decorations, to share the process with all of you. I’m still pretty amazed at all I was able to get rid of, without regret!

WHAT I LEARNED FROM THIS CHALLENGE

This was my first time using the KonMari declutter method. I have to say that although laying everything out was a bit more work upfront, it was beneficial. Seeing all those like-items together made it easier for me to spot our favorites.

I could see this method being used for all types of items – from clothing to kitchen gadgets. It is likely I will try to declutter this way in the future.

Above all, I learned from this challenge that the intentions behind your actions mean more than the action itself. Decorating with 200 items doesn’t mean that you enjoy or love Christmas more than someone who decorates with 20 items. And so, with that in mind, going forward, I plan to focus on the right number of decorations for OUR family. Because we know our intentions at Christmastime, and they may not always match up with what society says.


Join me next week, when I take on a new challenge for the December Declutter!

PIN THIS FOR LATER

KonMari declutter of Christmas decorations


This post contains affiliate links. By following the link and purchasing the product, I may earn a small commission at no extra expense to you. Thank you for supporting Arrow Hill Cottage! 

SIMPLE + NEUTRAL ACCENT PILLOWS

Did you catch my recent post about Neutral Home Decor? The interiors I featured seem so relaxing and clean! If this is a decorating style that you are wishing to incorporate in your home, a great way to start is by adding accessories that are neutral; And one of the most versatile (and inexpensive) accessories is the basic throw pillow.

I have put together a collection of my favorite neutral accent pillows (and pillow covers) for inspiration. There are some great finds! * Numbers, with links, shown from left to right.


SIMPLE + NEUTRAL ACCENT PILLOWS

1. Crochet Pom Pom Pillow              2. Quatrefoil Trellis             3. Coastal Floral


4. Printed Burlap Lace              5. Gray Aztec Tribal              6. Natural Tan Burlap


7. Jute Pick             8. Natural Ticking Stripe            9. African Mud Cloth Print


10. Grey Dandelion Print             11. Embroidered Stripe              12. Metallic Diamond


Go grab one (ore more!) of these awesome finds! And be sure to pin the image below so that you can purchase the rest later. 😉


*This post contains affiliate links to products for your convenience. If you purchase via my links, I may receive a small commission at no additional cost to you. For more information, click HERE. Thanks for supporting Arrow Hill Cottage!