SIMPLE INTERIOR UPDATES FOR THE HOME

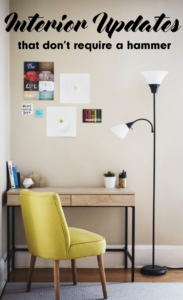
This post contains five simple home interior updates that don’t require a ton of do-it-yourself energy. In fact, you don’t even need to lift a hammer for any of them!


simple interior updates for the home. 5 ways to easily change up your interior without breaking the bank, or a sweat!


One of the joys of home ownership is the ability to ‘make it yours.’ From room size and layout, to window and cabinet choices – everything can be customized. And though you can hire a contractor or DIY your heart out to make things just right – sometimes you want to freshen things up without breaking the bank, or a sweat.
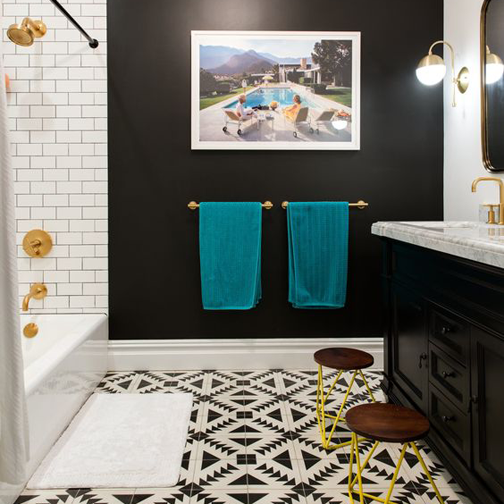
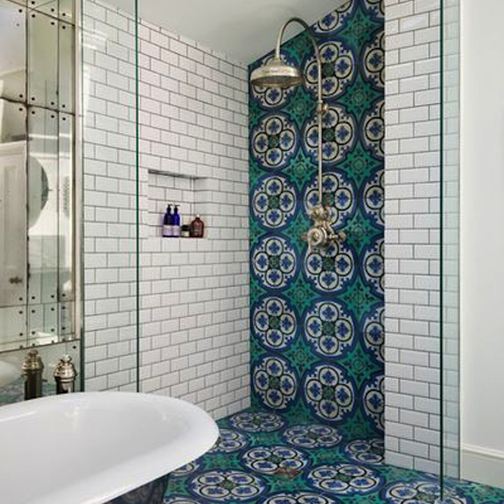
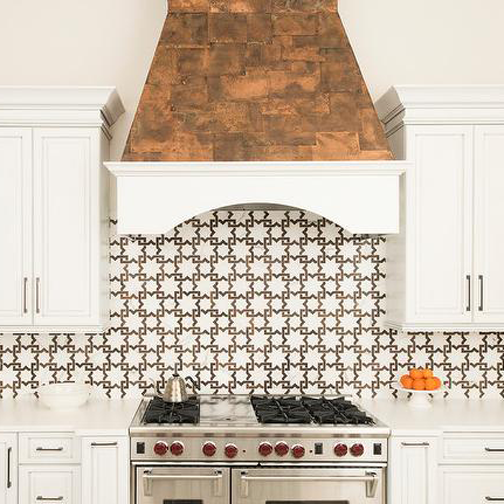
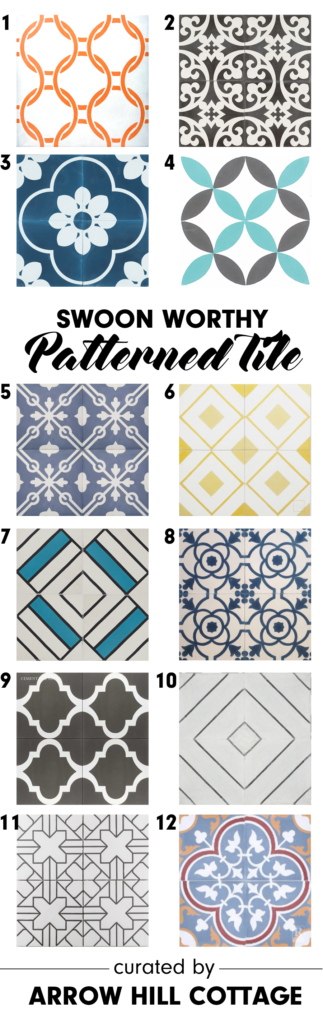


ADD SOME PAINT

Adding paint to the interior walls of your home is one of the most simple interior updates that you can do. It can make a dramatic difference, with minimal expense

Painting is one of the most inexpensive and simple interior updates a homeowner can tackle. Not only will the paint choice affect the feel and mood of the space, but it can also add visual interest. If drama is what you are after, consider painting one accent wall a bright or bold color, or adding a patterned design.

A peaceful, neutral color can soften a space and provide a simple background to build upon with other design elements such as furniture and art.


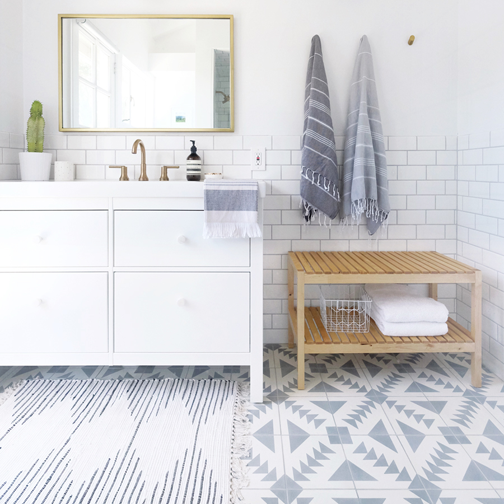
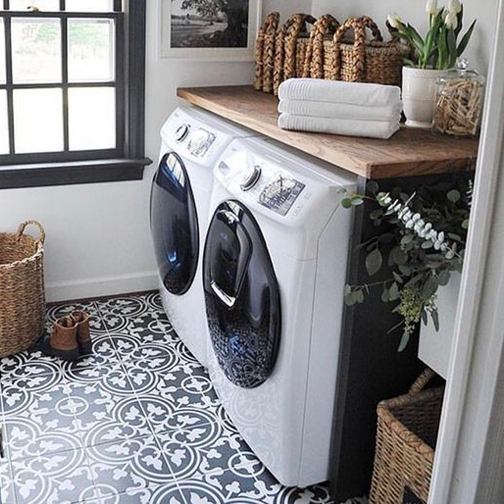
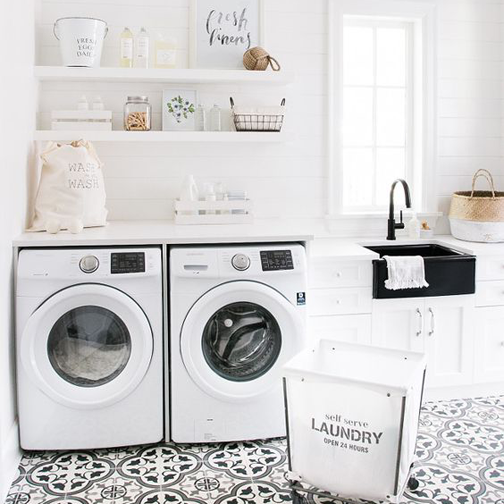
REARRANGE THE FURNITURE

Rearranging living room furniture is a simple interior update that you can try again and again until you find the furniture combination that works best

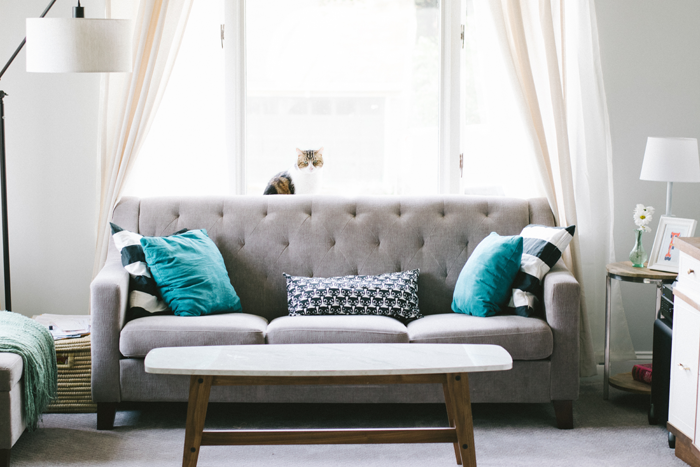
If your interior is feeling stagnant, re-arranging your furniture can give you a whole new perspective. Just swapping a few pieces can have a big impact. Play around with different configurations and make it an adventure/challenge by shopping your own house instead of the stores. You may find that a piece you didn’t care for in one room looks great in another!

Don’t be afraid to try out an antique hutch as linen storage in the bathroom, for example. You might be surprised at where each piece finds a new home!


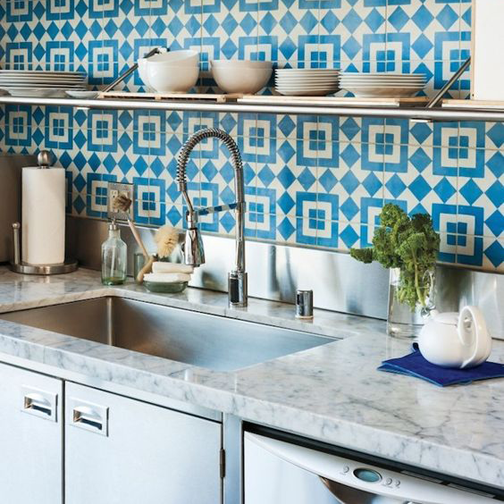
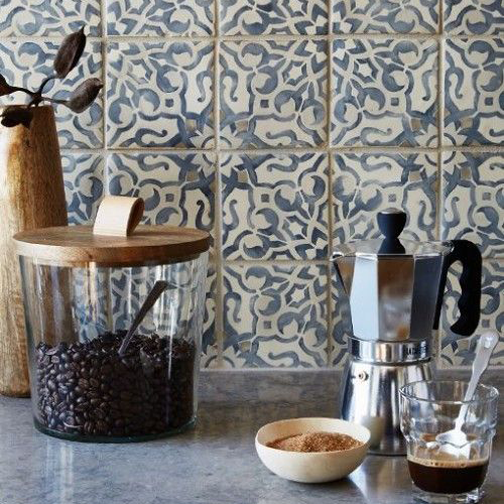
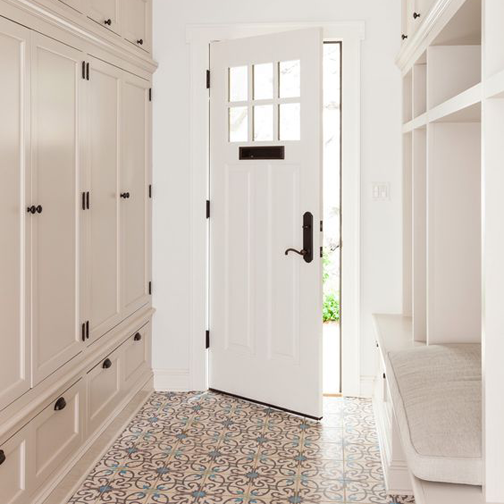
CHANGE CABINET / DOOR HARDWARE

It's super easy to change out cabinet hardware - making it a simple interior update for your home

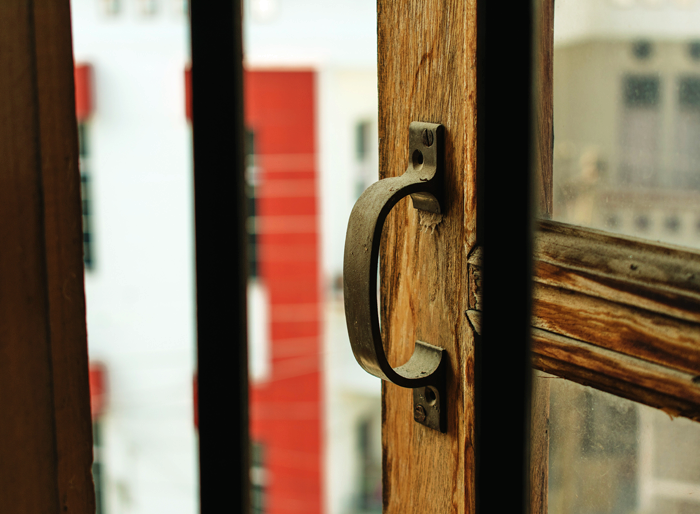
Hinges, knobs and pulls are like the jewelry of cabinets and doors. They make a statement. Perhaps though, yours are making an obvious statement that they are outdated. Thankfully, there is a wide variety of replacement options available at your local home improvement store and online. Grab new hardware that you love, and a screwdriver. Within hours you can have a transformed look.
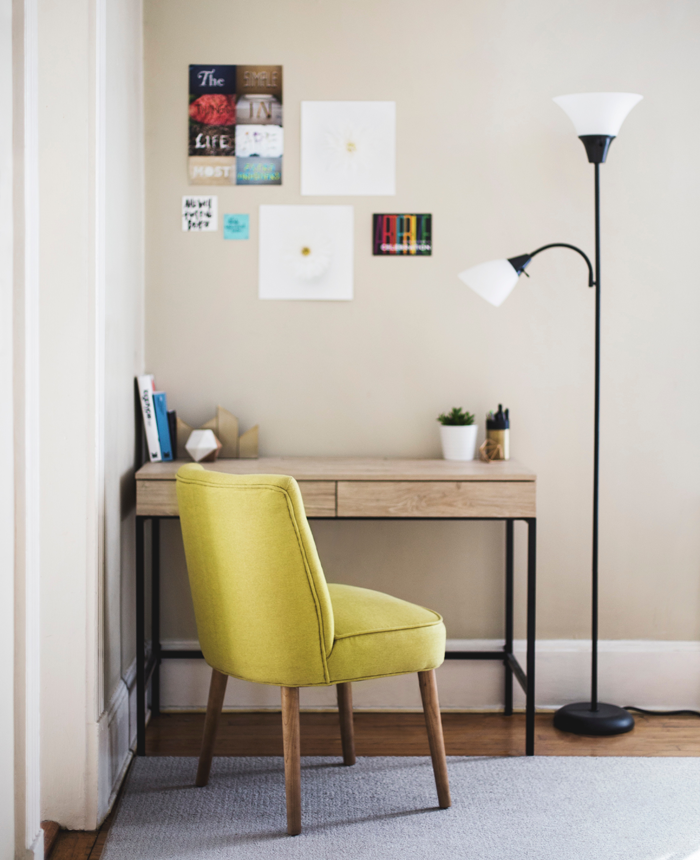


ADD A GALLERY WALL

Gallery walls are a simple interior update for the home that can add style and personality.

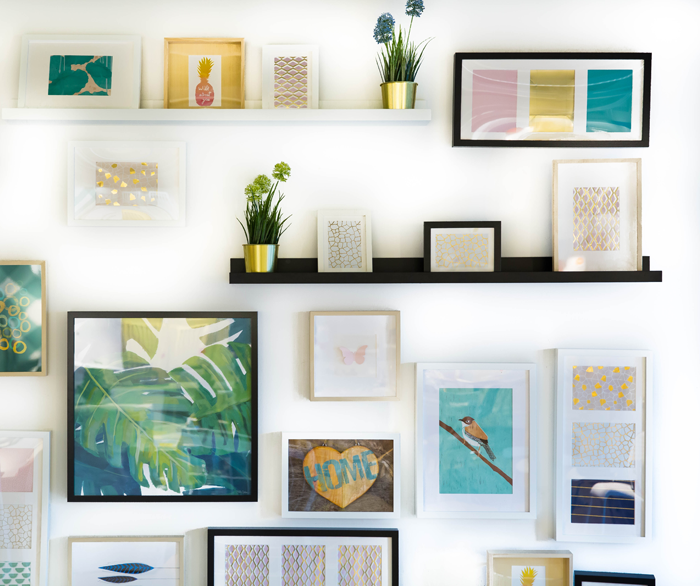
One of the easiest ways to personalize a home is by including artwork and photographs that have special meaning to you. Arranged in unique ways, a gallery wall can really make a statement. Creating one of your own doesn’t have to be a mystery. There are plenty of tutorials online that simplify the process step by step. I always suggest using adhesive backed hooks for gallery walls, which will allow you the flexibility of re-arranging easily without filling in any pesky nail holes.
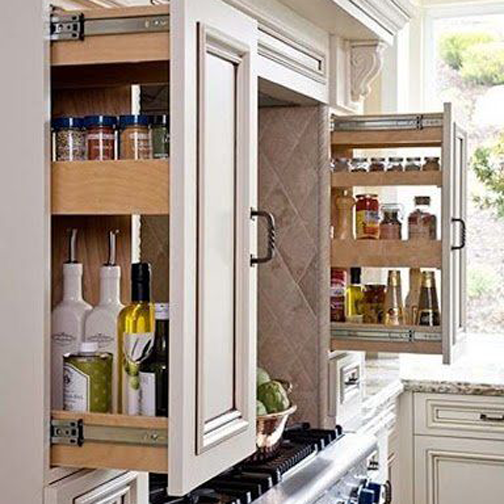
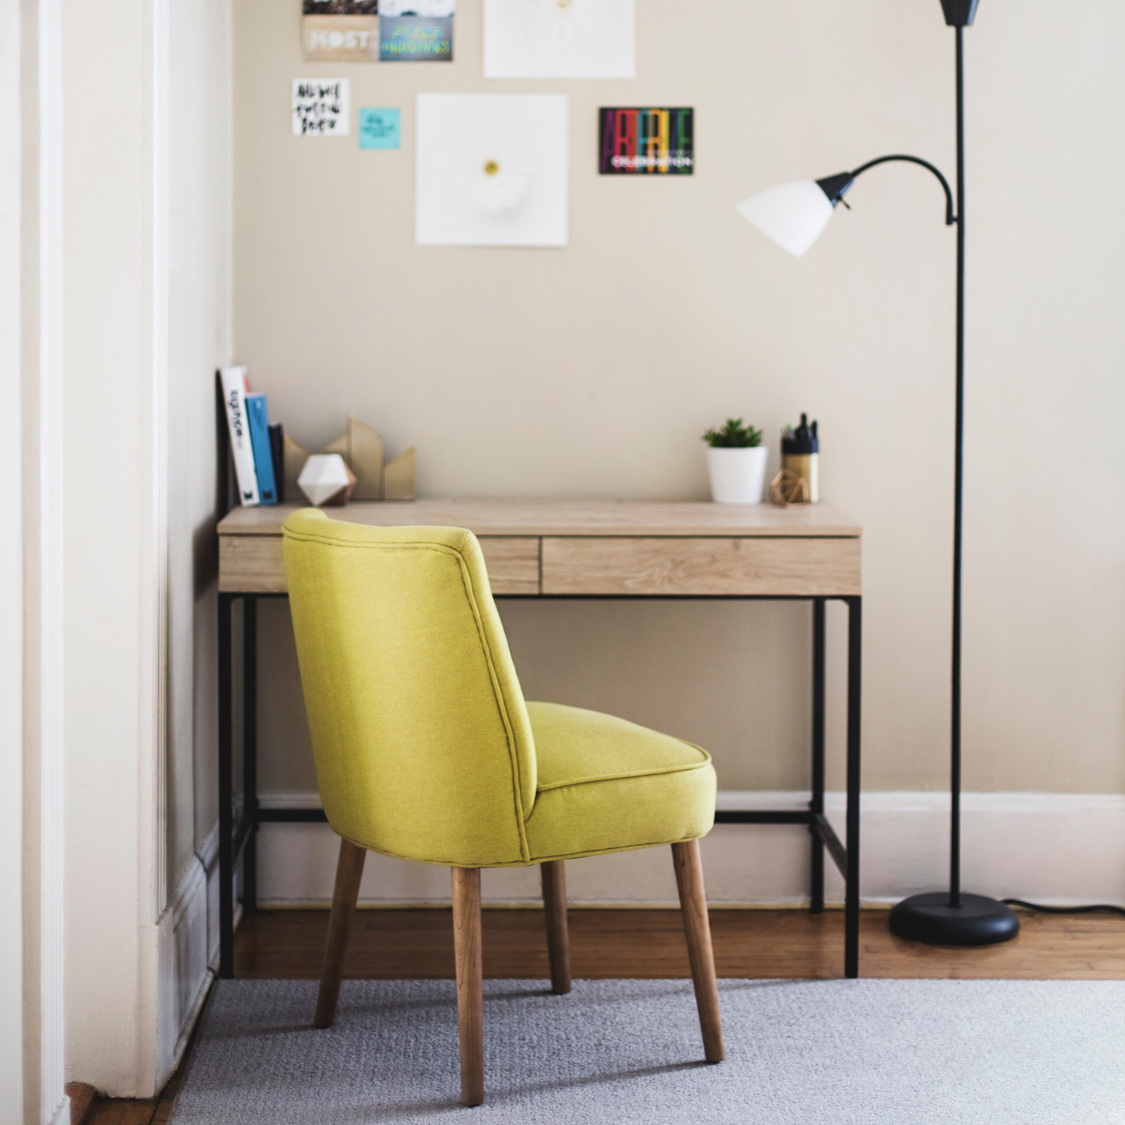
 

OPEN UP A CLOSET

reclaim your overstuffed closet and make it into a space that is useful. Simple interior updates for the home

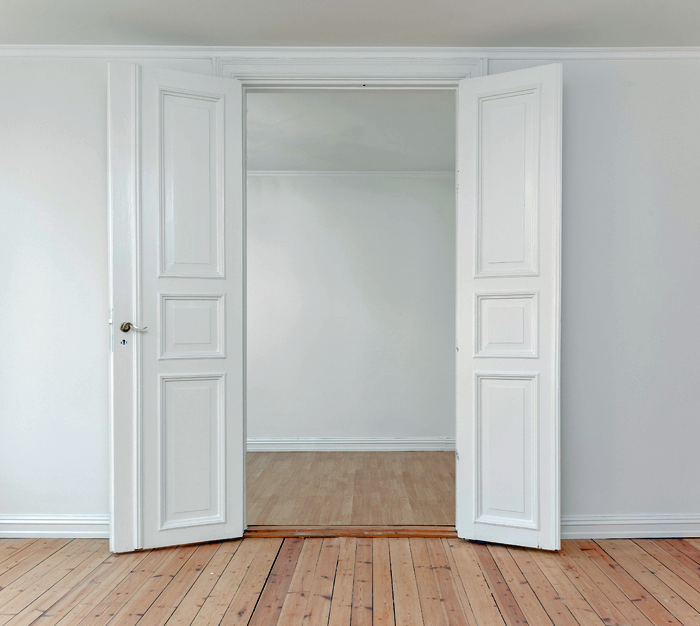
Closets often house the most undiscovered / under-utilized square footage in a home. Many are either poorly organized or crammed with rarely-used items. By simply removing the doors to a standard depth closet you can gain space on the perimeter of the room for something useful, such as a small office or reading nook. A walk in closet can be transformed into a mini-bedroom or small meditation space. Get creative!

I wrote a post about alternative storage solutions. It offers tips on where to put any displaced items that you need to move out of the closet to regain the space.


These simple interior updates can be executed in a day or two, making them perfect beginner projects. The great news is that they are also reversible. If you aren’t happy with the results, you can always revert to the way things were pre-project.


PIN THESE SIMPLE INTERIOR UPDATES

Simple interior updates for the home that don't require a hammer or a lot of money

TRENDING IN HOME DESIGN & DECOR: BOLD PATTERNED TILES

Are you looking to add a statement feature to your home – maybe something a bit more than a fresh coat of paint can provide? The bold pattern tile look is very popular right now, and homeowners have really shown their creativity on where to utilize this medium. Tiles aren’t just for floors anymore!


From straight line geometric to floral patterns, there is sure to be a tile to match just about any home style and design preference. In fact, I incorporated some fun patterned tile into a recent bathroom Makeover Takeover!


WHAT ARE THEY

These tiles feature bold, graphic patterns. Typically, they will have patterns that when positioned next to one another, and sometimes rotated, form an even larger, repeating design.

The origins of this type of tile style can be traced back as far as Medieval times. During that era they were called ‘inlaid tiles’, and later – in Victorian times – Encaustic tiles. Essentially, Encaustic tiles are created by using two to six different colors of clay. The clay is arranged in a pattern before firing. Because the pattern is not simply painted on the surface of the tile, it will continue to be present even as the tile wears.

Today’s patterned tiles are made primarily from cement, but there are less expensive varieties in both ceramic and vinyl.


WHERE/HOW TO USE THEM

There are plenty of unique applications for these stunning tiles.

Bathrooms

Tiles are a wonderful flooring option for bathroom applications because they are resistant to moisture/water. In small rooms, such as bathrooms, these bold tiles generally will not be competing with other design elements.


image source


image source


Laundry Rooms

Who doesn’t need a little excitement and style when tackling the laundry?


image source


image source


Kitchen

Tiles make a wonderful backdrop on kitchen walls or floors. They might also be fun to use on counter-tops, perhaps on a center island.


image source


image source


Entry/Foyer/Mudroom

Set an inviting tone to your entryway and let guests see a sneak peek of the fun and style they can expect to see in the rest of the house.


image source

Patterned tile is wonderful at camouflaging dirt and grime.


image source


Hallway

Hallways get a bad reputation of being boring and lifeless. With the addition of a sea of pattern, this hallway could not be any more interesting!


image source


Stair Landing

Add a bit of pizzazz to those boring stairways. Doesn’t this landing just seem to come to life with the tile work?


image source


Focal Point

Let eyes focus on a featured item in your home, such as a special alcove, the fireplace, or even a piece of furniture!


image source


image source


image source


WHERE TO BUY

A large variety of retailers are now selling these tiles at reasonable prices. Click on the links below for access to some of my favorites!


1 | 2 | 3 | 4 | 5 | 6 | 7 | 8 | 9 | 10 | 11 | 12


Be sure to also click on over to this post for a comprehensive shopping guide!


MY THOUGHTS ON THIS HOME DESIGN TREND

As a lover of simple geometric patterns, this is a trend that I can totally get on board with! My caution to anyone wanting to incorporate these unique tiles is this: use them sparingly. I personally feel that the boldness of the tiles can make a large space covered in them seem too busy, even dizzying.

I also would advise that colors are pulled from the tiles to use in the rest of the space. This will help to provide balance between elements.

Finally, be sure that you choose a color and pattern of tile that you love – they surely aren’t the easiest things to replace!

SATURDAY SKETCHBOOK: KITCHEN BASIC DESIGN

I spent some time this week diving into the interior of Arrow Hill Cottage. With just over 18 months remaining before we break ground, I want to get as many details ironed out as possible. I figure that the more decisions that are made on paper, the less surprises that might arise during construction.

This may end up being the most well planned house of all time…. because this mama doesn’t like surprises! Ha!

First up on the detailing docket is the kitchen. I wanted to start on it first, because I know that kitchens are the most complicated room in basically any house on the block. Ours is no different. So many decisions need to be made! You can see the basic floor plan layout of the kitchen in this post. The plan is basically still the same, but some of my initial ideas about which cabinets go where have changed.

This is the view of the kitchen- standing in the dining space. It can be seen, by a long view, from the front door. The blank space you see on the right is the living room, which obviously hasn’t been detailed yet. The connection between these three spaces (kitchen, dining, living room) is great. There is definition of space but the rooms flow freely into one another.

A closer view of the space. I am loving the bright and airy feeling it has so far. I feel like your eye is drawn to the wall of windows, which was my intention. Out those windows will be a beautiful view of wooded acreage.

In fact, standing at the sink – which is a reclaimed piece from Craig’s grandparents home – there will be a panoramic view of nature. I think that this view, and the natural light that will be pouring in, will make monotonous kitchen work seem more bearable. Maybe.


Turning toward the right side of the room, I have placed the range. This is a 48″ wide Wolf range. It is far more luxurious than any appliance we have ever owned; but I have heard only great things about this brand. And, I think it looks wonderful in the space.

The vent hood above would have to be custom made by the cabinet manufacturer. I imagine the ‘pillars’ on either side of the stove to have secret pull out compartments for spices and oils. Another detail that will need to be worked out. I’m envisioning something like this photo.


image source

To the right of the stove is a tall cabinet. At the moment, I am thinking that the doors of this cabinet will be telescoping, and when open will reveal the microwave and pantry storage.

In the center of the room is the lovely 7 foot long island. Having a large island in my kitchen has been a dream of mine for a very long time.

I want the island to be standard counter height so that it can be used as extra prep space. I am thinking that the counter top will be of the same material as what the perimeter cabinets have – some type of white granite perhaps- but I would like the base cabinetry painted a different color to add interest and to give the island more of a ‘furniture’ look.

The back side of the island will have storage cabinets, while the other side will feature spots for seating. I have a bit of a debate going on in my own head right now. Should the bar stools have backs or not?

I imagine stools with backs might be more comfortable, but they also look a bit more clunky and may not be as visually pleasing. If you have an island with seating, can you please comment below letting me know which style of seating you have (backs or no backs), and what your thoughts are? Thanks!

Let’s just take a minute to admire the ceiling, shall we? I am really pushing for some beam elements. I’m not sure yet if they will fit in the budget, but I want to get them planned out anyway. If we can’t do them right away it may be something we add in the future.

I have not formally chosen light fixtures for the kitchen, but am kind of liking the idea of purchasing multiple ‘similar looking’ pendants and clustering them above the island. An arrangement something like this photo


image source

Gorgeous, right? I think it would be an unconventional arrangement, but something that might fit perfectly in the house. Cottages are known for their eclectic style, after all.


The final side of the room features a shallow cabinet and counter, which I imagine will be perfect as a breakfast bar or as a buffet during gatherings.

Our property has many mature oak trees, some of which will need to be removed to make room for the house. Craig and I are hoping that we can find someone local that would be able to mill the removed trees into boards. These boards could then be made into special items for the house itself, including the dining room table and possibly the shelving here in the kitchen.

I love the idea of using the open shelves to house pantry items that can be stored in cute glass containers, such as pasta, sugar, and oatmeal. I could also see myself storing our frequently used plates, bowls and tumblers on these shelves. We’ll see how dusty the house gets. If it gets to be too much of a maintenance issue, maybe the shelves will be for display items only.

I love how this family utilizes open shelving.


image source

The fridge will have it’s own little corner of the kitchen. One thing our kids are really looking forward to is the availability of crushed ice and cold water on demand. It’s the simple pleasures.

One last look of the kitchen – the view from standing in the living room. You can see the stairs off to the side, and I can just about imagine my hungry little children wandering down from their bedrooms for breakfast in this beautiful space. I am loving the design progress I have made so far!

Let me know what you think! Any tips or suggestions?