RUSTIC KITCHEN IDEAS: MAKEOVER TAKEOVER FOR BEN & ADELL

The Makeover Takeover series focuses on helping my readers with bits of their own homes that are giving them challenges. Whether it is a room that they want guidance on styling, a floor plan that needs re-configuring, or they are stumbling with choosing an exterior color palette, I am happy to help. I offer solutions through virtual design and source links.

My first two Takeovers were both bathrooms – a modern Small Beachy Bathroom, and a Classic + Clean Bathroom remodel in a historic home. They were both met with wonderful reviews, and this time around I was excited to shift gears a bit and work on a kitchen remodel.

My friend Adell and her husband Ben live in a super adorable traditional home with their four young kids. Though the house has architectural features that really shine, the kitchen leaves much to be desired.
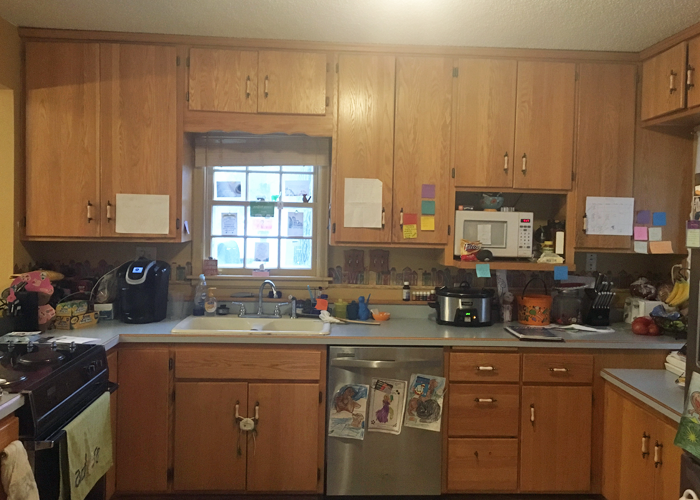
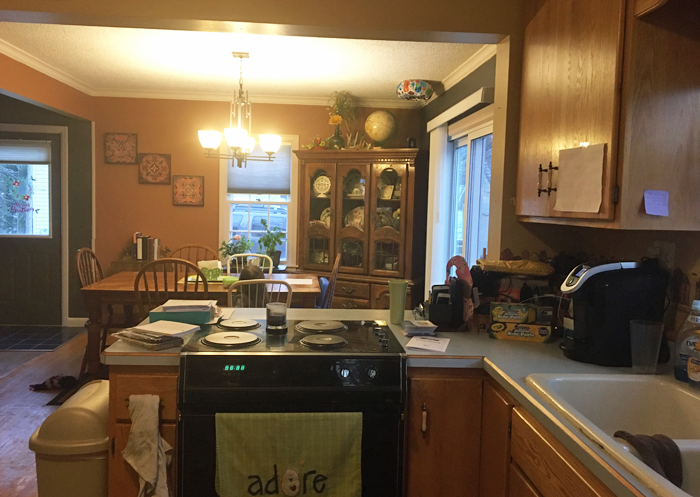
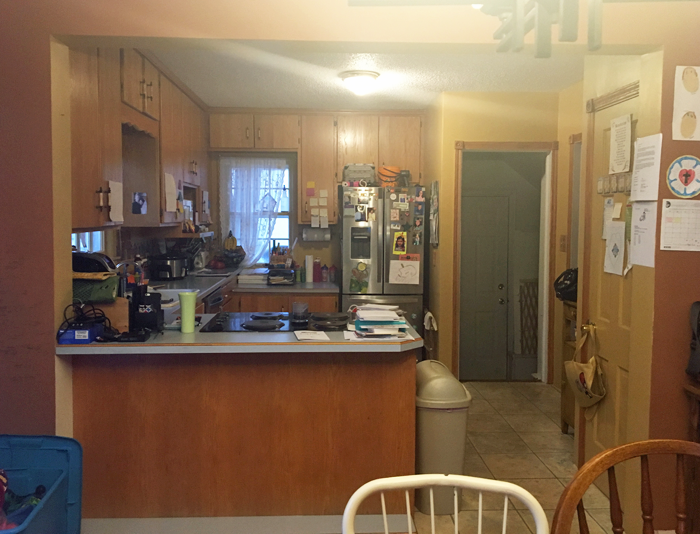
THE KITCHEN TODAY

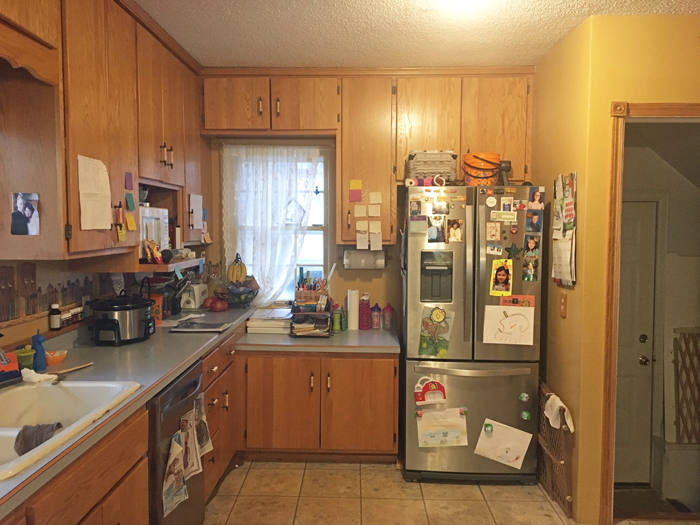
The layout of the appliances is actually quite efficient. The sink/ DW, fridge and oven are arranged in the basic work triangle, which works well.  There is a portion of wall next to the fridge that juts into the space, but because of the way the floor steps down to meet the attached garage access, it needed to stay. For the most part, I wanted to focus on the cosmetic aspects of the room and on making it as organized as possible, finding a home for everything.


PROPOSED PLAN CHANGES

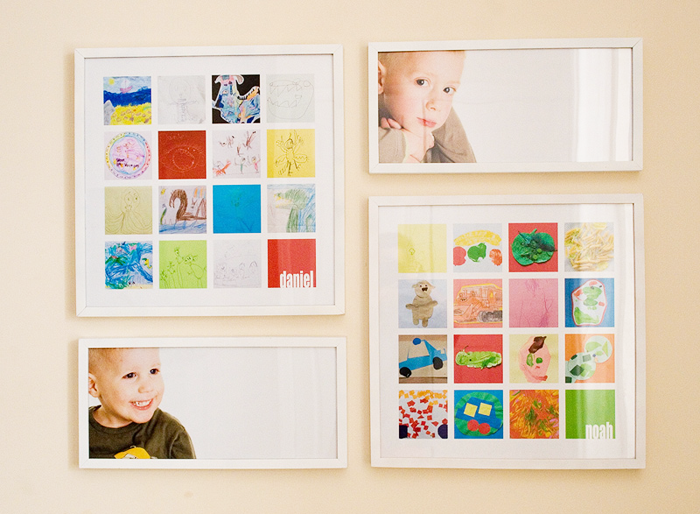
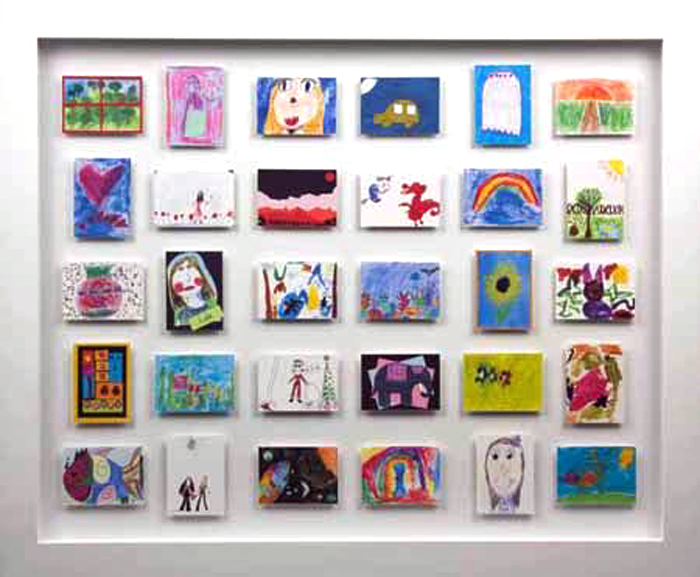
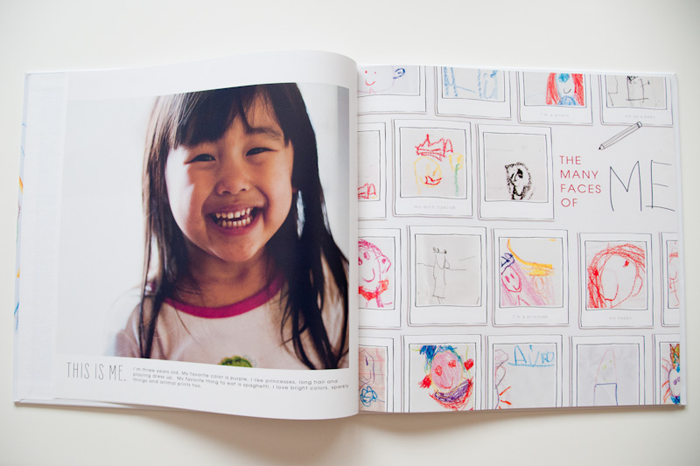
As you can see from the photos, this is one busy family! There are little reminder notes, and calendars on the cupboards, and the kids art projects are taking over the fridge. I wanted to streamline the organization of these bits, cleaning up the space.

I also wanted to maximize the work space, by finding a home for all of the small appliances and kitchen gadgets that are residing on the counter tops.

They have an open layout from kitchen to dining, and the counter extends so that there is space for seating on the dining room side. However, because of the position of the stove, it isn’t a safe place for the kids to sit.

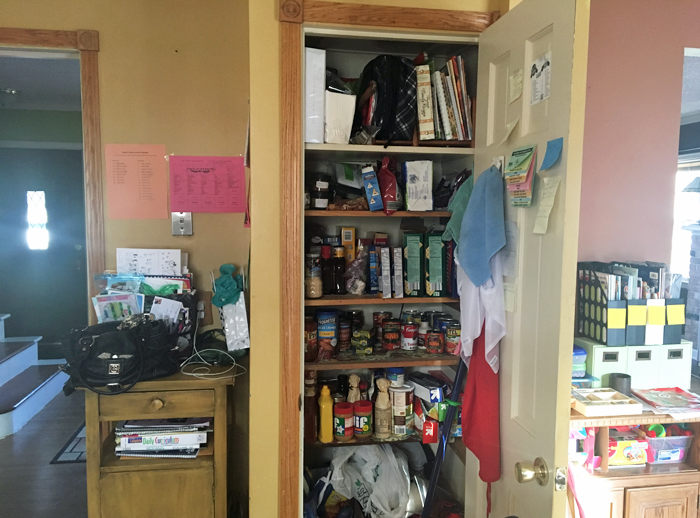
There is a pantry that opens into the kitchen. The storage is nice, but it creates a bump out that leaves a strange little corner. The family has a small table positioned here, but as you can tell by the picture – it has become a bit of a drop spot. Again, I wanted to provide them with functional storage.

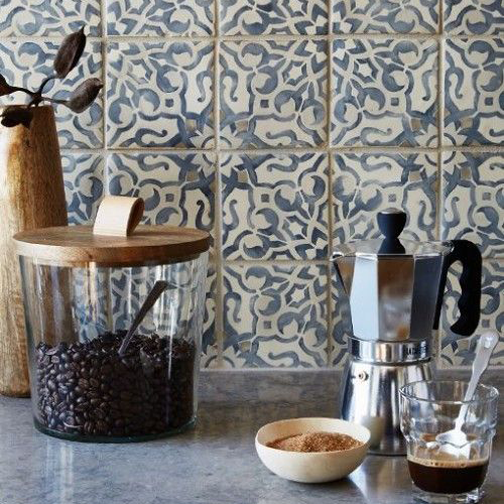
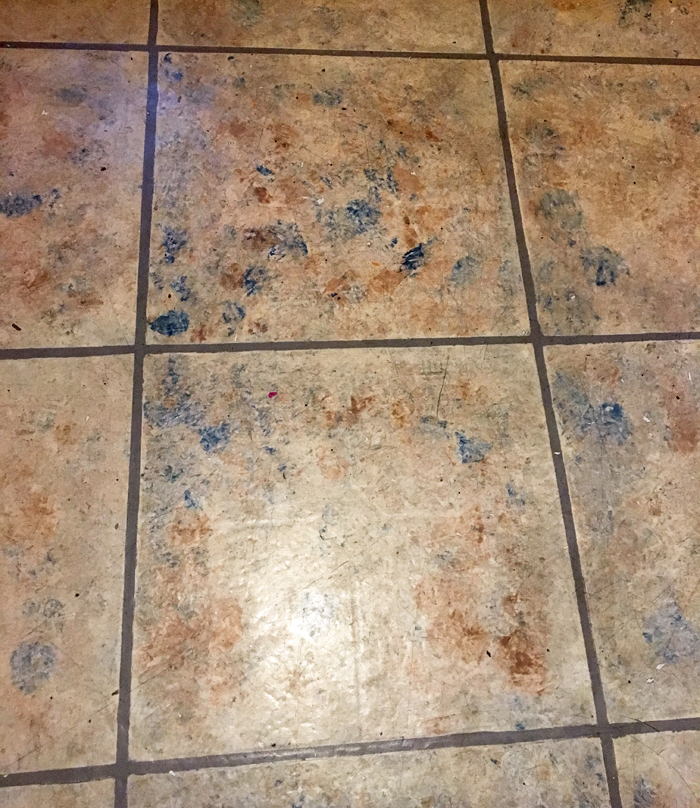
And last but not least, I wanted to clean up some of the strange finishes that the previous owners of the house have left – including the wallpaper border/ back-splash and the sheet linoleum floor that was PAINTED to look like individual ceramic tiles. What? Yes, it’s true.
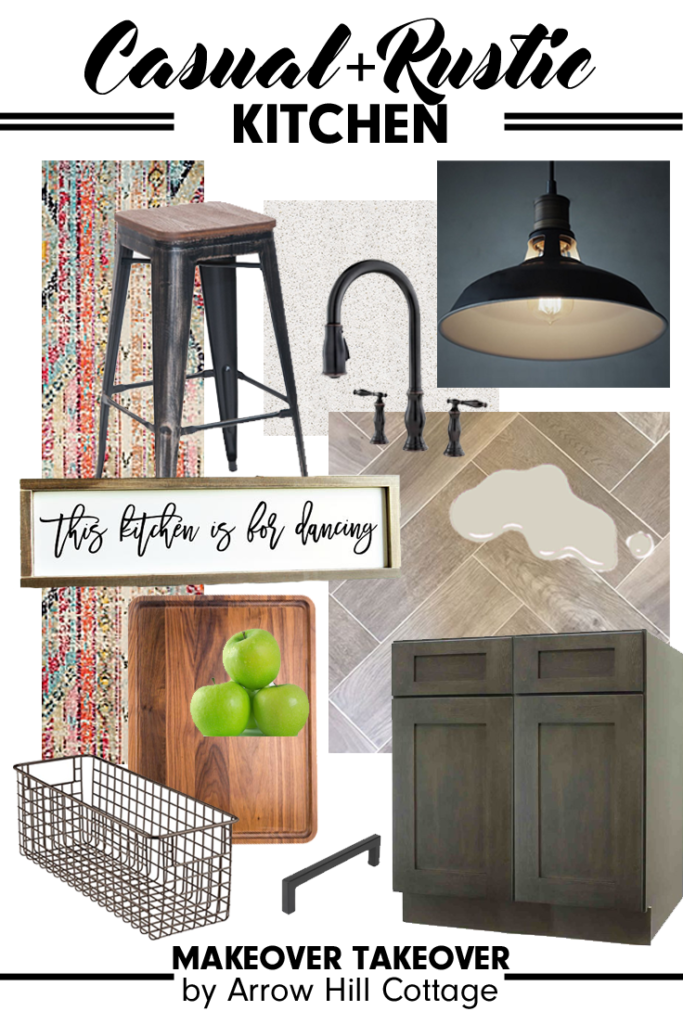


FINISH INSPIRATION

Adell and Ben sent me images of kitchens and materials that they love – and based off of their selections, I would say that they have a very classic style, with traditional lines and a touch of rustic flair.

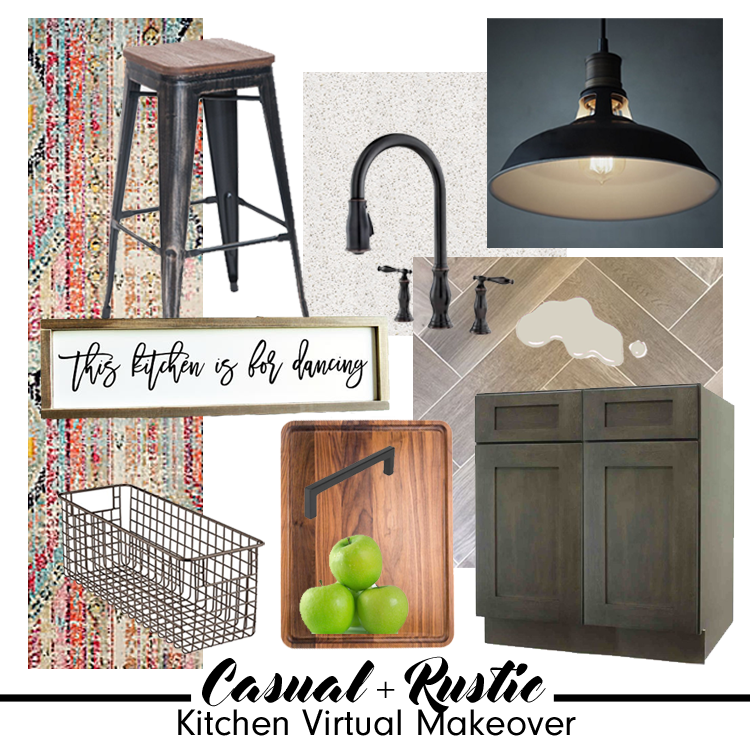
I was able to source a wonderful selection of products that I think would be amazing in their space. You can learn more about each product by clicking on the titles below.

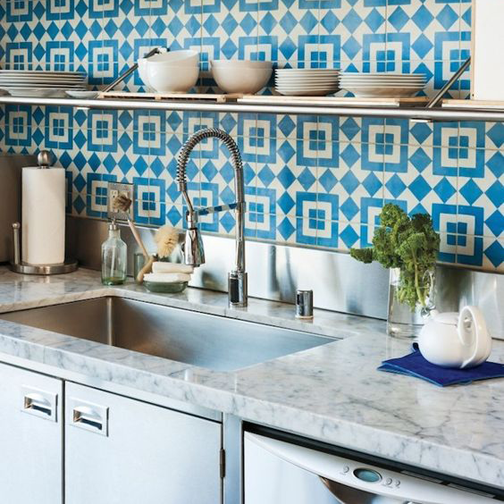
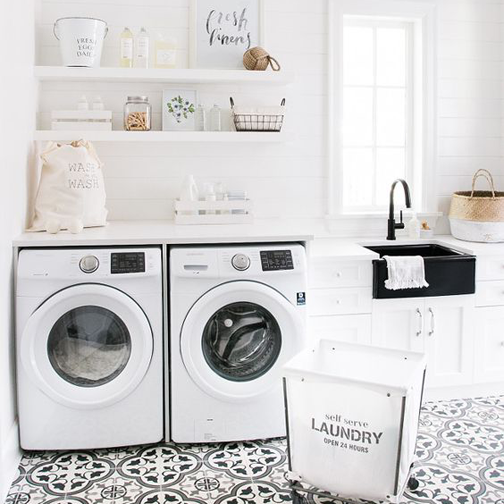
SINK: This stainless steel apron sink will match the other appliances well.

FAUCET: In a simple black finish.

COUNTER TOP MATERIAL: Quartz in a simple white color (Arctic Lace)- a clean, fresh look to compliment the dark cabinetry.

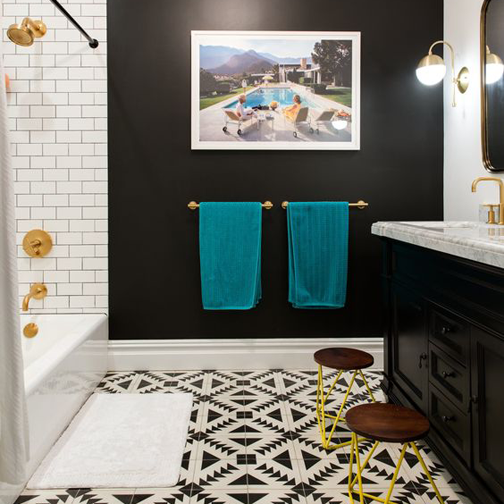
RUG: Adds a splash of color to the space.

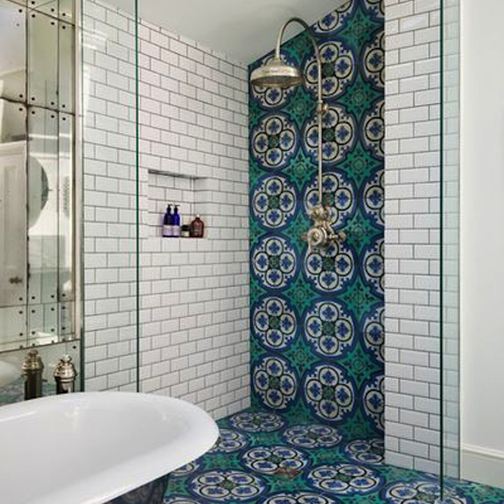
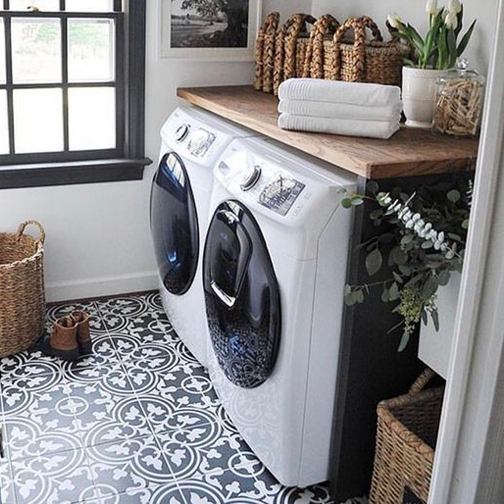
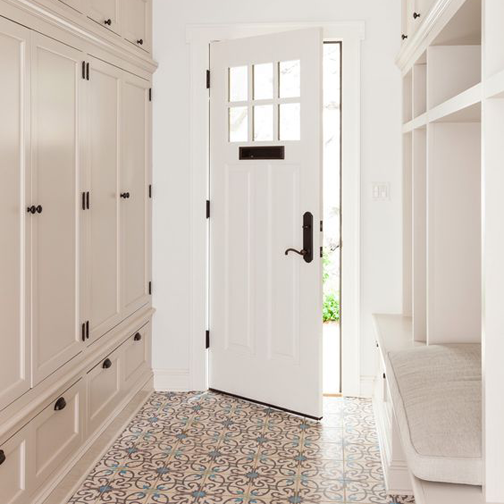
FLOORING: This beautiful porcelain tile looks like weathered wood. Set in a herringbone pattern, it adds a beautiful surprising detail.

LIGHT FIXTURE: A black industrial barn pendant set above the kitchen sink for extra task lighting.

BAR STOOLS: Simple and a bit industrial.

CABINETS: A custom cabinet maker can get specialty sizes, but this stock variety could save a bundle.

CABINET PULLS: These simple matte black pulls compliment the cabinetry without overpowering it.

CUTTING BOARD: A dose of natural walnut adds warmth and character.

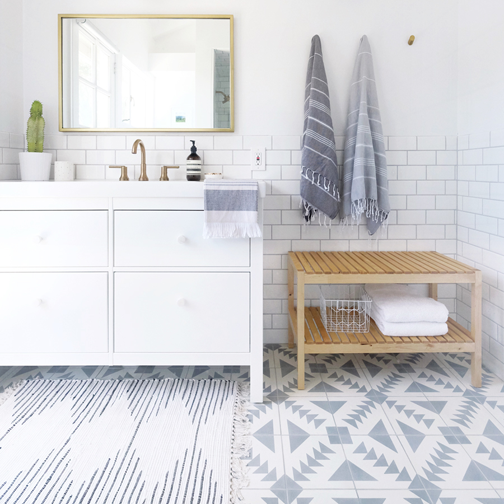
WIRE BASKETS: These simple baskets are handy for storage, but because of their openness – don’t promote clutter.

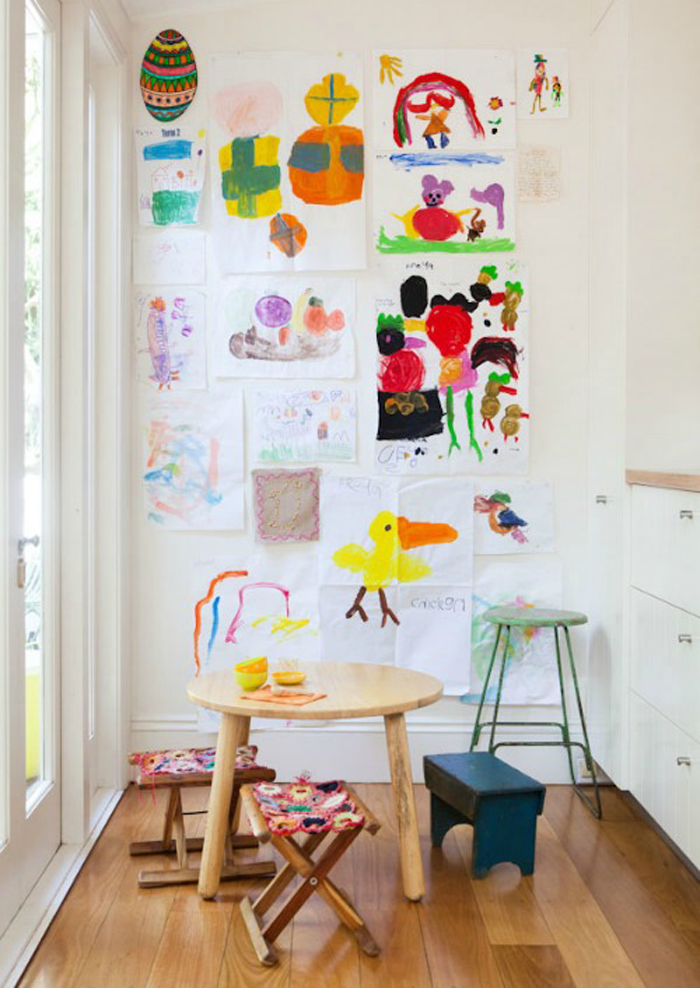
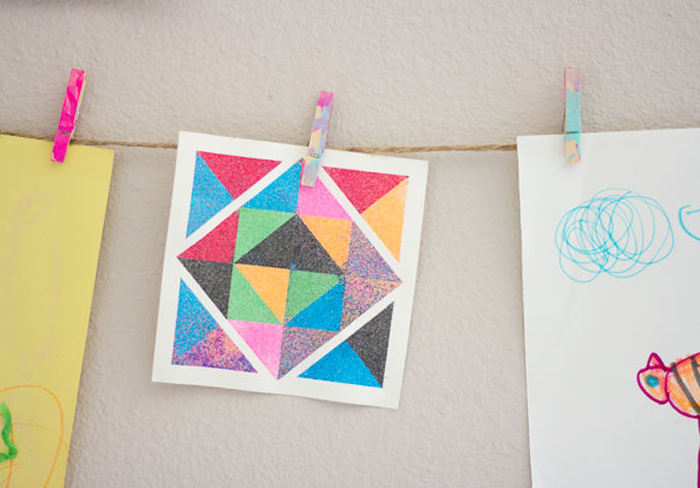
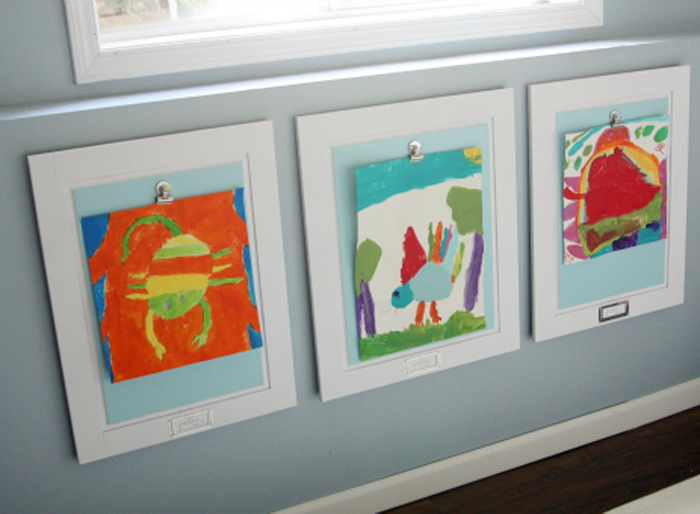
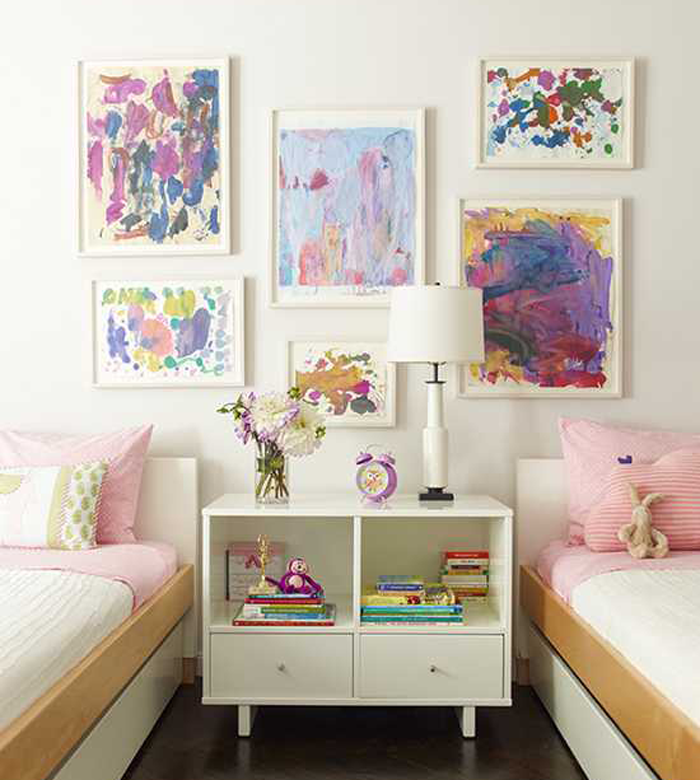
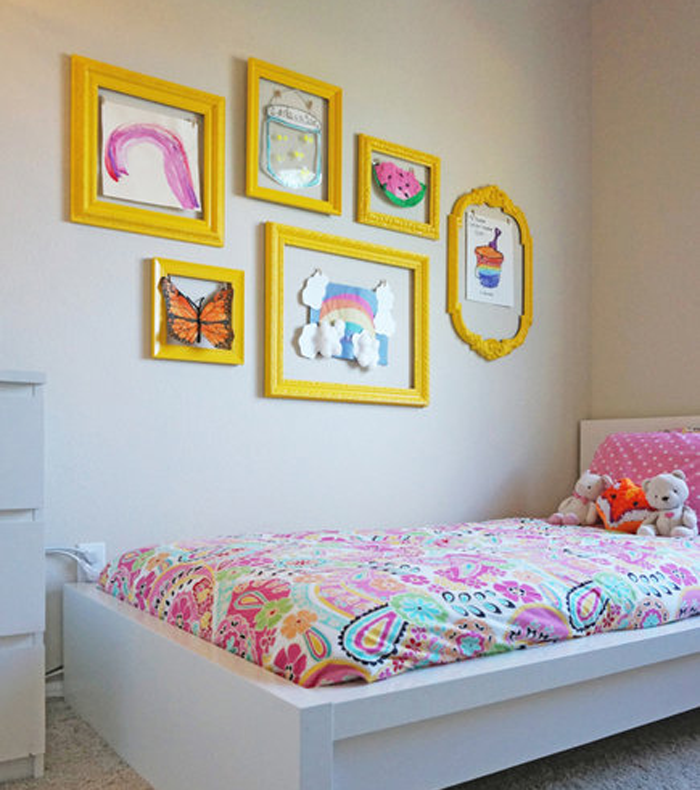
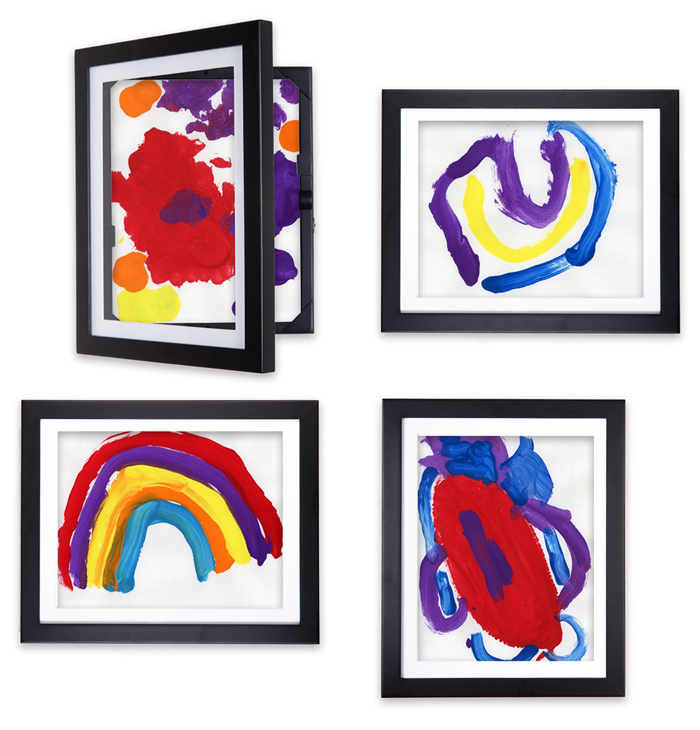
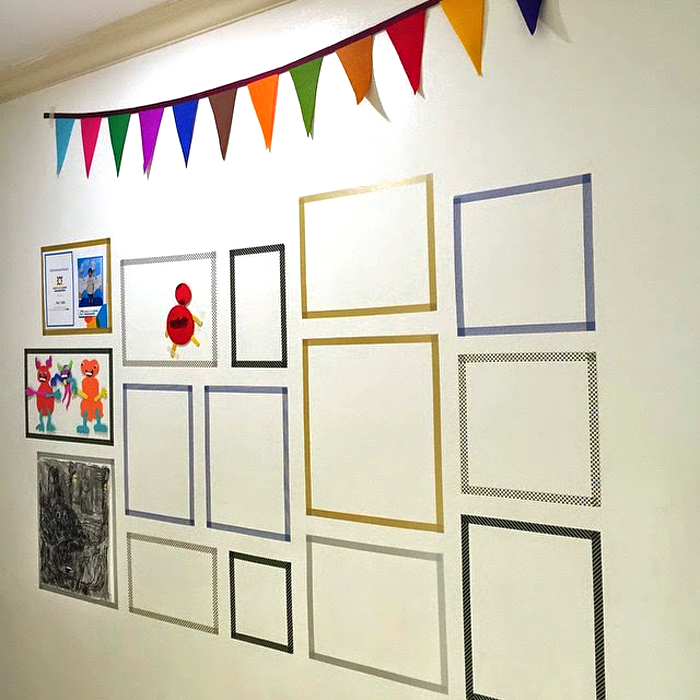
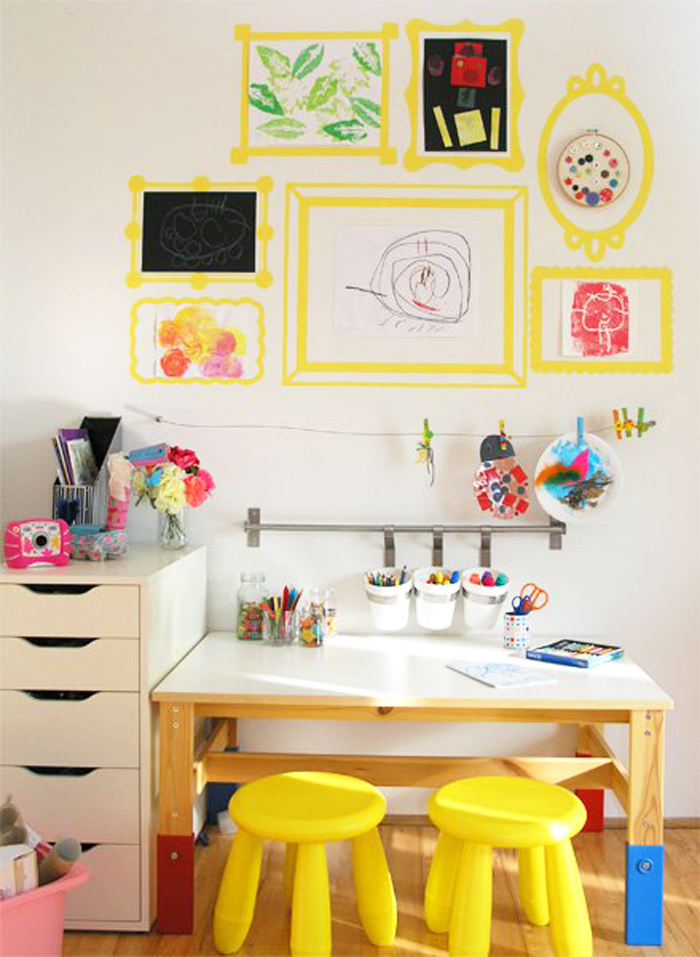
ART: A fun kitchen is one you can dance in.

WALL COLOR: ‘Agreeable Gray’ from Sherwin Williams – the perfect neutral.


AND NOW FOR THE BIG REVEAL!

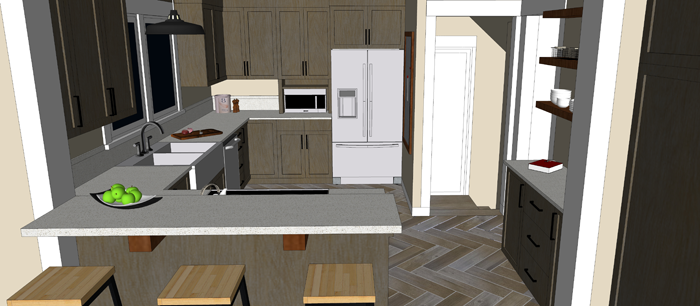
Can you see the changes? Even though the footprint of the room didn’t change – it seems so much more open! The colors are muted and neutral, which will blend well with the rest of the home decor. Just for reference, let’s take another look at the space pre-makeover.

Quite the difference, I think! Here are the details of what I did to achieve the casual rustic look that Adell and Ben love.

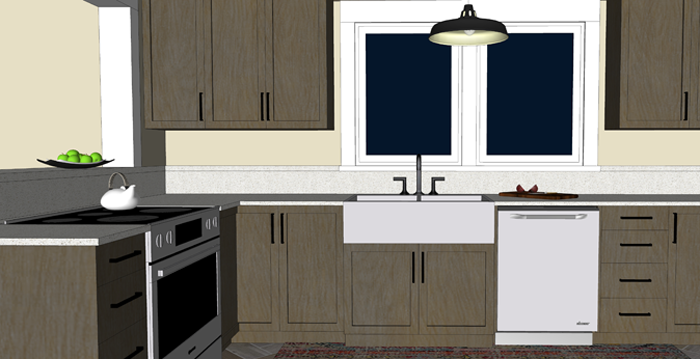
Obviously, all new cabinetry provides a fresh look. Because they are a darker gray stain that shows some wood-grain, I opted to go with a very simple quartz for the counters. Quartz is a wonderful low maintenance surface that is perfect for families with young children. The window above the sink was doubled in size, to allow a greater view of the backyard and let in more natural daylight.

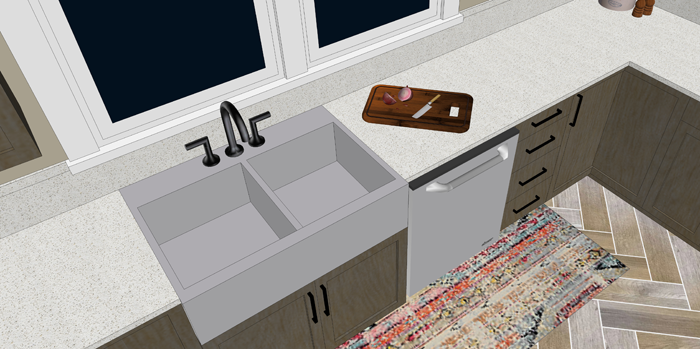
The sink was replaced with a stainless steel apron variety. The large double bowls are very efficient. All corner cabinets in the kitchen have hinged doors that allow access to Lazy Susan storage.

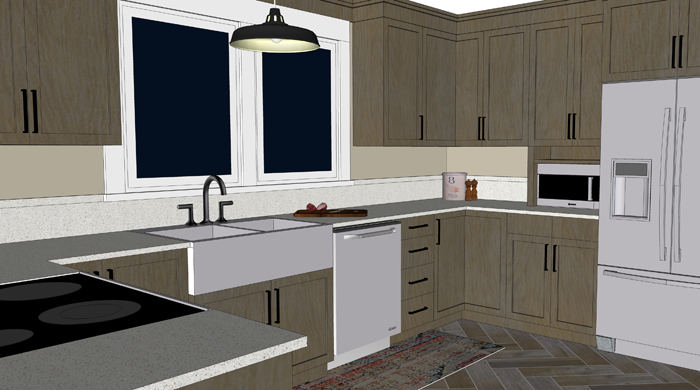
Above the sink I hung a large industrial barn style pendant light. This will provide wonderful task lighting, and is also a focal point for the room.

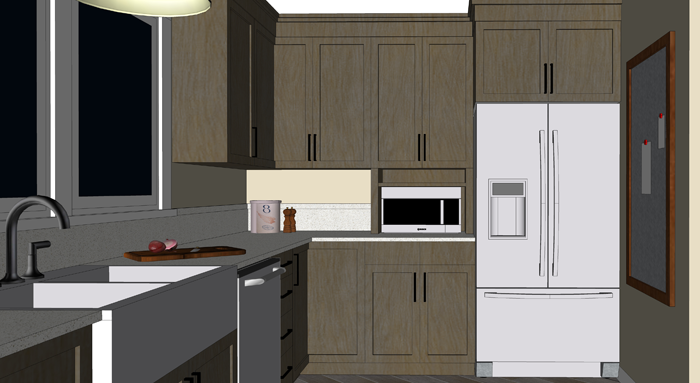
I removed a window on the fridge wall, which allowed me to even out the counters and provide a more accessible spot for the microwave. The small shelf above the microwave is the perfect size for a cookbook or two.

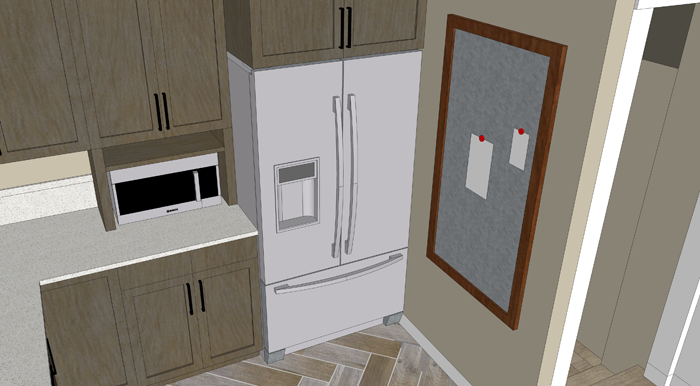
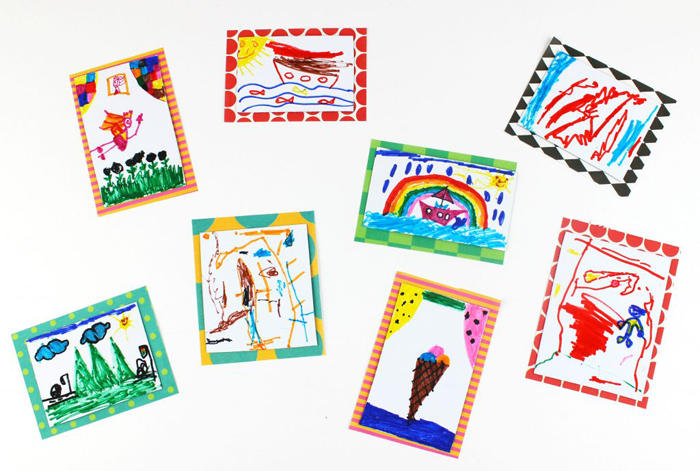
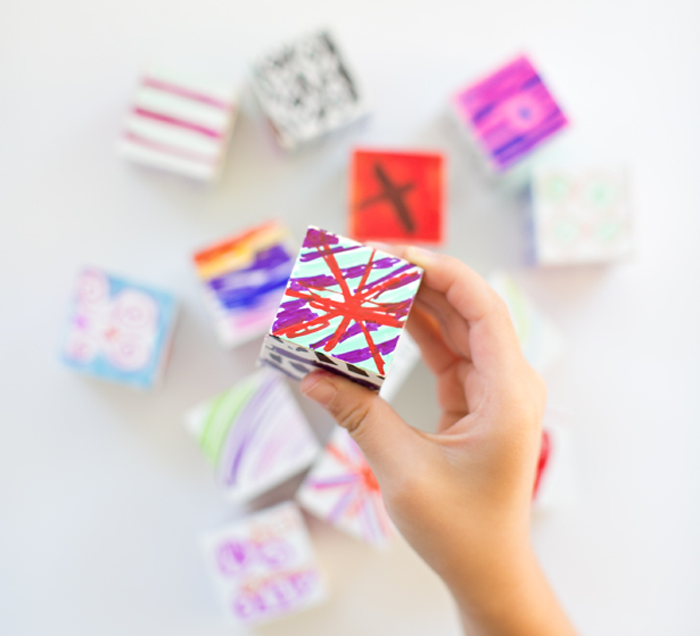
Next to the fridge, I am proposing a framed piece of sheet metal that can be used to hang notes, calendars and even kid artwork. This wall isn’t as visible from other rooms in the house, making it the perfect location for those random bits.

Where the pantry used to be, I am proposing a more shallow base cabinet with pull out pantry drawers. This is efficient storage for canned and boxed goods, and it offers additional counter space. Because of it’s location to the entry from the attached garage, this area naturally becomes a drop spot.

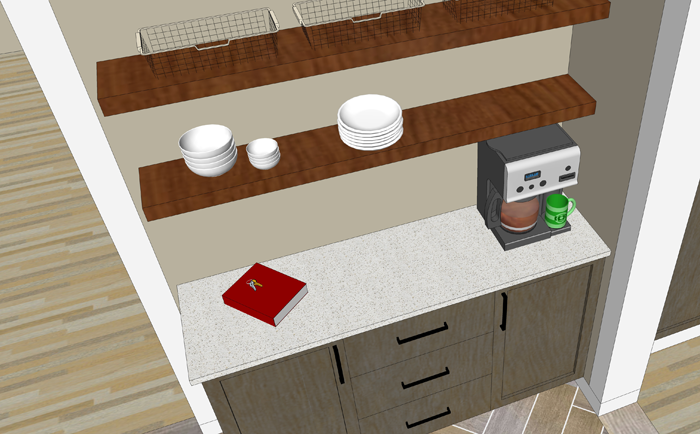
There is no shame in that. Every house needs a drop spot! The key is to keep the space organized and efficient so that it remains useful and not cluttered storage. Baskets can be placed on the shelves for papers that need to be filed, bills that need to be paid.

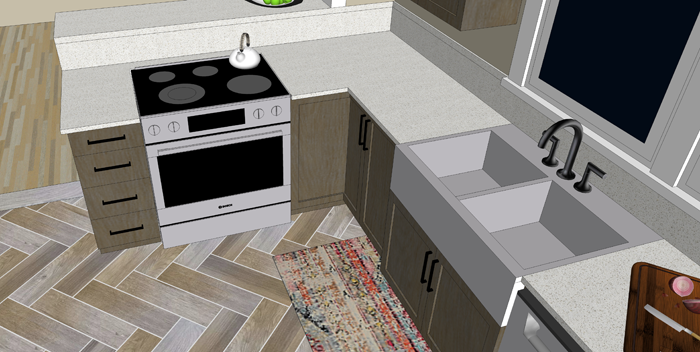
The counter/bar seating near the range has been raised, for safety purposes.

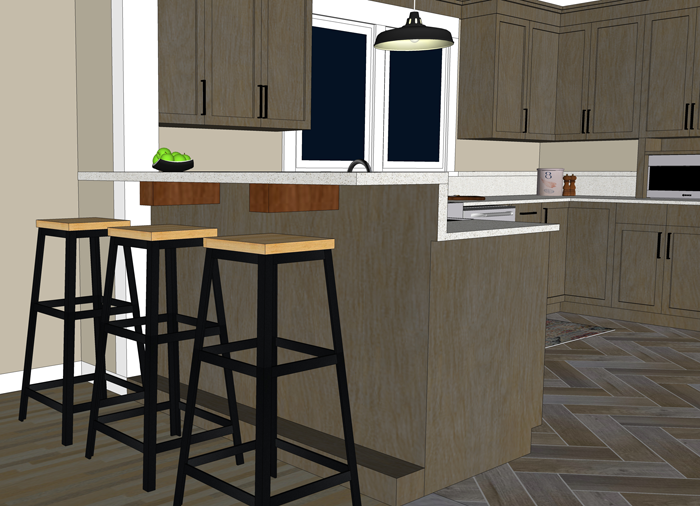
With the addition of rustic wood corbels, this is now an attractive spot to eat an afternoon snack or do homework.

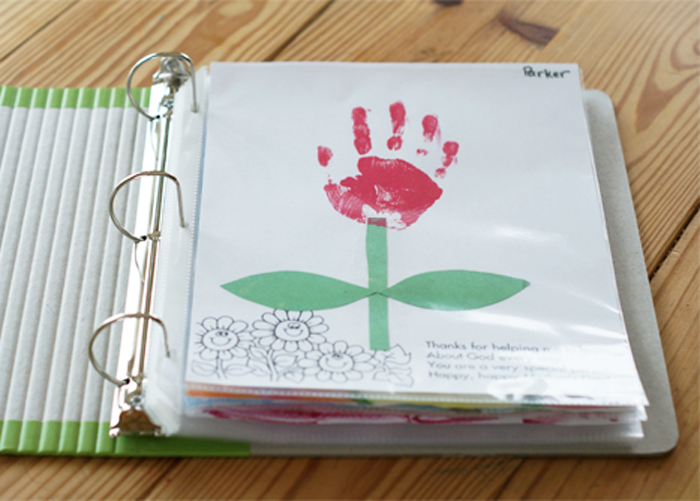
And immediately next to the bar, where a small cart used to reside, I am proposing an additional built in cabinet – to house the broom, cleaning supplies, and all of those fun kid craft materials.

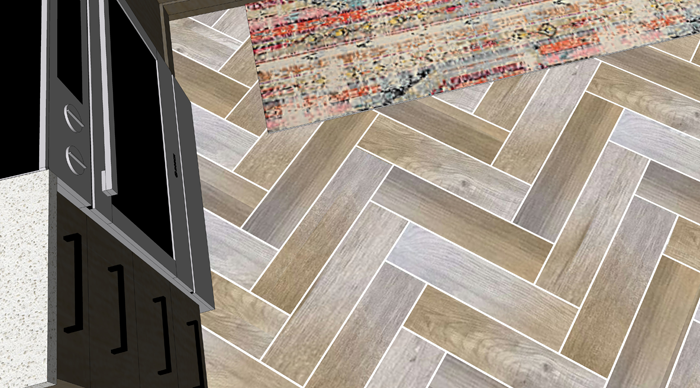
The real masterpiece of the room though has to be the amazing wood-grain tiles set in a herringbone pattern. So beautiful and durable! Accented with a pop of color from a distressed bohemian style rug, these floors really come to life!

One last look at the completed space:

I’ve created a 3d animation of the kitchen makeover for a closer look. Click the play button below to view.


I think that this casual rustic kitchen design would blend very well with the rest of Ben and Adell’s beautiful home. Working on this project for them was a lot of fun!

Remember that this is a FREE digital home design consultation, which is available to anyone who subscribes to the Arrow Hill Cottage website. If you or someone you know could benefit from this service, simply email me with a few photos and a description of what issues you would like resolved.

If chosen, I will offer a solution + inspiration through 3d images and sourced items. Hurry though! I only have the ability to do one Makeover Takeover each month and the spots are filling up quickly! I have plans to eventually make this a paid service, so if you have been thinking of contacting me about a project and want to get in on the free deal, don’t hesitate!


This post contains affiliate links to products for your convenience. If you purchase via my links, I may receive a small commission at no additional cost to you. Thanks for supporting Arrow Hill Cottage!


18 CREATIVE WAYS TO DISPLAY KID ARTWORK

If you share your home with children, you know that they are little art making machines. There is something so precious about your child’s creativity and imagination that you just want to bottle it up and save it for all time. Even still, it can be quite overwhelming trying to figure out what to do with each of these masterpieces.

In my search for unique and stylish solutions to this very problem, I have discovered 18 creative ways to display kid artwork. I think you will enjoy what I found.


raw art wall

This setup requires little to no prep work. When a child creates something that they want displayed, use a bit of tape or another removable adhesive such as poster putty, and add to the wall. Personally, I feel that this technique is best suited for a kid friendly space, such as a toy room, as it has a tendency to look a bit more cluttered than other display options.


clothesline

This highly adaptable hanging technique is accommodating for various sizes and shapes of projects.  All you need for this simple DIY is a thin twine rope, a few clothes pins, and your child’s creativity. The great thing about this option is that the kids can clip up and take down the art all on their own!


cork board

Positioning an extra large cork board against the wall and adding a desk can create an instant art station. Though similar to a raw art wall, the chaos is a bit more consolidated. Learn how this set up was created using cork squares, on the blog Young House Love.


clipboard display

These clipboard displays may tidy things up a bit more, but will mainly accommodate similar sized pieces of artwork. I love the added touch of the nameplate, which can be changed up as often as the artwork is.


framed art

If your child  is a master at one type of artwork – flowers, glitter, abstract – this may be the option for you. Grouping similar styles of art pieces lends itself to a beautiful gallery style display. I imagine the frames used in this setup are either poster size or custom created to fit the artwork.


ledge display

A simple shelf ledge arrangement may be the perfect option may be preferable if you tend to change out your child’s artwork frequently. Anna White has a wonderful tutorial on how to build these ledges out of standard materials – for only $10!


matching frames

Another way to tie varied art pieces together is by removing glass from old frames and painting them all the same color. This also gives the display a gallery look. These sunny yellow frames are really helping the art shine!


hinged frame

Perhaps you love the idea of framing your child’s art pieces but imagine that changing them out would be too much of a hassle. This hinged frame product may be the option you are looking for. They are said to be able to hold up to 50 sheets of paper! Click on the link above to purchase, or make them yourself!


washi tape borders

This is an inexpensive craft – and it looks cute too! You can create various sizes and change up the patterns and colors of the tape. The wonderful thing about washi tape is that it is easily removable and doesn’t leave residue – meaning you can have a traveling gallery that moves from room to room.


painted frames

For a more permanent look, painting frame patterns on the wall could be another simple fix. This display sets the mood for a creative art station where the littles can be inspired.


digital collage

If you have access to basic computer software, you can easily create this stunning look. Simply take photos of or scan each art piece, then crop and scale the images and arrange them in a grid pattern. Hang photos of the little artists nearby for an added personalized touch.


mini masterpieces

Another miniaturization of artwork, this display is created by scaling and printing the images and gluing them to bits of foam board. The individual mini art pieces are then arranged in a single frame.


binders

Displaying of artwork doesn’t always need to happen on the walls or shelves of your home. A binder filled with projects may be the perfect low-tech option to keep things clean and organized. This is such an easy technique that you might be tempted to save every last artistic scrap. Try to be selective or your child may end up with a storage room full of filled binders when they are ready to move out!


photo books

Photo books are very popular and may be just the thing you are looking for to display (and keep) your child’s artwork. Add photos of your child and short write ups about their projects to create a wonderful keepsake. Popular photo book companies include Snapfish and Shutterfly.


magnets

Is your fridge the place where most of the artwork migrates? Reclaim space by resizing each masterpiece digitally and creating fun, kid-friendly magnets! The kids will love rearranging their art pieces and making their own small exhibits.


blocks

Custom blocks are another fun option to transform artwork into useful play things. Imagine the colorful castles and roads the kids could build!


puzzles

Artwork can also easily be turned into puzzles! Websites such as Collage.com and PuzzleYou.com allow you to upload scanned images and create these custom, fun keepsakes.


bring it to life

If you really want to up the wow factor there are various artists, such as Custom Plush Art , who will bring your child’s artwork to life with a hand made stuffie! Just look at the details!


Each of these 18 ideas for displaying kid’s artwork is so creative and fun! I hope you will give some of them a try.

If you want to save this information for later, remember to pin!


TRENDING IN HOME DESIGN & DECOR: BOLD PATTERNED TILES

Are you looking to add a statement feature to your home – maybe something a bit more than a fresh coat of paint can provide? The bold pattern tile look is very popular right now, and homeowners have really shown their creativity on where to utilize this medium. Tiles aren’t just for floors anymore!


From straight line geometric to floral patterns, there is sure to be a tile to match just about any home style and design preference. In fact, I incorporated some fun patterned tile into a recent bathroom Makeover Takeover!


WHAT ARE THEY

These tiles feature bold, graphic patterns. Typically, they will have patterns that when positioned next to one another, and sometimes rotated, form an even larger, repeating design.

The origins of this type of tile style can be traced back as far as Medieval times. During that era they were called ‘inlaid tiles’, and later – in Victorian times – Encaustic tiles. Essentially, Encaustic tiles are created by using two to six different colors of clay. The clay is arranged in a pattern before firing. Because the pattern is not simply painted on the surface of the tile, it will continue to be present even as the tile wears.

Today’s patterned tiles are made primarily from cement, but there are less expensive varieties in both ceramic and vinyl.


WHERE/HOW TO USE THEM

There are plenty of unique applications for these stunning tiles.

Bathrooms

Tiles are a wonderful flooring option for bathroom applications because they are resistant to moisture/water. In small rooms, such as bathrooms, these bold tiles generally will not be competing with other design elements.


image source


image source


Laundry Rooms

Who doesn’t need a little excitement and style when tackling the laundry?


image source


image source


Kitchen

Tiles make a wonderful backdrop on kitchen walls or floors. They might also be fun to use on counter-tops, perhaps on a center island.


image source


image source


Entry/Foyer/Mudroom

Set an inviting tone to your entryway and let guests see a sneak peek of the fun and style they can expect to see in the rest of the house.


image source

Patterned tile is wonderful at camouflaging dirt and grime.


image source


Hallway

Hallways get a bad reputation of being boring and lifeless. With the addition of a sea of pattern, this hallway could not be any more interesting!


image source


Stair Landing

Add a bit of pizzazz to those boring stairways. Doesn’t this landing just seem to come to life with the tile work?


image source


Focal Point

Let eyes focus on a featured item in your home, such as a special alcove, the fireplace, or even a piece of furniture!


image source


image source


image source


WHERE TO BUY

A large variety of retailers are now selling these tiles at reasonable prices. Click on the links below for access to some of my favorites!


1 | 2 | 3 | 4 | 5 | 6 | 7 | 8 | 9 | 10 | 11 | 12


Be sure to also click on over to this post for a comprehensive shopping guide!


MY THOUGHTS ON THIS HOME DESIGN TREND

As a lover of simple geometric patterns, this is a trend that I can totally get on board with! My caution to anyone wanting to incorporate these unique tiles is this: use them sparingly. I personally feel that the boldness of the tiles can make a large space covered in them seem too busy, even dizzying.

I also would advise that colors are pulled from the tiles to use in the rest of the space. This will help to provide balance between elements.

Finally, be sure that you choose a color and pattern of tile that you love – they surely aren’t the easiest things to replace!