Today I am introducing a brand new feature to the blog – THE READER SHOWCASE – where I share photos and information about projects that YOU, my lovely readers, have tackled! I know there is a ton of amazing talent out there, and am excited to show everyone in blog-land what you have been working on.
For the first installment, I asked my friend and fellow creative soul Cilicia to share all of the changes she and her husband Justin have done to their cute house. I think you will all be inspired!
Cilicia, please tell me a little bit about your home.
We live in a 2000 walkout rambler, nestled at the end of a cul de sac. It’s on the outskirts of town and feels like the best of both worlds (city and country). We have a happy view out our back windows and can enjoy both the sunrise and the sunset from our dining room table.
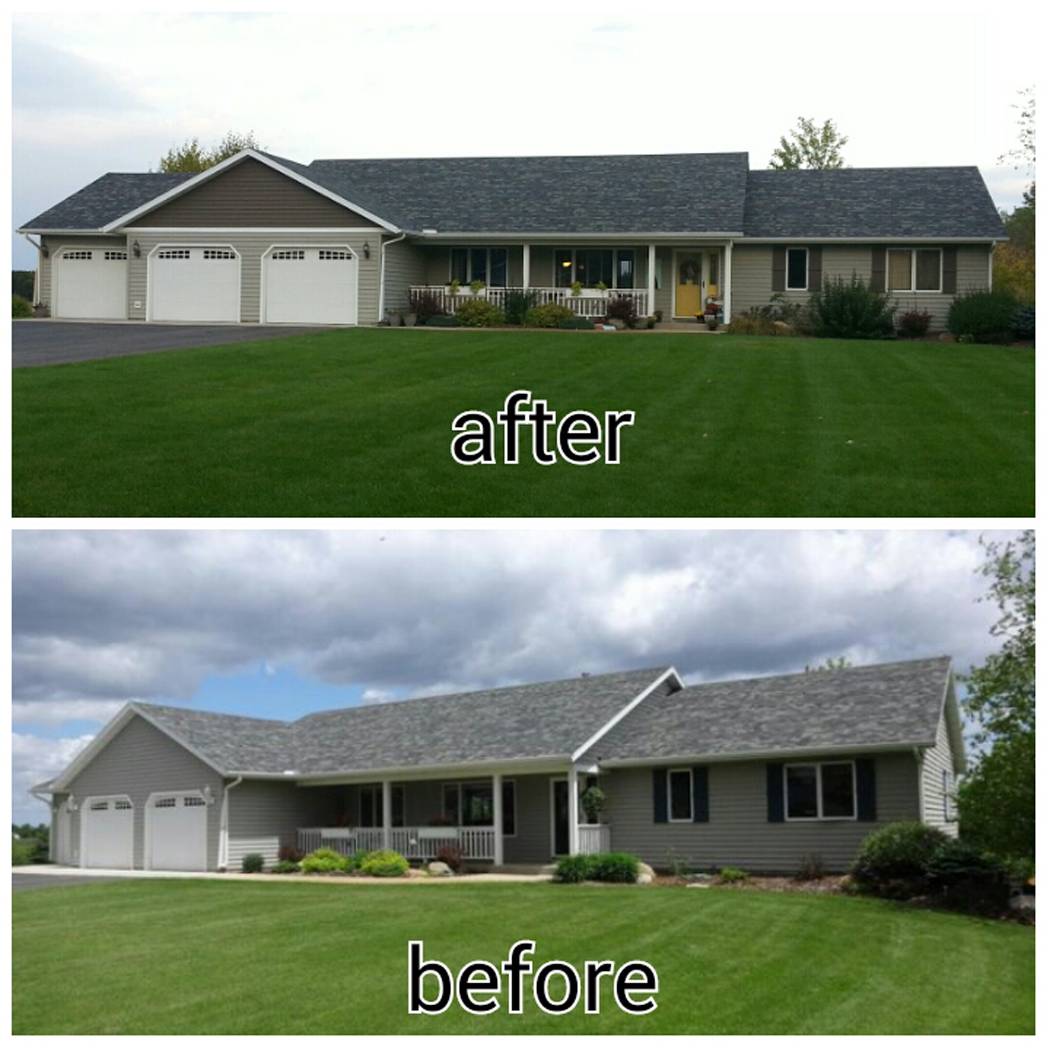
I love the detail they added on the garage. And that yellow door is a stunner!
What is your personal design style?
This is such a loaded question! My style has evolved so much over the last 20 years. I tried to figure this out myself early on in our home transformations, but found it rather hard to pick just one style to adhere to. I decided that I would start buying pieces that I loved, rather than pieces that fit an expected style. In doing this, you will find a mix of shabby chic, modern, contemporary, mid century and items that don’t have a place in any of those categories, in our home. To me this mixed style feels warm and inviting, while maintaining a clean look.
Please explain your favorite remodel projects. What was done to each space?
We have purchased 3 homes. Each of them have had our touch put on them. My husband and I tend to do a lot of the work ourselves, and hire out only the things we know need a professional touch. I tend to be the one who comes up with the design ideas, does the bulk of the painting, and helps with small projects. My husband is the man behind the scenes. He trusts the visions in my head and brings them to life.
These photos display some of the work we have done on our current house.
LAUNDRY
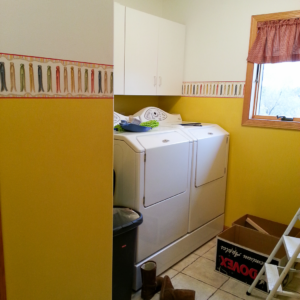
Laundry room before
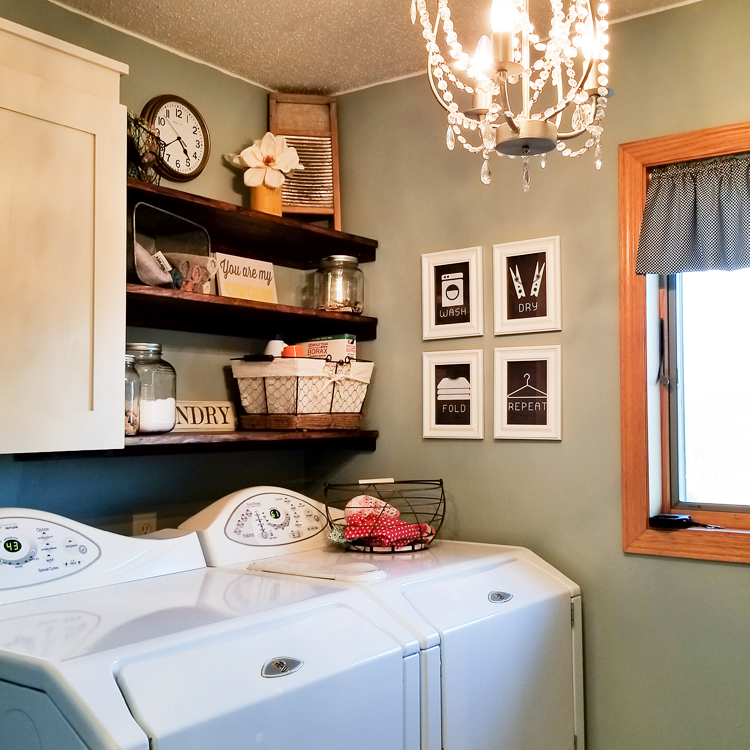
Laundry room after – how amazing is that chandelier? Doing laundry in style!
MASTER BEDROOM
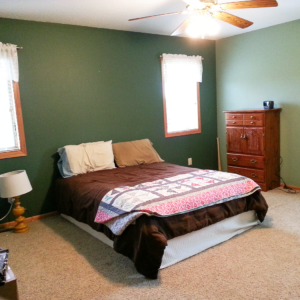
Master bedroom before
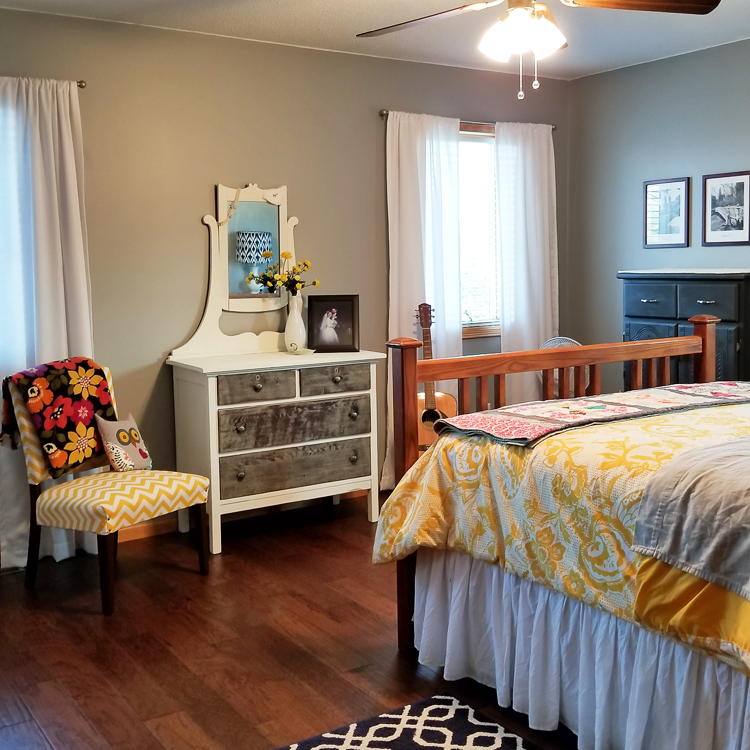
Master bedroom after – so cheery and bright!
LOWER LEVEL GUEST ROOM
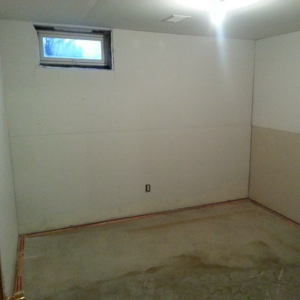
Guest room before – just a plain old storage room!
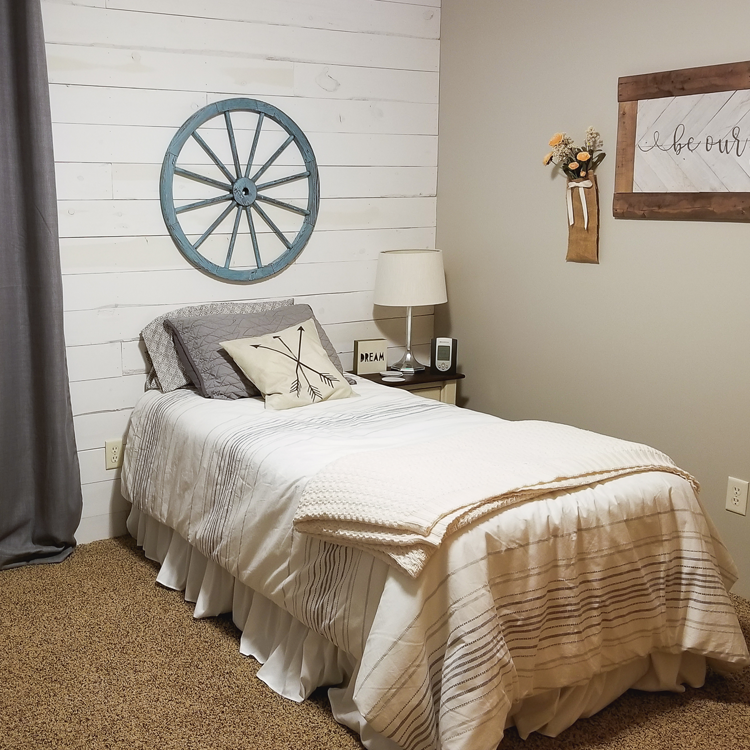
Guest room after – I think anyone could be comfortable here in this space!
GREAT ROOM
The house also has an open great room space, which is probably the largest project we have tackled. The entire space was remodeled (except for the kitchen cabinets and counter tops, which will happen sometime in the future.) Changes include all new flooring, walls painted a more neutral color, and updated lighting throughout.
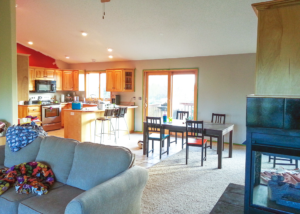
living space before
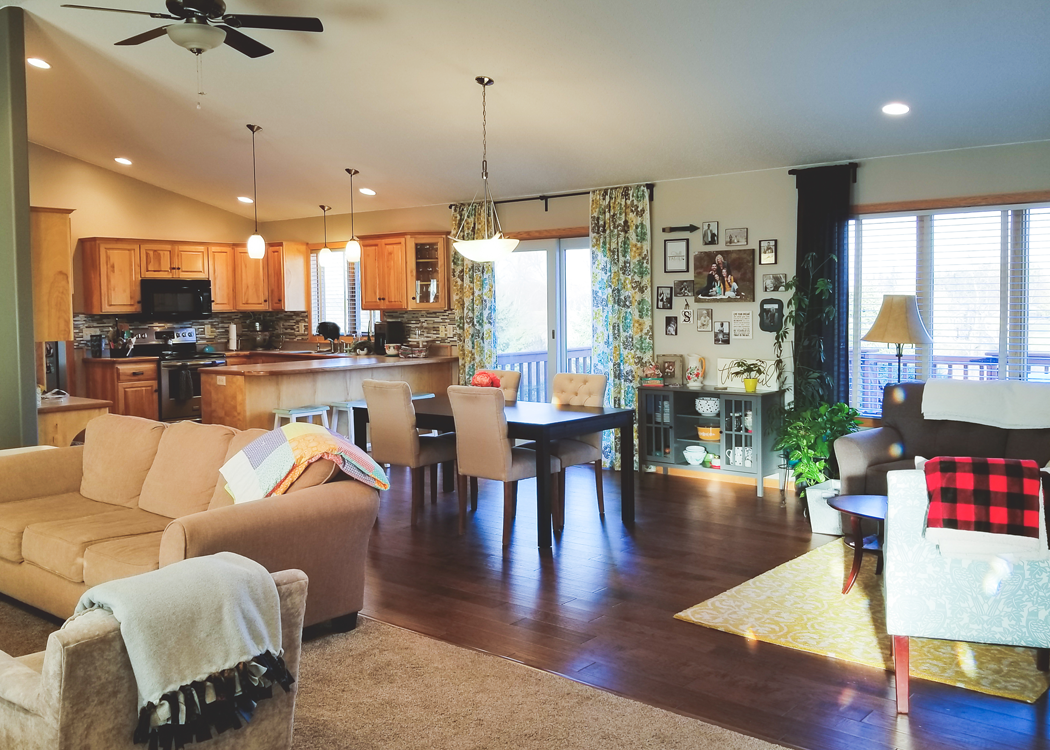
View of the living space after. I love all of the different textures and colors they used! Doesn’t it look cheerful?
The fireplace was one of the biggest changes in the space. The previous fireplace was large, three sided, and was awkwardly placed in the center of the room. Removing it really opened up the space – as you can see in the pictures.
We decided that we still wanted to have a fireplace, and carved out a nook at the end of our long dining room where we built a new fireplace. It has been an amazing feature in our home and is where we read and relax.
The decision on how to finish the fireplace took over a year to decide! At first we were set on putting rock on the outside, but I never really loved any that I saw. As time went on I realized that I actually liked the wood that we had up there, but it just needed to be lighter. Ultimately, we used a fake ship lap finish, created with very cheap wood boards that were white washed. We think it finishes the space perfectly!

Fireplace before – three sided and awkwardly positioned
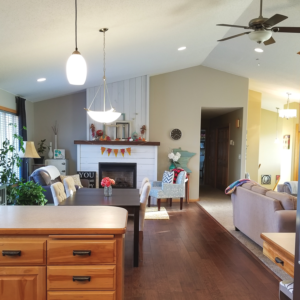
Fireplace after – centered on an adorable reading nook
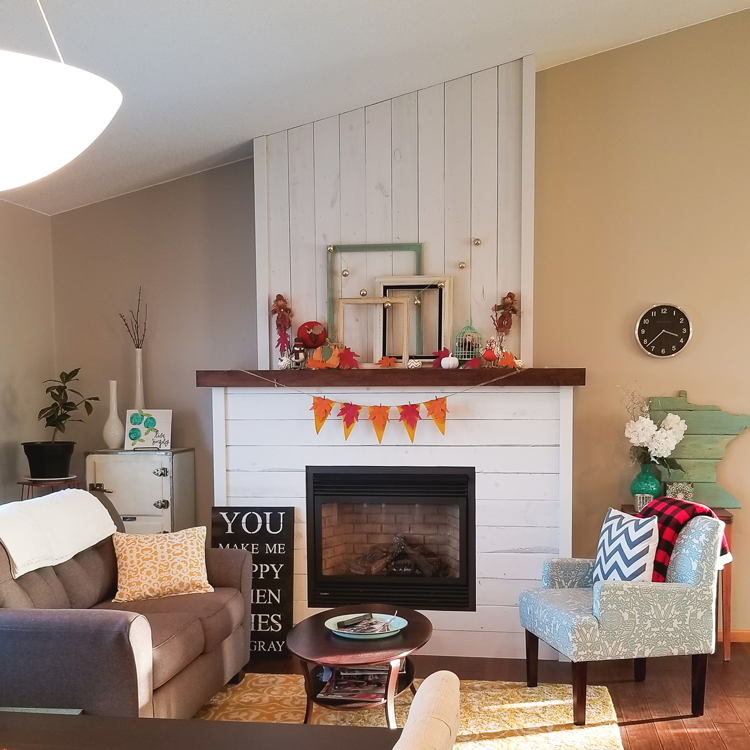
Close up of the fireplace and reading nook. Isn’t that refrigerator box ‘cabinet’ everything?! And… I happen to know that she reupholstered that chair on her own!
What would you like readers to know about designing and styling a home? Do you have any tips to share?
I am not a professional by any means; But after remodeling and decorating three homes, I do have some thoughts:
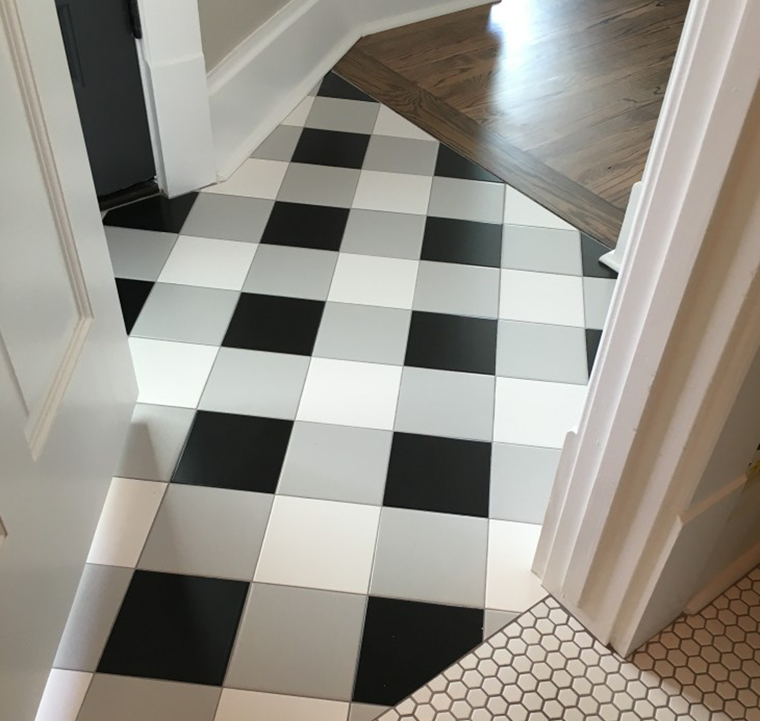
#1. ALWAYS remember that paint is an easy fix. Walls, floors, cupboards, and furniture are all only a paint brush away from getting a completely new feel.

She’s right! Just look at the difference that painting the walls made in the lower level bathroom of their house!
#2. Don’t be afraid to try something new. Most of what we have learned has come from trial and error.
#3. Patience!! This plays a huge role in a remodel of any kind. Whether it be with your husband, wife, children, contractors, or even yourself. Try and breathe. Trust me, you need to remember this tip!
#4. Put up the pictures. So often I hear people say that they wish that they could put pictures on the wall in a nice way. The fact is that they can! There are so many different outlets to find ideas on a wall layout. Just go to Pinterest or Google to learn how to arrange pictures on a wall. No matter how you do it, just give it a try. Family pictures add such an important personal dimension to a home!
#5. My last piece of advice is to enjoy the process. If you need to take a step back every once in awhile, do it. Each space needs its own time and generally we can’t do it all at once. Find a house you love and make a dream about all the things you want to do to make it home – then just pick one thing at a time and go for it!

A cute display in the laundry room. I love how she mixed in vintage finds!
Do you have any remodeling / decorating plans for the future?
We still have projects and I think we always will. I love to dream of ways to make our home feel more like “us.” Some of the projects that I hope happen sooner than later include:
- The addition of a three season porch to the upper level connected to our dining room. We entertain a lot, and I have already envisioned the parties, laughing, and conversations happening in that space!
- New paint for our kitchen cabinets, to brighten them up and help update them a bit. We also would like to install new counter tops, probably in marble or granite.
- New flooring for the entire basement, and an update to the basement bathroom.
Thank you so much Cilicia and Justin for sharing your wonderful home with all of us!
Now it’s your turn! Have you been putting your personal touches on your home? Maybe the entire house isn’t finished, but you are particularly proud of one room – I would love to see, and share with my readers!
If you are a blog subscriber, you are eligible! Simply email photos and a brief description to angela@arrowhillcottage.com for your chance to be featured!