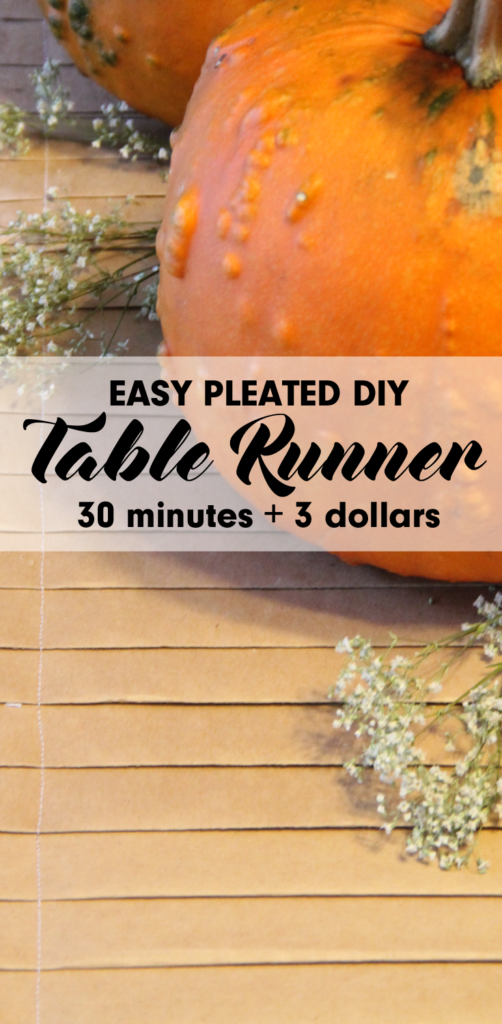
This simple table runner is striking, yet inexpensive and easy to make! If you have 30 minutes and a few dollars, your table can be dressed for success!
I love staple decorating pieces that can be re-used season after season. To fit that bill for me, they generally need to be neutral and quite basic. But nobody said that basic had to be boring! While this table runner would be the perfect compliment for a Thanksgiving table, it could just as easily dress up a Christmas or Easter table setting.
The best part of this do-it-yourself project is that it can be made inexpensively and quickly!
SUPPLIES YOU WILL NEED

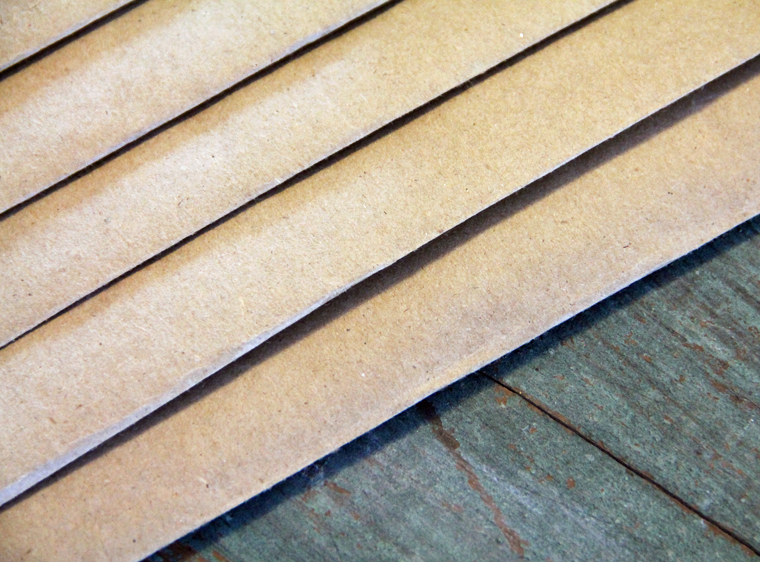
A roll of Kraft brown paper. I used a 30″ wide roll
sharp scissors
pencil
sewing machine / thread
straight pins (optional)
DETERMINE A RUNNER SIZE
The first step in this project is to determine the width of table runner you will create. Because working with the full 30″ roll of material would be difficult, I decided to cut the kraft paper in half. This left me with a finished table runner that is 15″ wide.
Feel free to play around with the material a bit to determine the size that will work best for you.
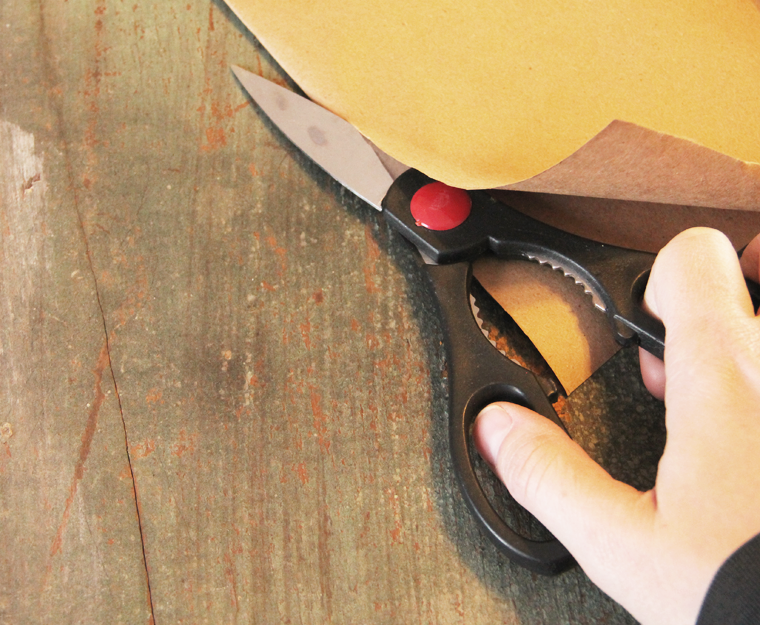
If you do decide to cut the material down, try to maintain as straight of an edge as possible. Having a straight edge will be helpful when folding the pleats. Don’t fret if you can’t get the edge perfect though, as any unevenness can be trimmed later.
You will also need to think about how long you would like your finished table runner to be. Because of the way that the paper will be folded, you will need 3′ of length for every 1′ of finished runner. For example, if you would like to create a 6′ table runner, you will need the roll of kraft paper to be 18′ long.
CREATE THE PLEATS
The pleats in this project are accomplished in a very similar fashion to folding a paper fan, with one important difference. The folds used to make a paper fan are ‘accordion folds’ – meaning they are all even. For this project, we will be using what is called a ‘knife fold’. The pleats for this technique are done at a 2:1 ratio. Learn the basics about the knife fold in the first few minutes of this video.
I chose to make my pleats 1″. That meant that the other fold needed to be 2″. If you choose to do a different size of pleating, just be sure to remember the 2:1 ratio. A 2″ pleat would require that every other fold be 4″, for example.
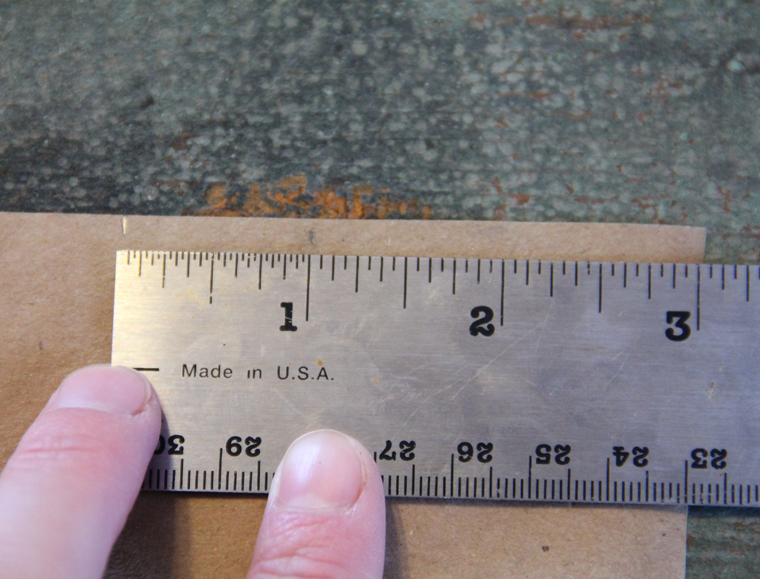
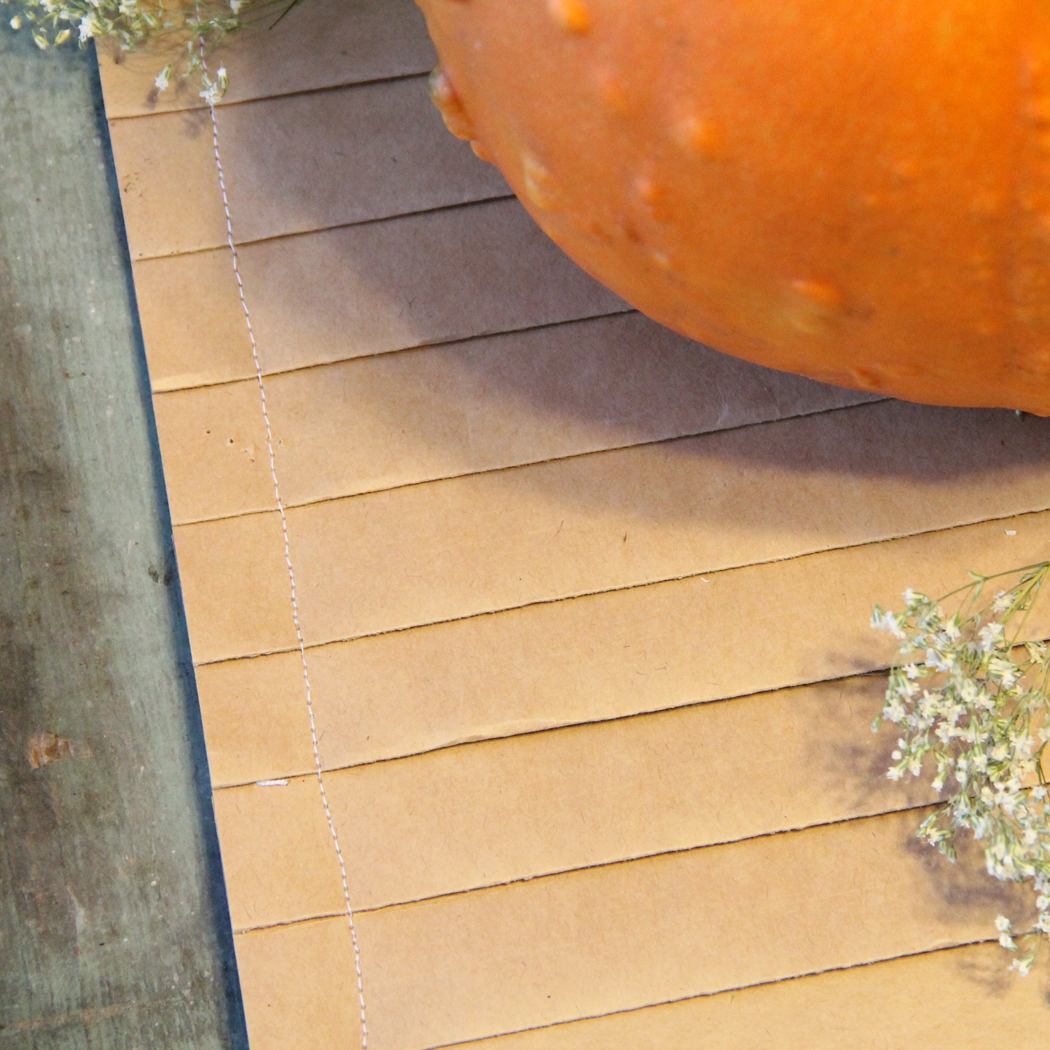
It helps me when I give myself small guides to work from. You can see in the above photo that I have a mark at 2″, and another 1″ further. I continued this marking pattern all the way to the end of the paper, on both sides.
Pinch slightly at the first 2″ markings on either side, then fold upward.
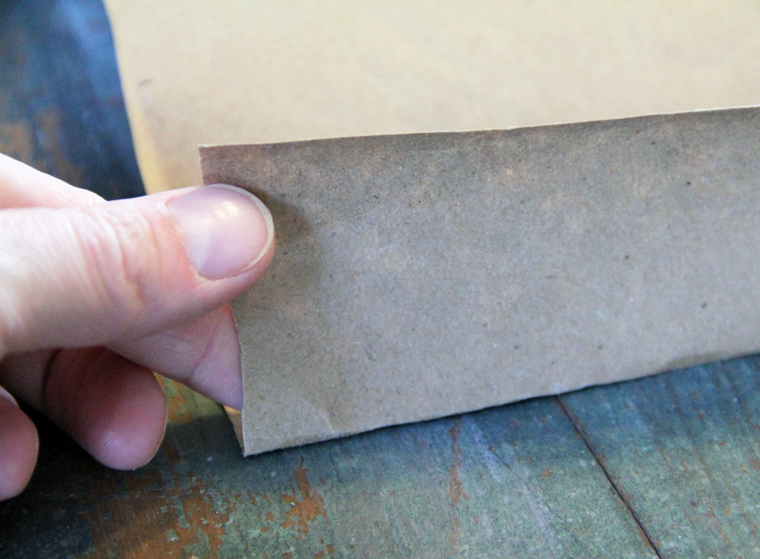
Pinch at the next two markings, and fold downwards. Continue this process, folding up and down alternately.
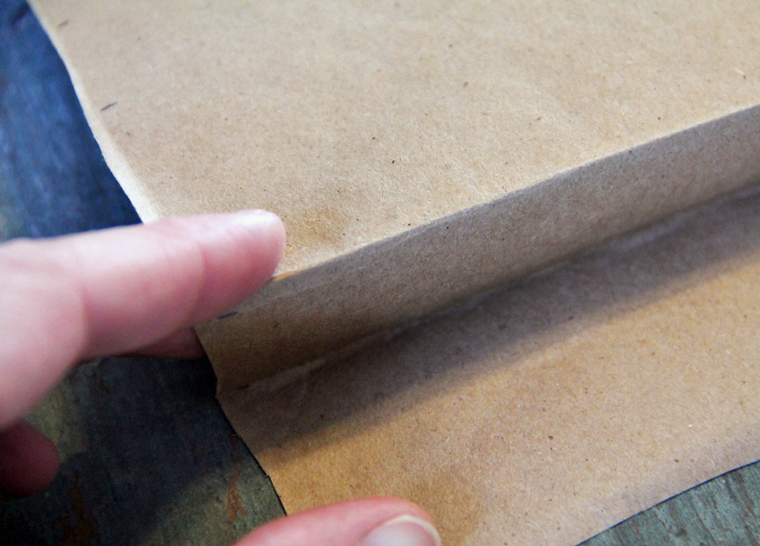
Be sure to make the lines as crisp as possible. I like to use my fingernail to get a nice clean line.
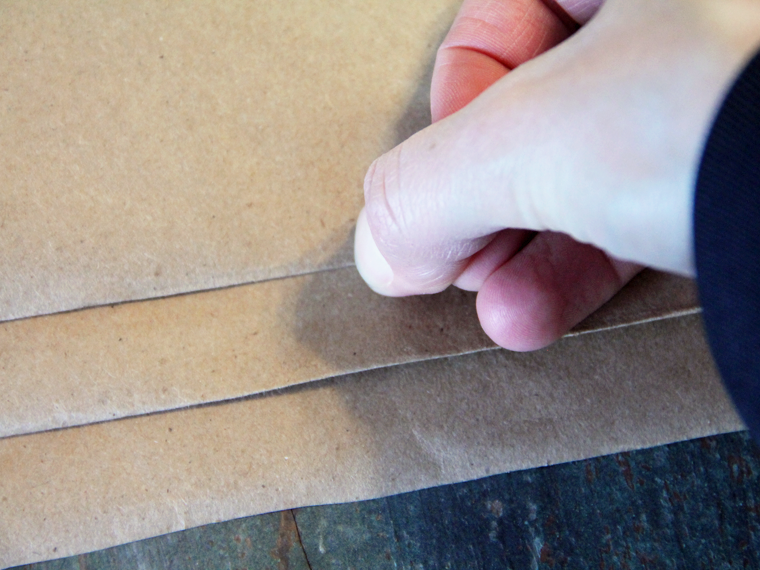
When you have pleated a few feet of paper, it may become difficult to keep the folds laying flat. At that point, consider placing some temporary straight pins to hold things together. You may instead choose to move onto the next step.
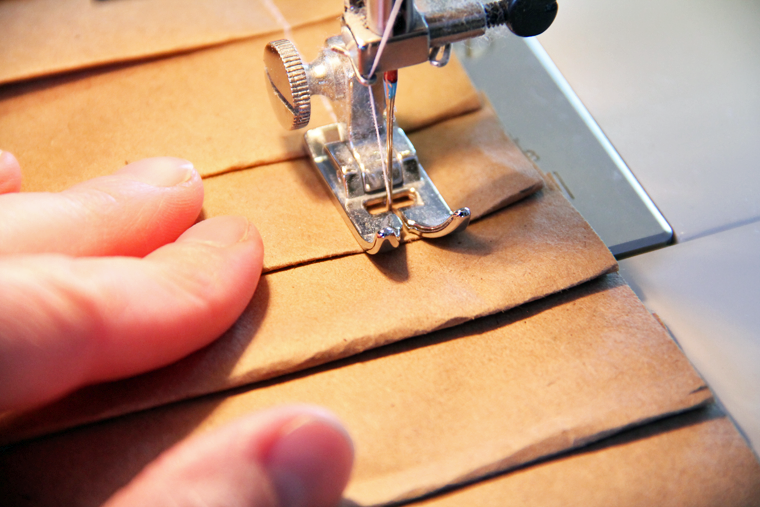
SEW THE PLEATS TOGETHER
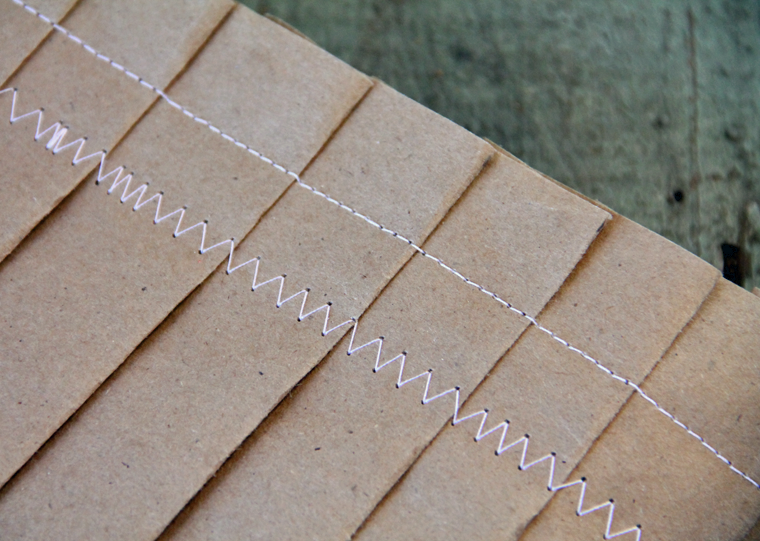
Sewing the pleats down will allow the table runner to stay flat. A simple straight line stitch, set 1″ from the edge, can get the job done.
Or you may want to play around with the settings on your machine to find a more decorative stitch. This zigzag stitch looked really cute!
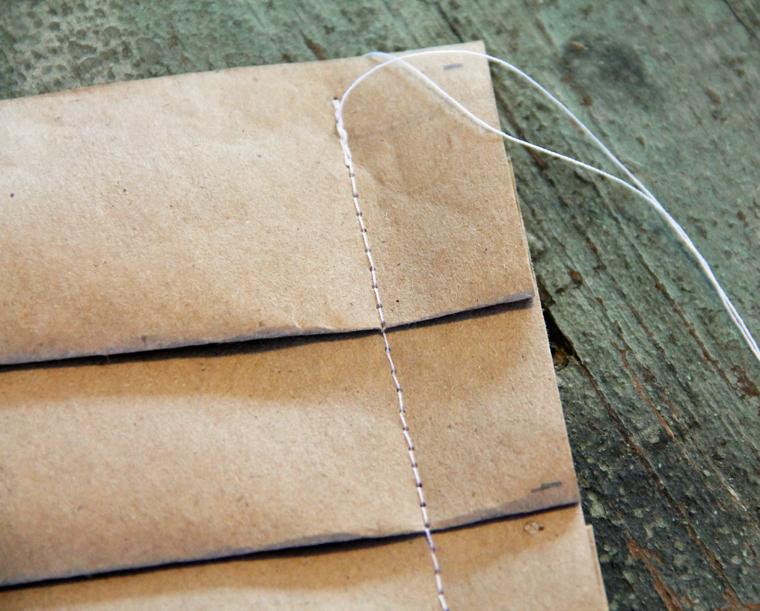
Finish by cutting the extra thread, erasing any visible pencil marks, and cutting the edge if needed.
ENJOY THE TABLE RUNNER
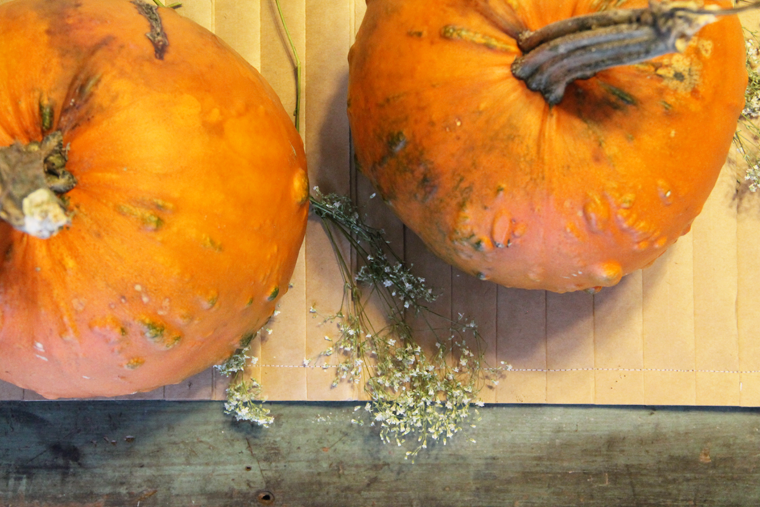
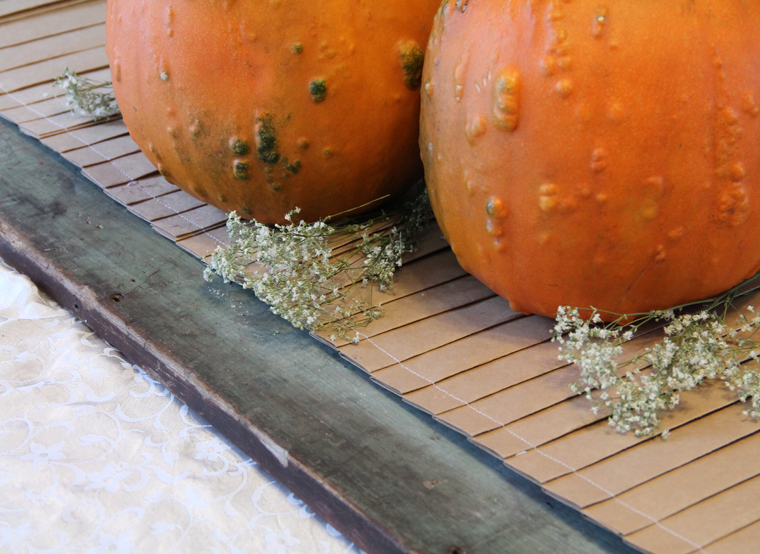
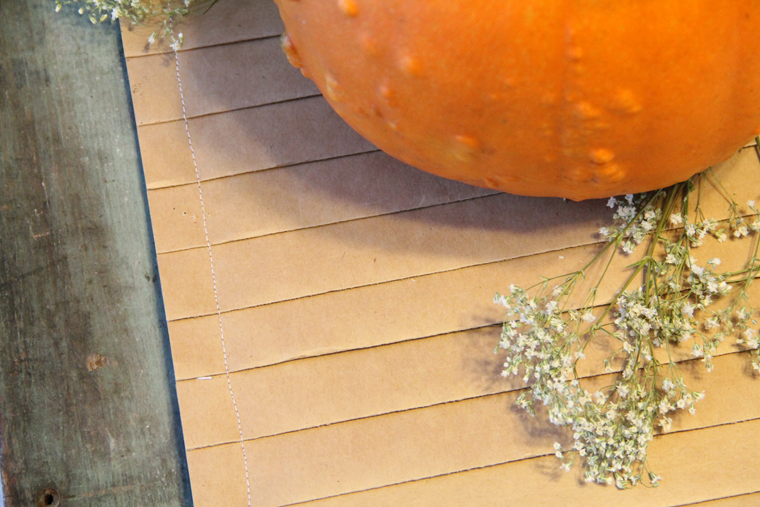
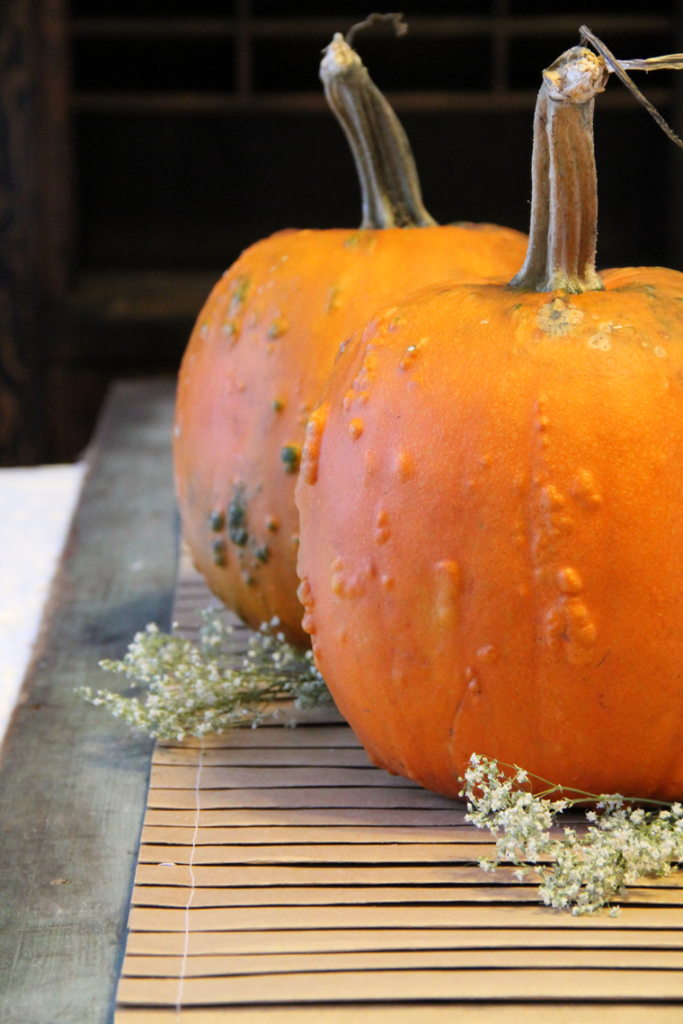
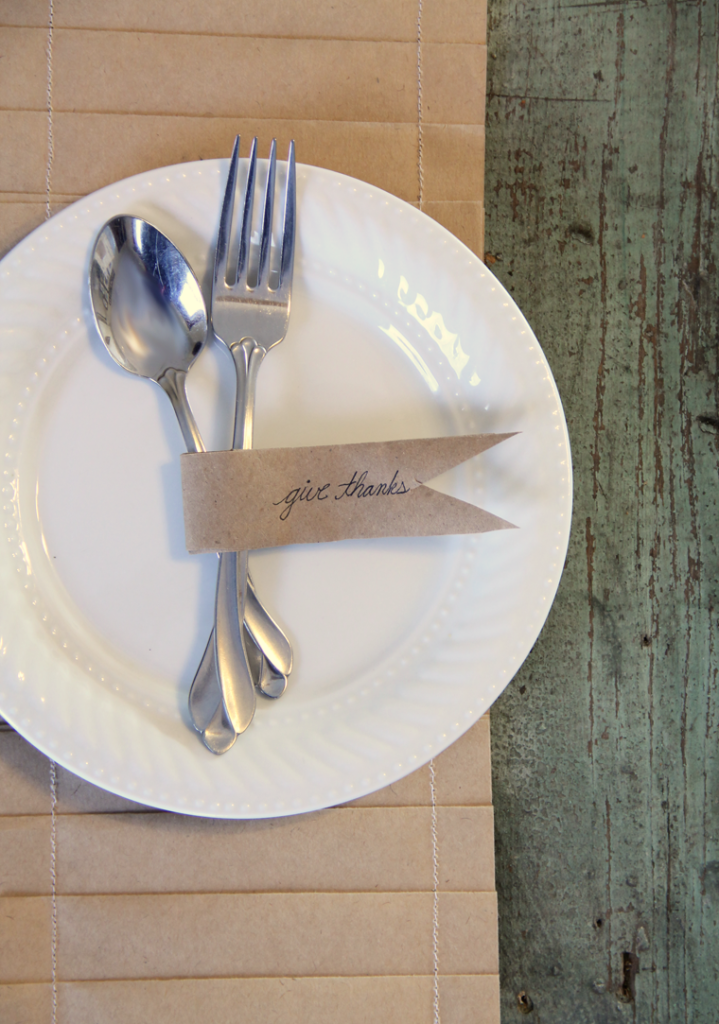
Your neutral pleated table runner is now ready for action! Layer it over a table cloth for extra dimension or place a bit of lace on top for extra texture. Add seasonal decorations for the final touch to a festive tablescape.
ALTERNATE IDEA
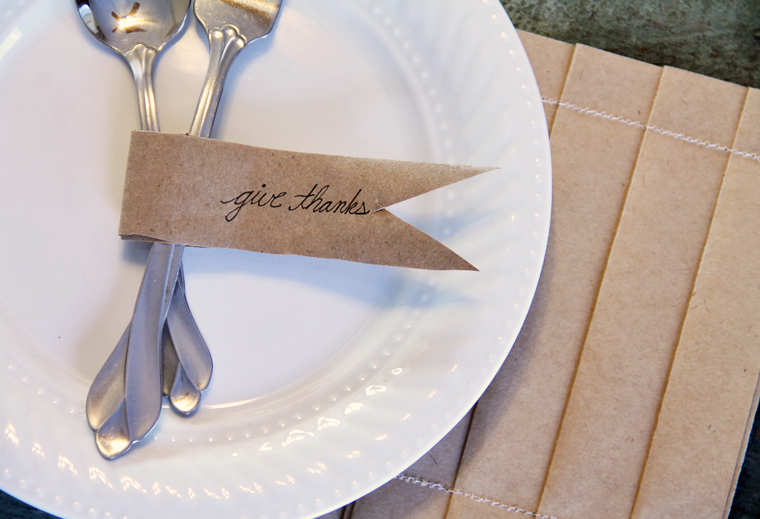
If the idea of creating an entire table runner seems overwhelming, consider this alternate. A smaller version can be created with less material and used as place mats.
PIN THIS PROJECT FOR LATER