I am so excited about today’s Reader Showcase feature! This series is where I have the opportunity to share the homes and home projects that my readers have tackled. I am constantly amazed at the talent and varied styles that each person has to offer!
I follow Heather on Instagram and am so inspired by her lovely home and how polished, yet casual, her spaces seem to look. She really has a lovely aesthetic.
Heather, please tell me a little bit about your home:
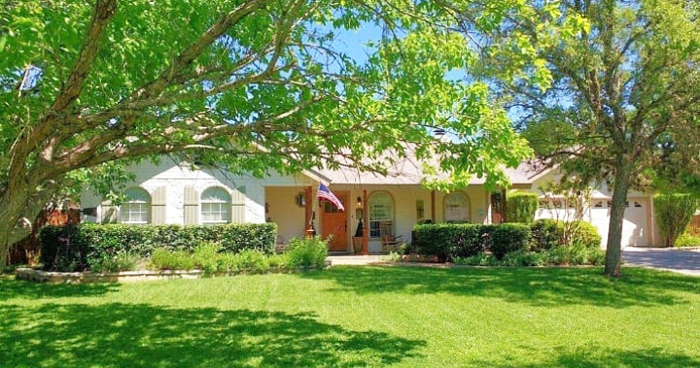
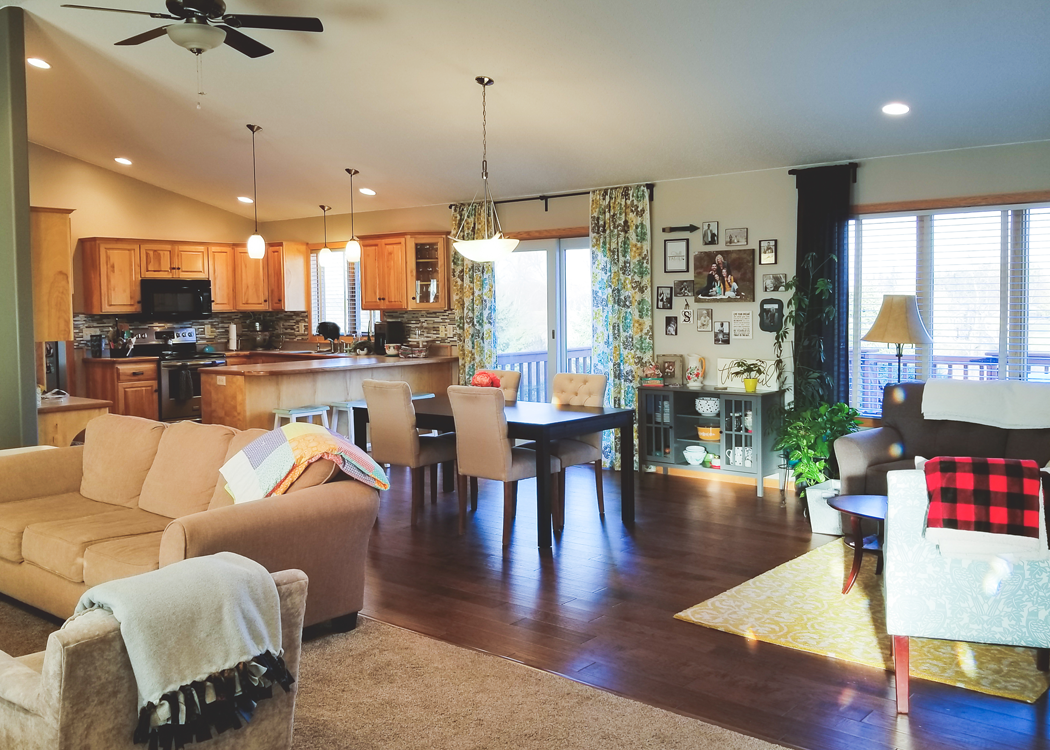
We live in a traditional builder grade brick home that is about 20 years old. We purchased it a year and a half ago and have been slowly tackling projects ever since! The house is sited in a small, historic town in Louisiana – nestled in a subdivision. The half acre parcel of land is beautifully landscaped, with a peaceful creek nearby, plenty of trees, and wildlife.
What is your personal design style?
My personal design style is a combination of modern and traditional farmhouse. I love to mix the old with new. Joanna Gaines has definitely been a primary source of inspiration. In fact, my husband often calls me ‘Little JoJo’. We live on a pretty tight budget, so the majority of our home decor is thrift-ed or DIYed. My husband and I love going to flea markets, thrift stores, trade shows, and antique stores to look for vintage pieces to add to our home. I think what I love most about vintage decor is that it is ‘one of a kind’. Each piece is unique and has so much character. There may be another item very similar, but it won’t have the same nicks, cracks, patina and history behind it.
Explain your favorite remodel projects. What was done to each space?
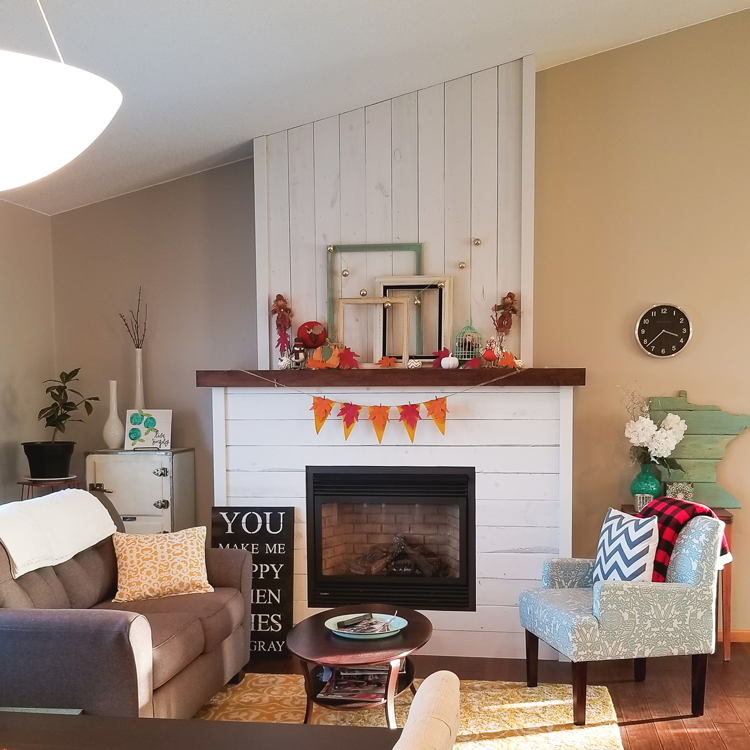
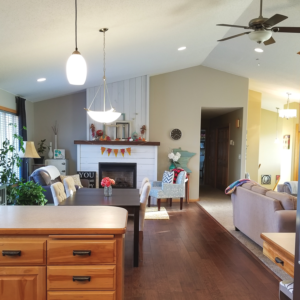
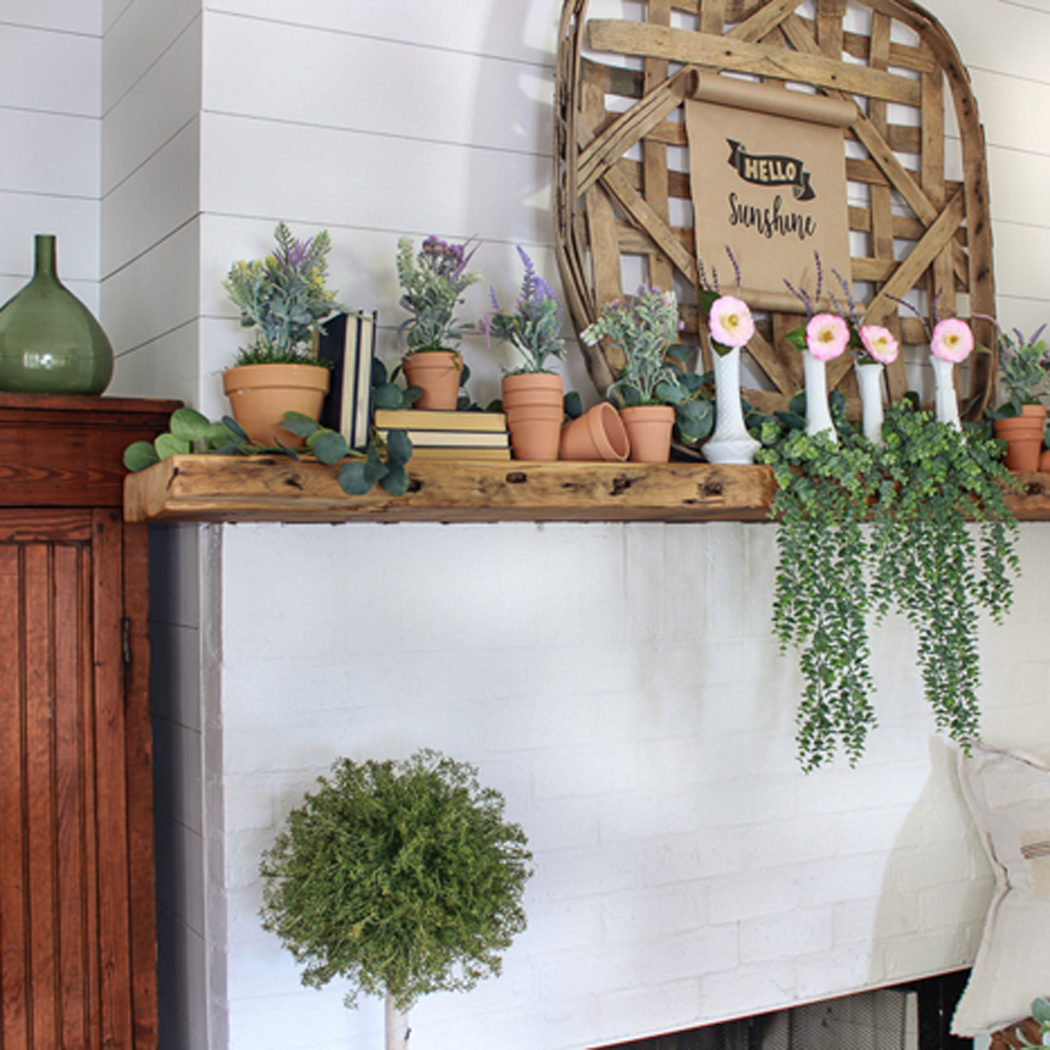
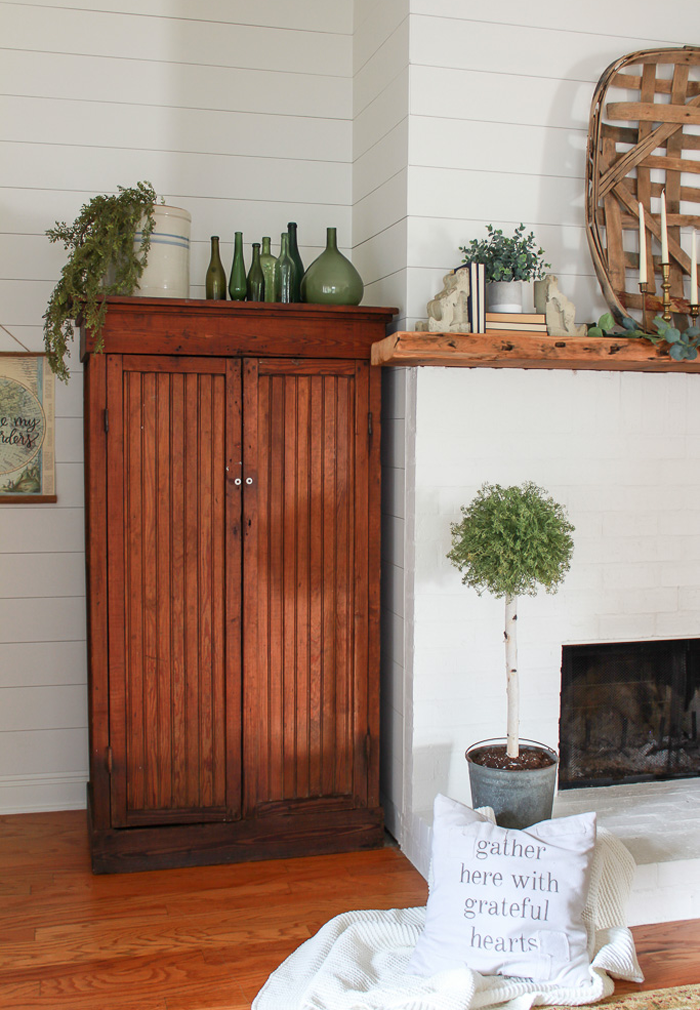
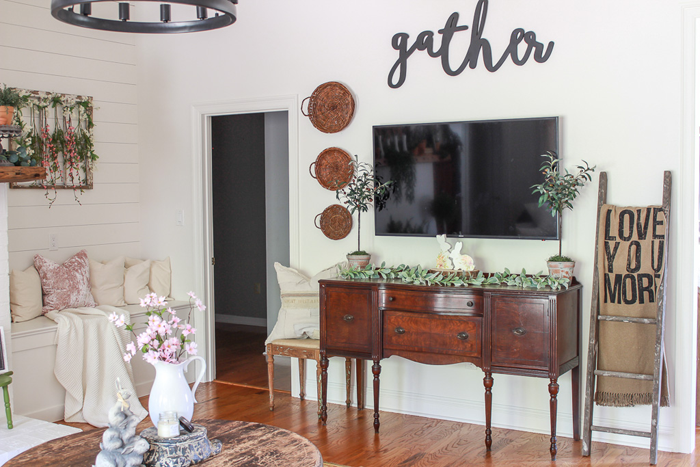
LIVING ROOM
My favorite remodel project has been our living room transformation. My husband and I DIYed everything in this space. When we purchased the home, all of the details were very traditional and dated. The fireplace had black marble with a fluted mantel. There were built-ins on both sides of the fireplace. The walls were painted a tan color, and a ceiling fan hung above the sofa.
The first step in our living room renovation was to tear out the built-ins. Though the storage was good, the materials they were constructed of were very cheap. My original plan was to tear out the built-ins and replace them with furniture pieces; However, once we pulled them out, we realized there were no floors underneath! The oak floors in the room have a honey color stain. Having the floors completely refinished or replaced was not in the budget. I had to come up with something that would cover the areas without flooring, and so we decided to do a built in bench seat on one side of the fireplace and I found a perfectly sized piece of furniture for the other side.

We then installed faux shiplap on the fireplace wall. This was a good option for this wall because it covered all of the sheetrock blemishes where the built-ins were.
When we set to work on the fireplace itself, we started by replacing the black marble tiles. I really wanted to add a hearth, and since we had never laid brick before, we felt it was best to contract it out. We learned an important lesson during that process – always get more than one quote! Of the two quotes to lay the hearth, one was 4 times more expensive than the other!

The mantel was very decorative with lots of moldings and fluted columns down the side. Again, this was not my style.
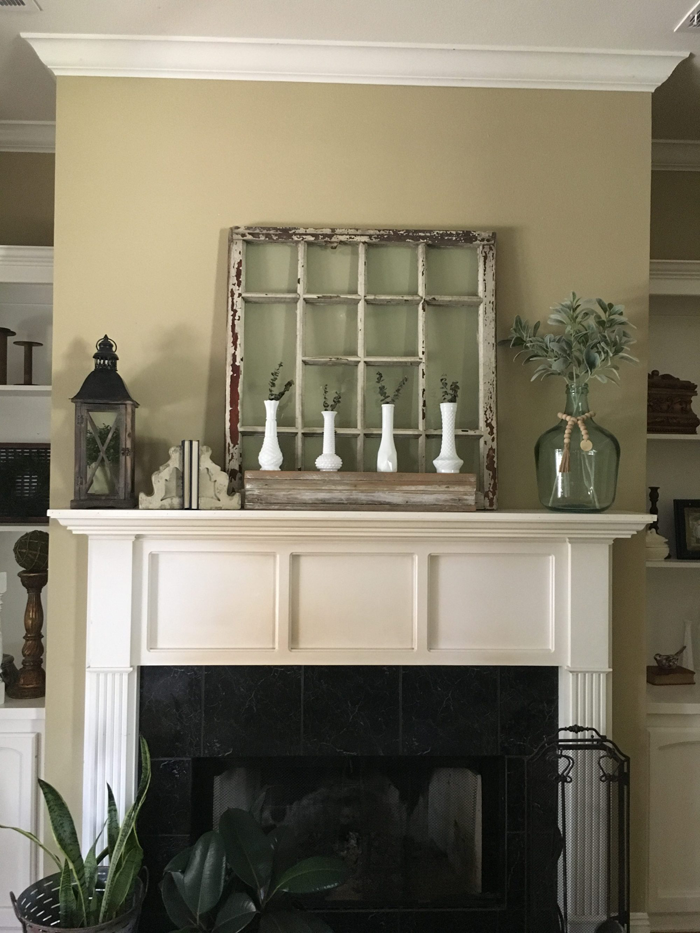
fireplace surround before
I wanted a simple, rustic look and found an old reclaimed pine board to use as a mantle instead. To finish off the living room space, we replaced the ceiling fan with the Edison Bulb chandelier from World Market. We also added drop cloths as window treatments to soften up the room – another in-expensive and easy DIY project!
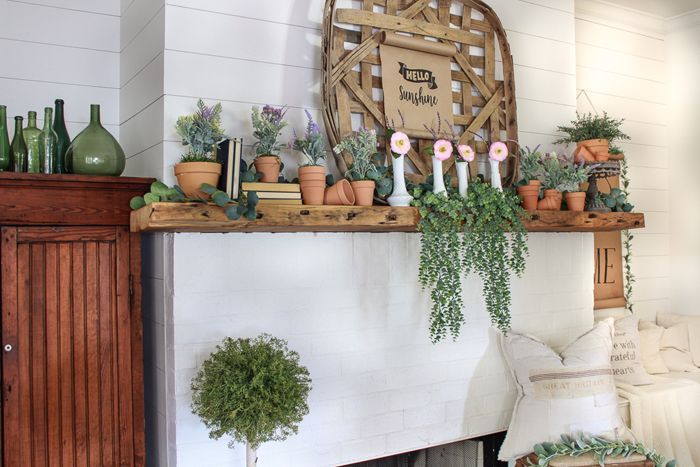
fireplace after
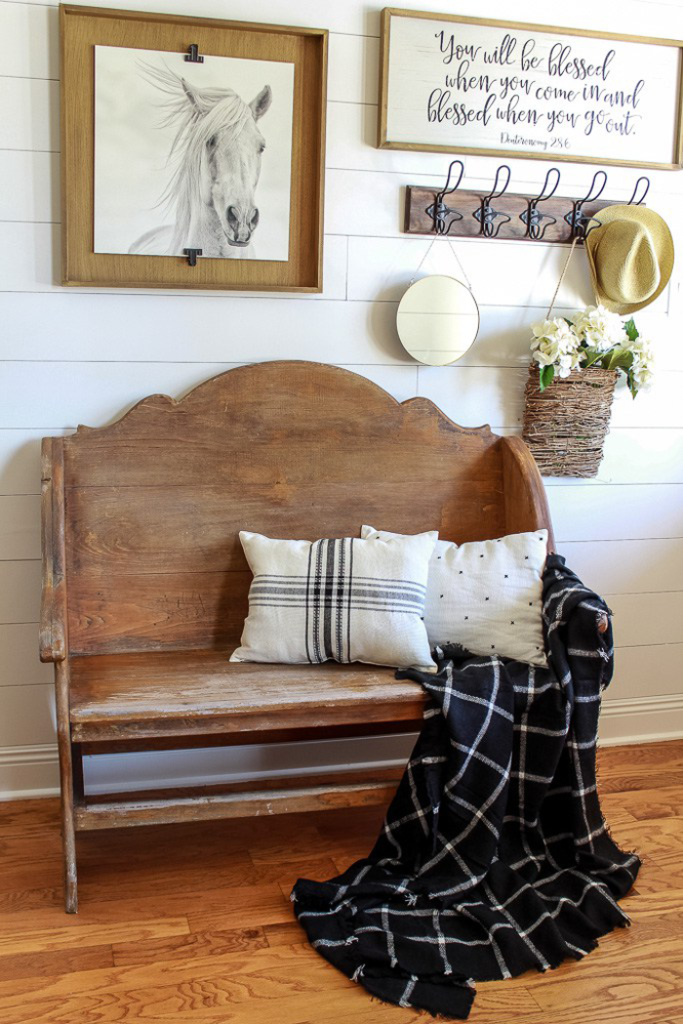
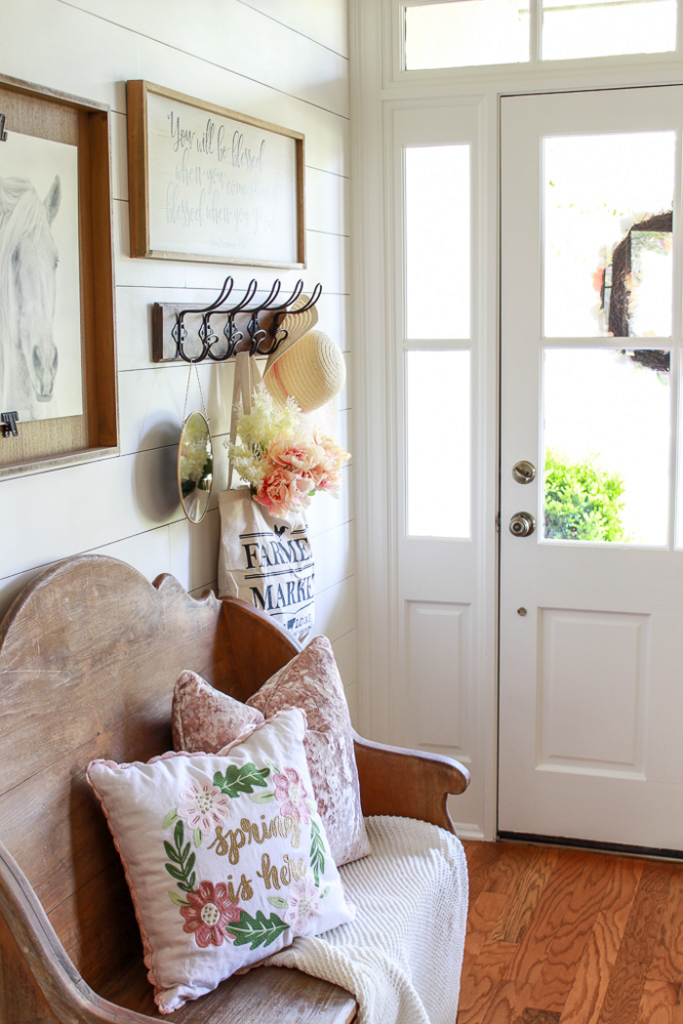
FOYER
The foyer was actually the very first project we ever tackled in our house. I think it was a great starter project for us, since it was a small space. It was still a design challenge though, as the room was originally painted with purple and metallic gold stripes!
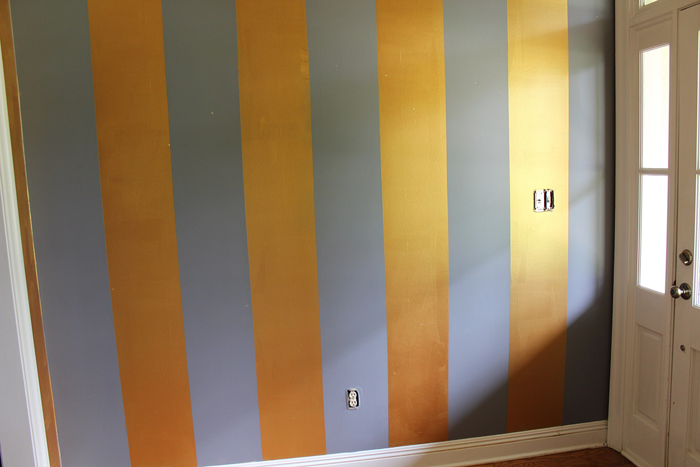
foyer before: a bold choice!
As you can imagine, it would have been incredibly difficult to paint over the bold pattern, and so we decided to cover the walls with something instead. After much research, we ultimately decided to use a faux shiplap in the space. It looks just like the real thing, but it is actually panel boards that are cut with lines every 6 inches.
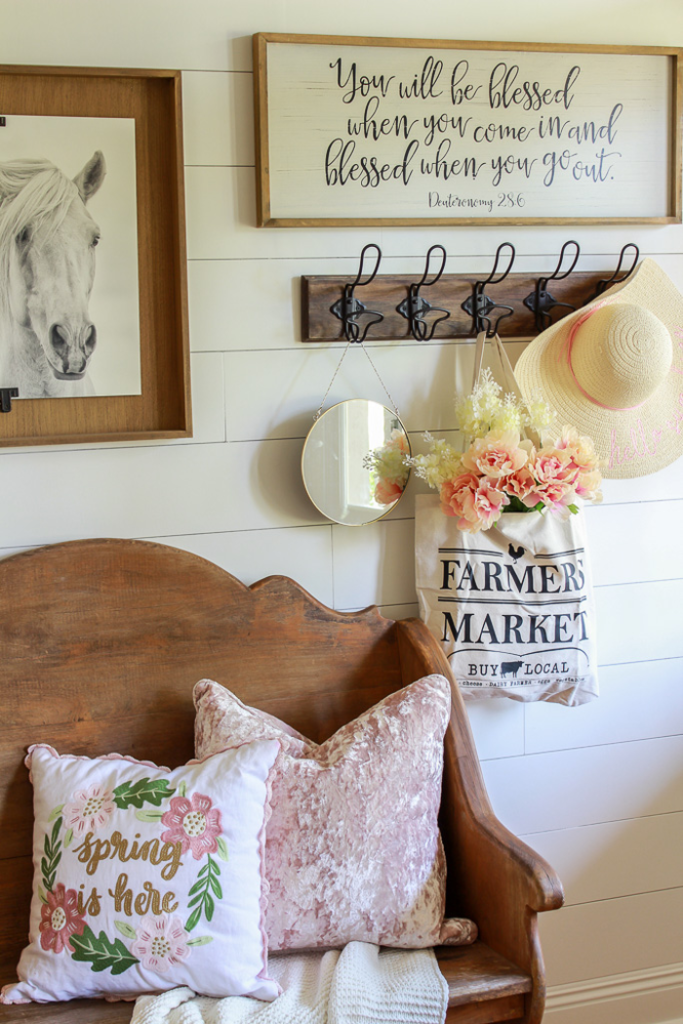
We painted both the walls and trim in White Dove by Benjamin Moore – which really gave it a fresh look, and even increased it’s perceived size! The space turned out better than we ever expected and completing it gave us the motivation to tackle other, larger home improvement projects.
What would you like readers to know about designing and styling a home? Do you have any tips to share?
Most importantly, have fun! Be creative and play around with different styles without being afraid to break the rules to create a style all your own!
Another tip I have is that if you don’t have a ton of money to style your home, start with ‘shopping your space’. You don’t always need new decor – sometimes you just need new combinations in different rooms. Think of ways that you can re-purpose or up-cycle what you already have. If you use your imagination and think outside of the box, you can create some pretty amazing things. I’ve picked up many items from the Dollar Tree that I have transformed into beautiful decor just by getting a little creative.
Do you have any remodeling / decorating plans for the future?
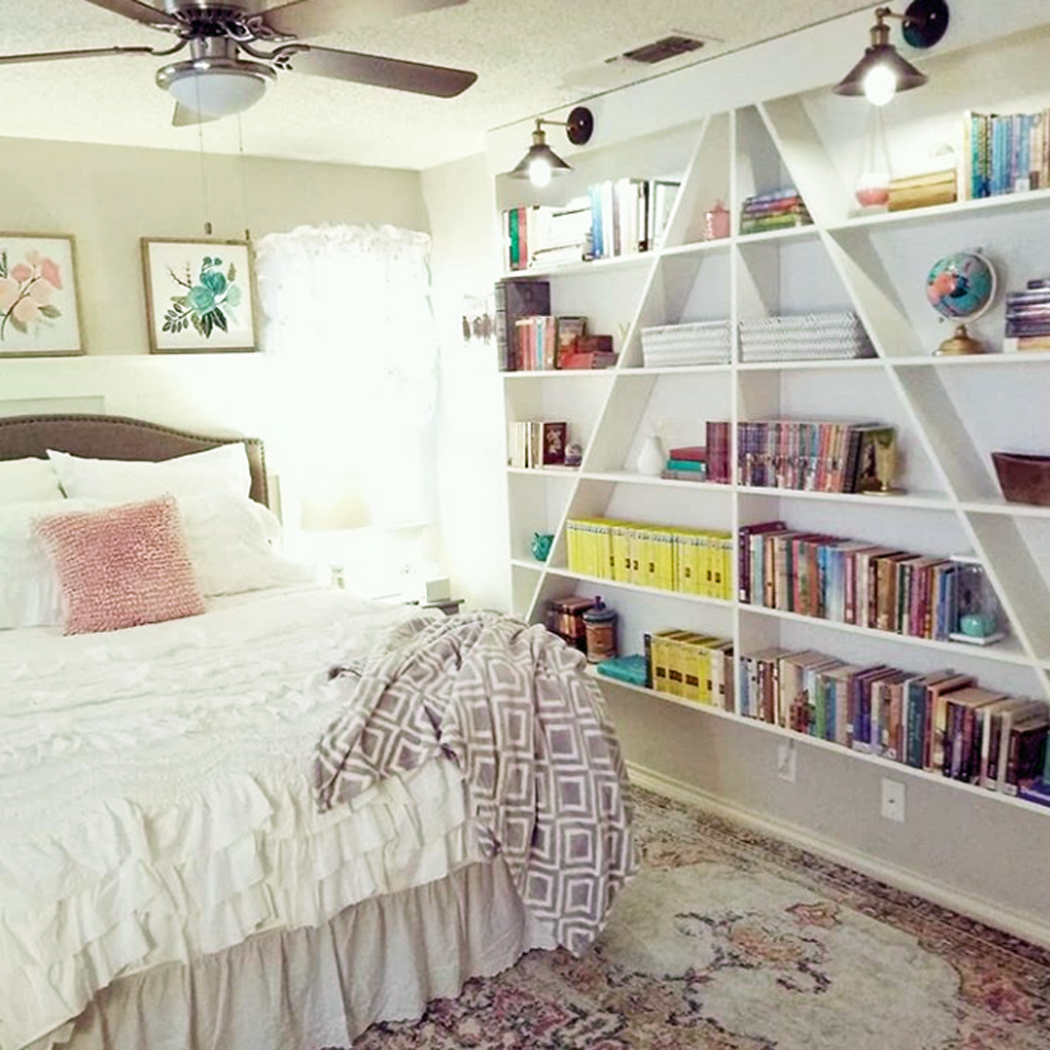
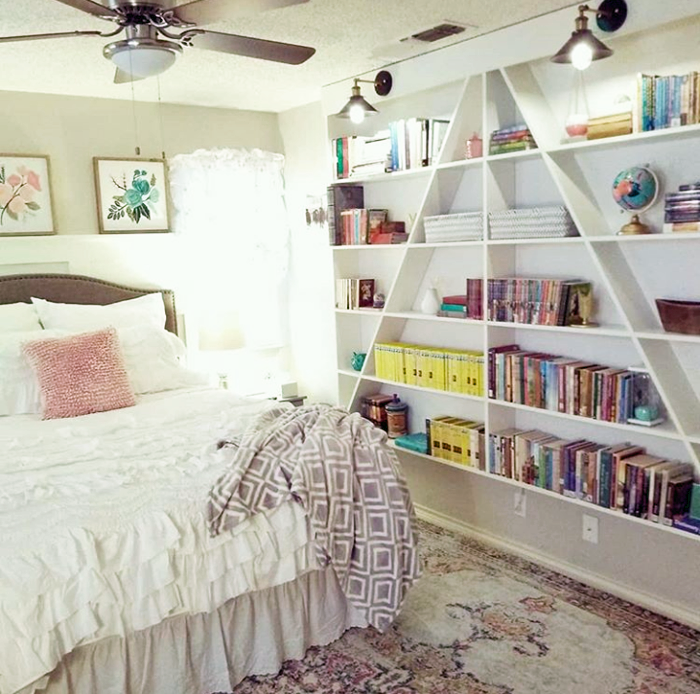
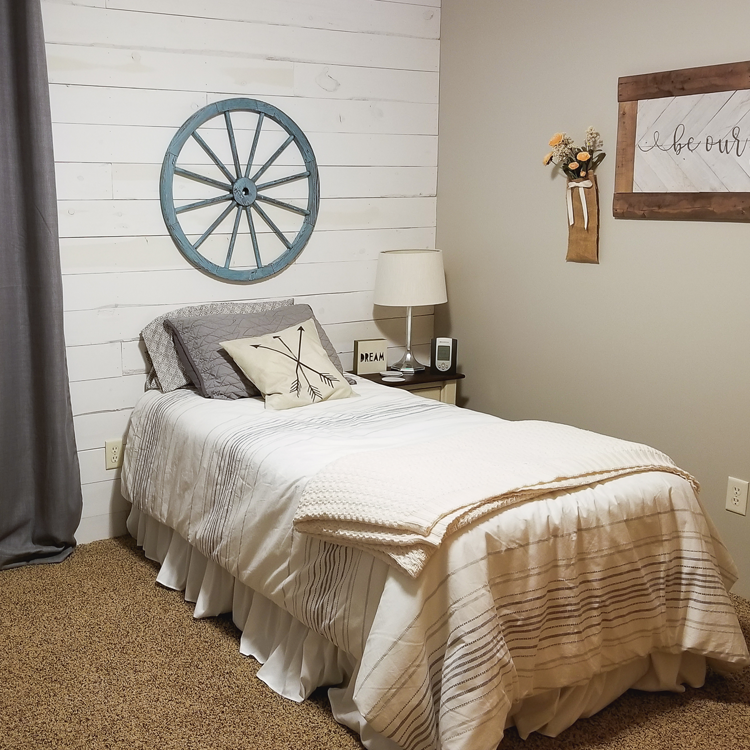
We are slowly going room by room making this house into our dream home. So far we’ve completed the foyer, living room, and our oldest son’s bedroom. It’s been a slow process, but my husband and I both enjoy doing it. It gives you such a sense of satisfaction and accomplishment when you are able to complete a project.
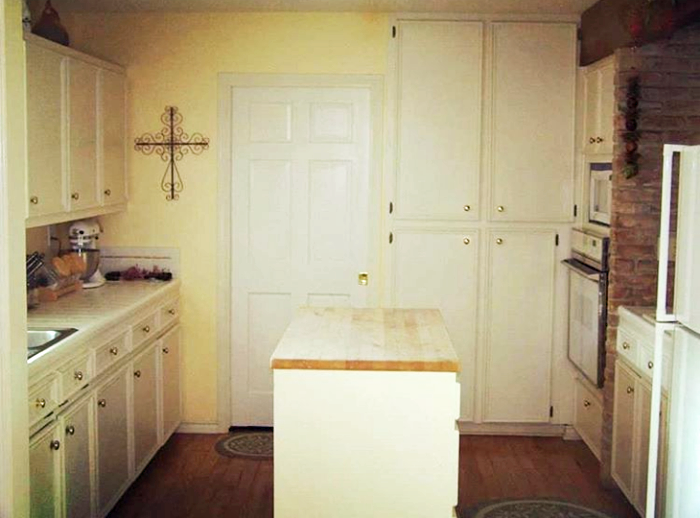
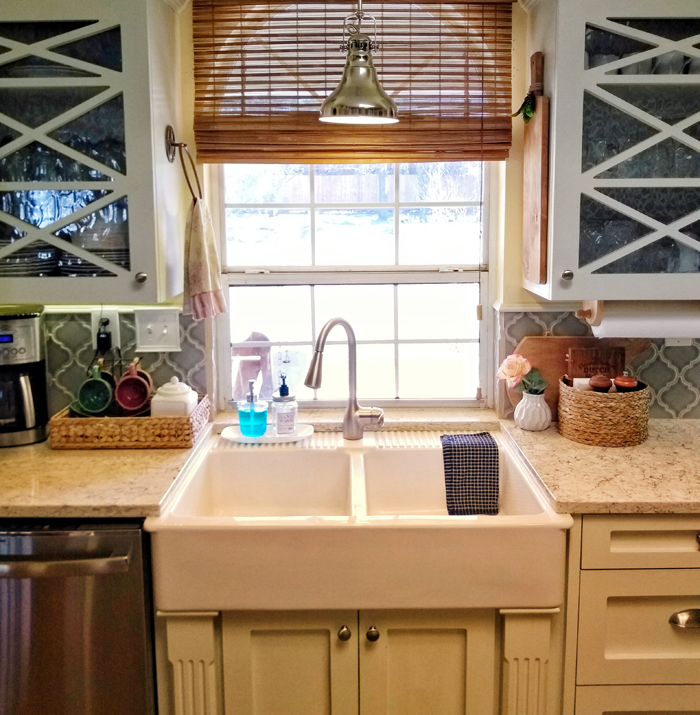
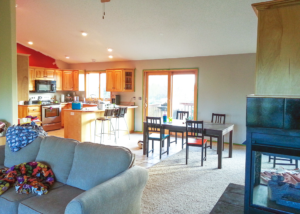
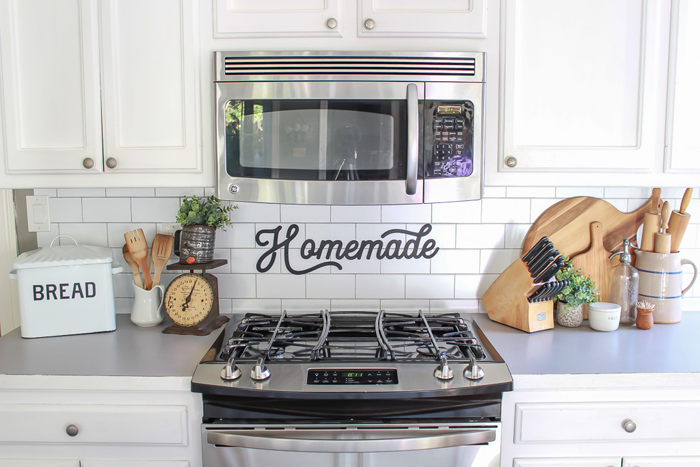
The room that I am most looking forward to renovating is my kitchen! While it’s not horrible, it just isn’t the kitchen of my dreams. I can’t wait to add a farmhouse sink, subway tile, quartz counter-tops and all of the other farmhouse elements.
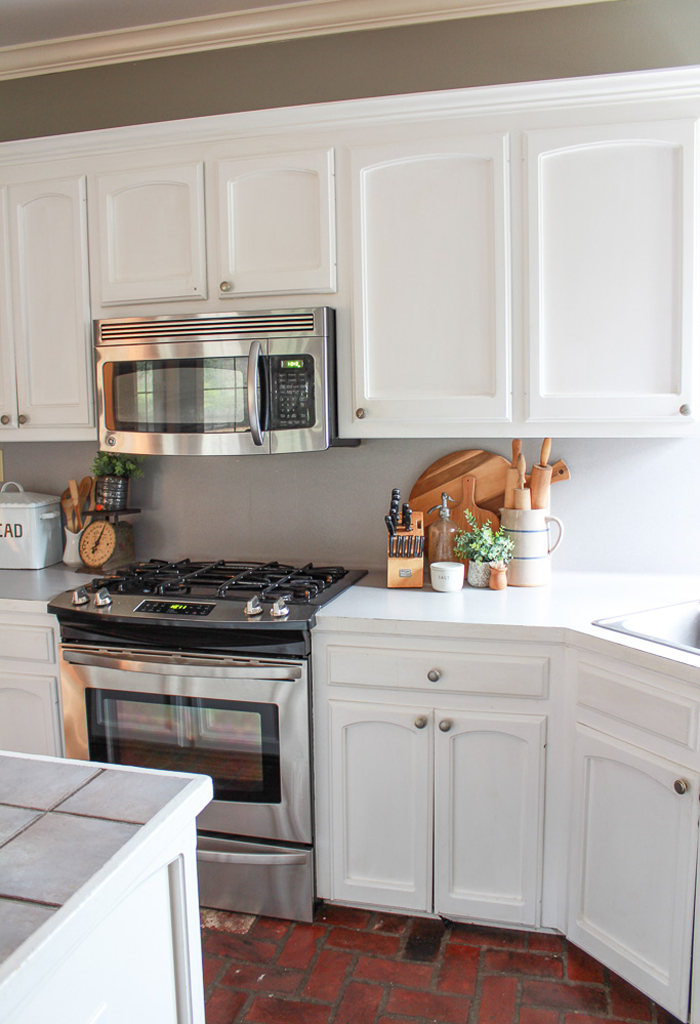
current kitchen: I hope they keep the paver floors!!!
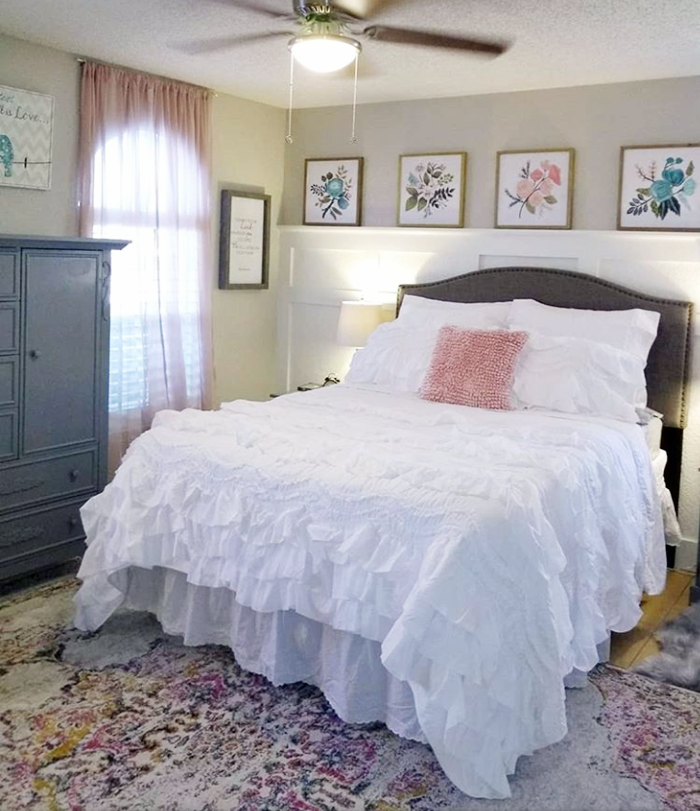
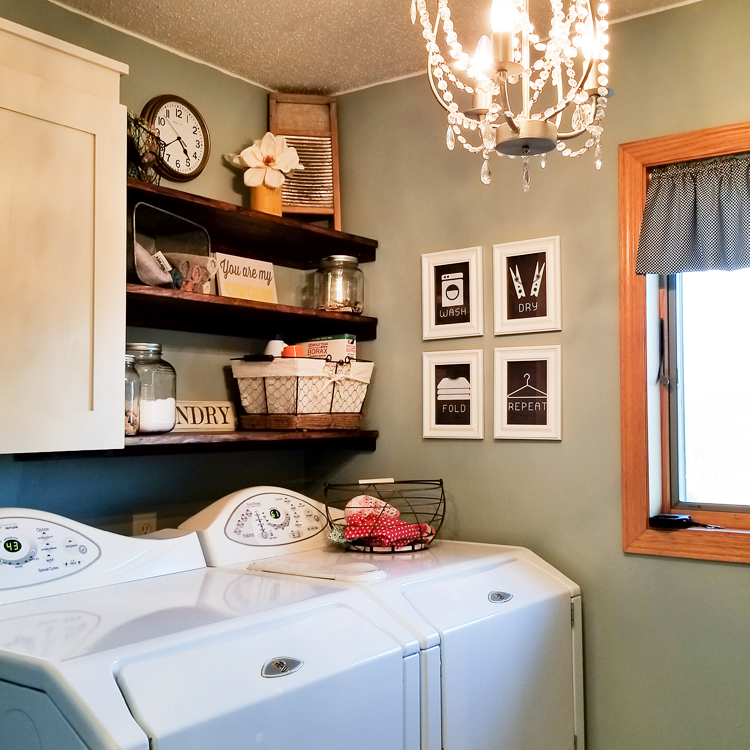
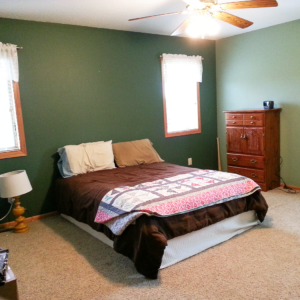
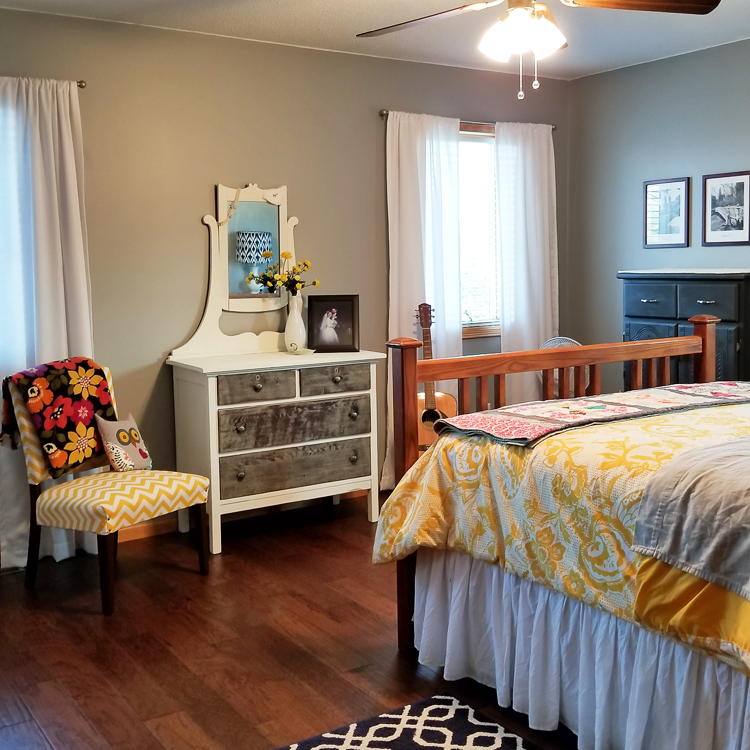
Other projects that we hope to complete soon include painting the dark red exterior brick of our house to white. I would also love to makeover our master bedroom, and freshen up the laundry room by stenciling the floor tiles, among other things. If only there were more hours in a day!
Thank you so much Heather and Jeremy for sharing your wonderful home with us! I encourage all of my readers to subscribe to Heather’s Instagram account HERE so that you can follow along while she and Jeremy continue to remodel and make their house into a home that reflects their personality and style. Heather also has an amazing blog, Beauty for Ashes, where you can find plenty of home design inspiration and instruction. Go check it out!
Now it’s your turn! Have you been adding personal touches on your home? Maybe the entire house isn’t finished, but you are particularly proud of one room – I would love to see, and share with my readers!
If you are a blog subscriber, you are eligible! Simply email photos and a brief description to angela@arrowhillcottage.com for your chance to be featured!