HOME ORGANIZATION IDEAS

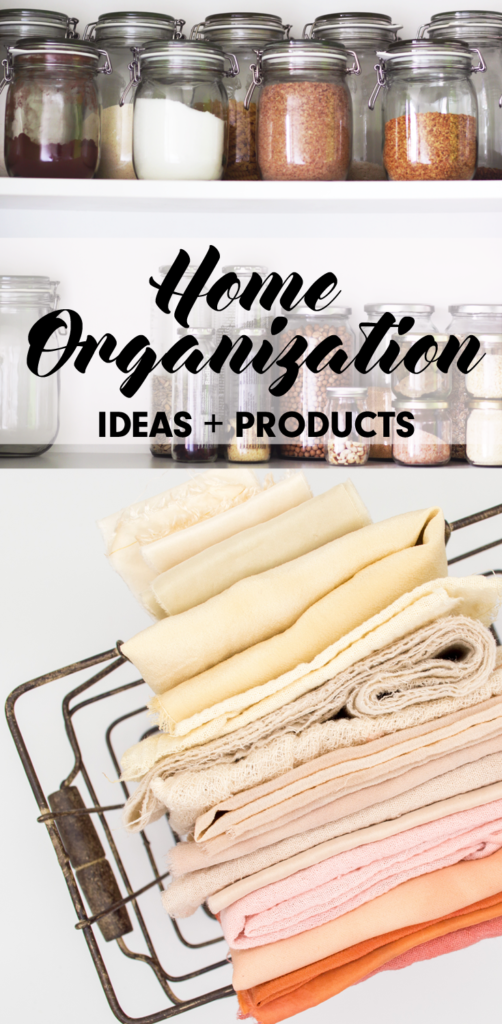
Keeping your home organized is one of the best ways to add simplicity to your life. Check out these home organization ideas to get a kick start on your simplifying journey.

home organization tips

The cold is setting in, which in the Midwest means plenty of time will be spent indoors over the next few months. I’m not sure about you, but cabin fever causes me to re-evaluate my belongings and sets me into full out organization mode sometime around mid-January.

In an attempt to get a jump start on the de-cluttering and organizing this year, I scoured Amazon for organization gear that can help me reach my goals. I found a TON of handy (and totally affordable) items that I would love to purchase. I thought you might find them useful as well. Click on the images below to be taken to the product page.

This post contains affiliate links to products for your convenience.  If you purchase via my links, I may receive a small commission at no additional cost to you.  Thanks for supporting Arrow Hill Cottage!
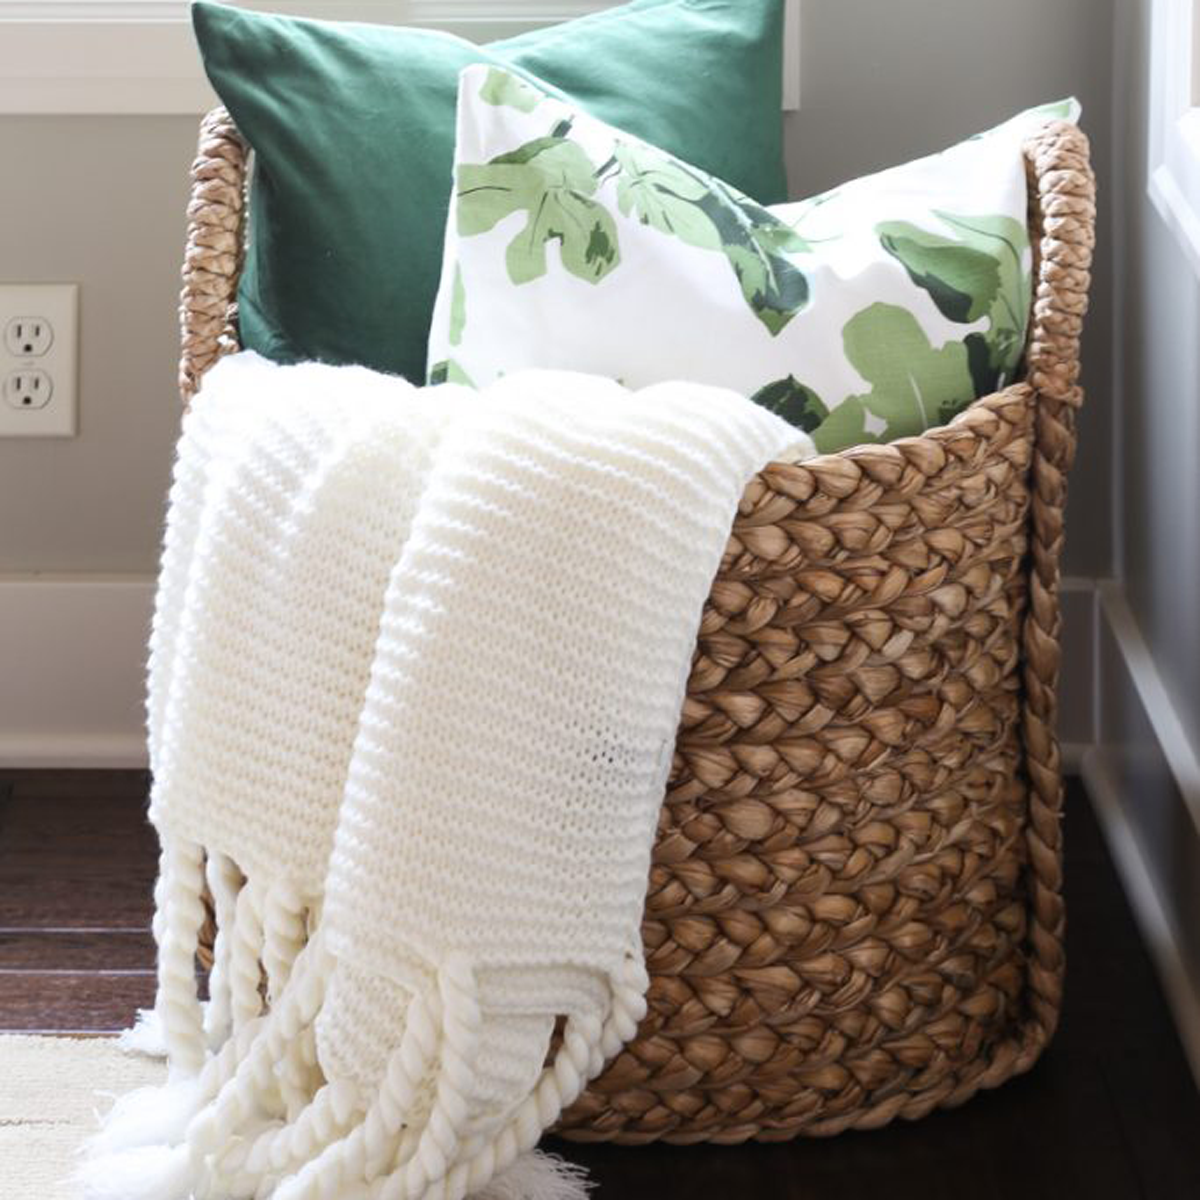
_________________

BASKETS

You really can’t go wrong with a basket. My husband is pretty sure that I have an addiction to them, and he might be right. There is a perfect basket size and shape for just about any occasion. They can hold blankets, toys, books, you name it.

home organization tips

image source

[ess_grid alias=”grid-1″]


Uh oh… the basket addiction is rearing it’s head again. My first choice? The large sea-grass basket. I can totally envision it filled with cozy blankets, sitting next to a fire place.


_________________

BINS / BOXES

Similar to baskets, bins and boxes are highly useful in home organization. The awesome thing about them is that they are typically rectangle or square in shape, meaning that they can be easily stacked. Many also have a lid or cover. Those visually cluttering items can be stored neatly and out of sight. Legos anyone?

home organization tips

image source

[ess_grid alias=”grid-2″]


The grey boxes are fold-able, and come with lids! I think I may need to buy some to organize all of the building sets my boys have.
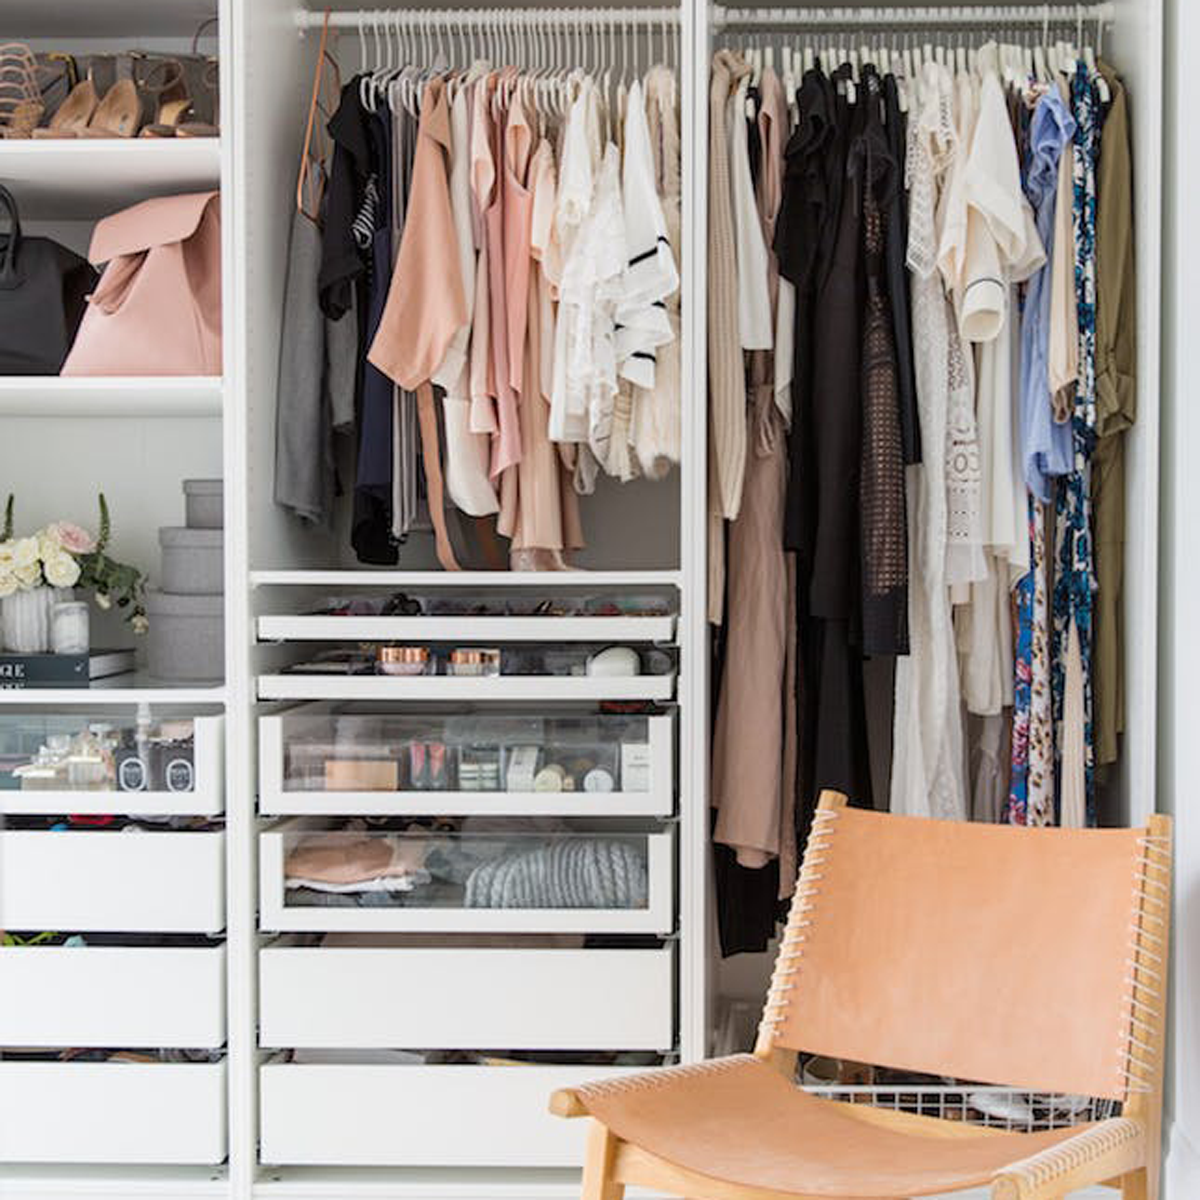
_________________

CLOSET SYSTEMS

A closet is probably the most likely space in any house to become cluttered. What happens behind closed doors stays there, right? Wrong! You will need to open that door at some point, and wouldn’t you rather see a well organized space than a war zone of items falling on top of you?

Closet organization tips

image source

[ess_grid alias=”grid-3″]


How genius is that rack for pants? No more annoying crease marks from folding and stuffing the khaki’s in the drawers!


_________________

SHELVING

Shelving units are an absolute staple in home organization. There are so many stylish options for shelving these days –  from bookcases to display shelves. Take a look at the goodies I found!

home organization built in cabinets

image source

[ess_grid alias=”grid-4″]


Pretty sure that little red number is calling my name. It has glass doors, which means it is the perfect place to store keepsakes and books, protecting them from little hands… and dust!
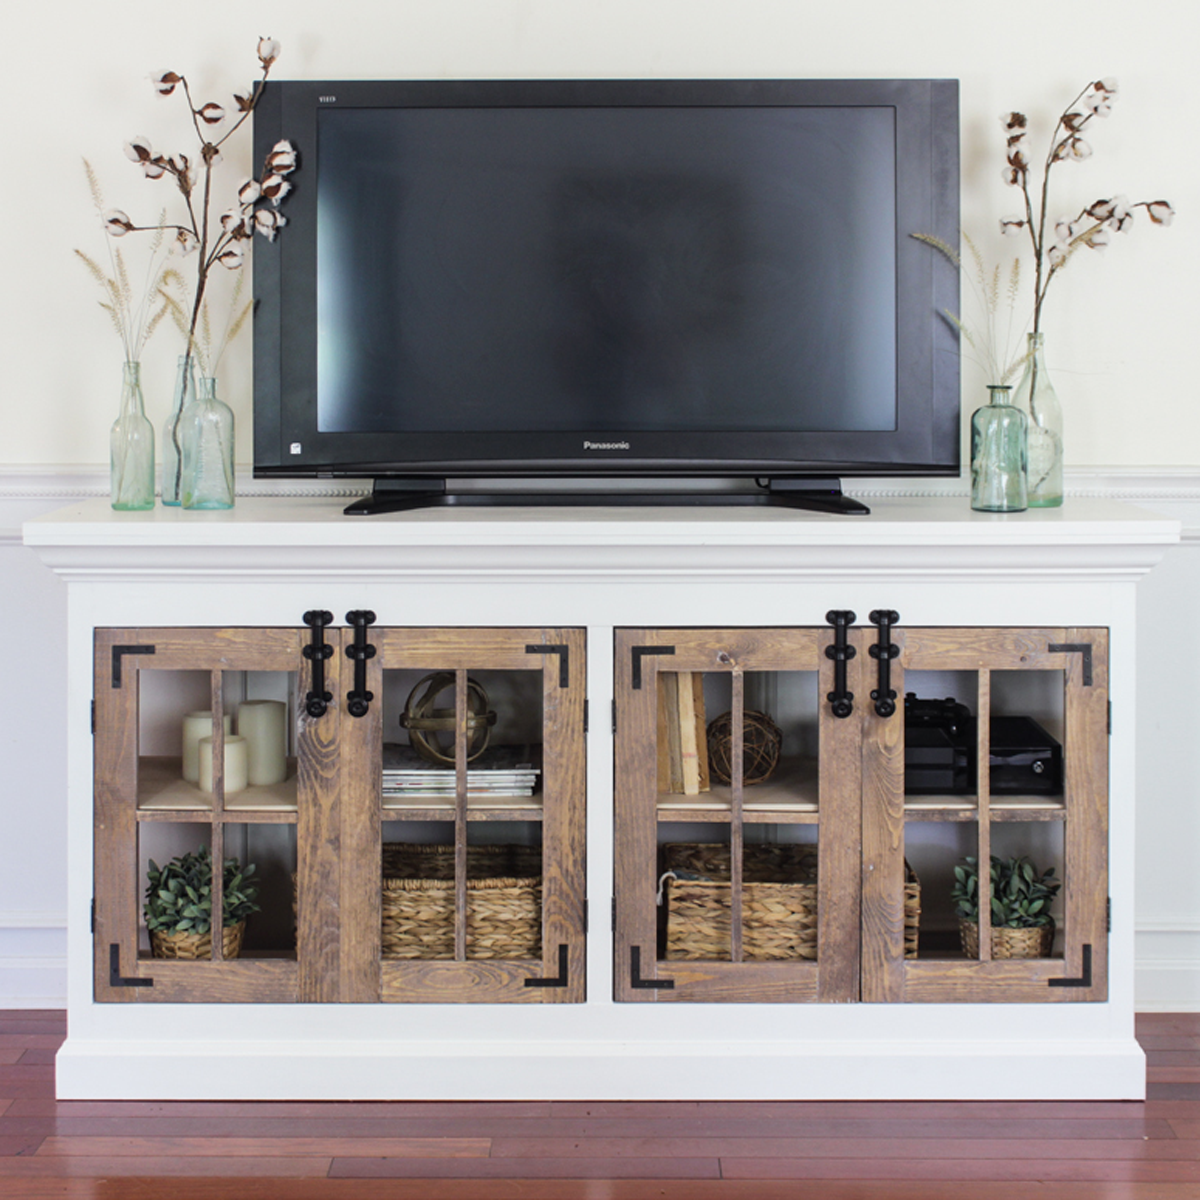
_________________

CONSOLES

I would venture to say that just about every home in the United States has at least one television. And with that television comes all of the ‘extra’s’. The dvr, the blue ray player, the video streaming device, and video games for the kids. All of these items need a home, and a console / entertainment center is the perfect place to put them.

home storage organization ideas

image source

[ess_grid alias=”grid-5″]


I love the style of the aqua fretwork cabinet. I could see it being useful for a variety of items beyond the living room. Linens in the bathroom. Hat and glove storage in the entry. The possibilities are endless!


___________________________

KITCHEN ORGANIZATION

The kitchen is notorious for being a room that needs a lot of organizing attention. Forget about it for a short amount of time, and the space can easily be over-run with pots and pans and mix matched Tupperware. Thankfully the market is huge for kitchen organization items, such as these awesome finds.

Pantry organization ideas

image source

[ess_grid alias=”grid-6″]


That spice rack. Come on. I mean, I’m not sure I would have the patience to fill all those little jars – but this may just tempt me to try! It is almost a work of art. You guys also have to check out the rolling kitchen cart/ island. It FOLDS!

_________________

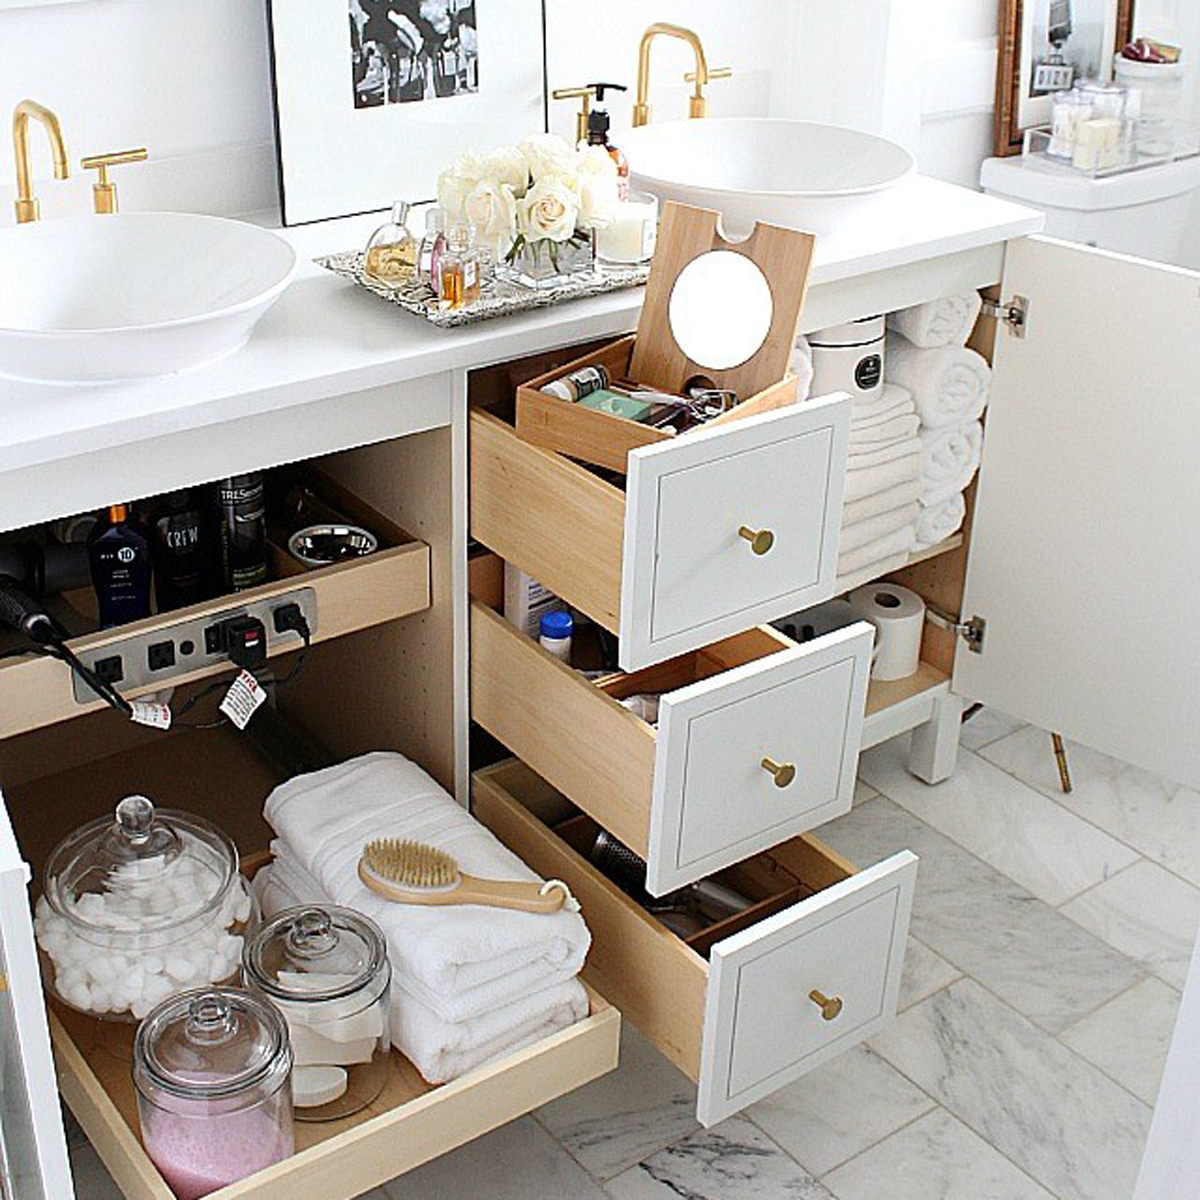
MISC. STORAGE/ ORGANIZING

 I had to throw in one more grid including random storage items. The truth is, from the bathroom counter to under the bed, just about any space in the house can benefit from organizing!

Bathroom organization ideas

image source

[ess_grid alias=”grid-7″]


The wire wall hanger could be so useful for keeping all the paper items in line! No more piles of bills on the counter!


Let’s do this organizing thing! I’m thinking that if I tackle the clutter before the Christmas tree goes up, I won’t be as overwhelmed when it comes down.

What are your favorites from this list? I would love you to leave a comment and let me know!


MORE HOME ORGANIZATION IDEAS

For more inspiration on how to keep your home organized, check out my post titled 7 daily habits for a tidy house


PIN THESE HOME ORGANIZATION IDEAS FOR LATER

home organization ideas and products


DIY – PAINTING A DOOR (AND FREE PRINTABLE ART!)

I’ve been wanting to tackle this project since we moved into the farmhouse nearly 3 years ago – but other things have always taken priority.  Tiny matters such as making sure people are fed and have clean clothes for school – BORING!

this weekend I was finally able to bring this idea to life!  As I have mentioned before, we are renting the farmhouse we live in.  However, we are renting from family members who have given us quite a bit of leeway to do whatever repairs or cosmetic fix ups we deem necessary, which is great because adding personal touches really helps make a house into a home.  The front door serves as a gateway from public to private space – and you can’t get more personal than that! We could have added a festive wreath to the door, and that may have done the personalizing trick – but with 5 little ones running around, the chances of a physical wreath surviving for longer than a few hours is basically zero. I turned my sights in a different direction.

If you remember from this Saturday Sketchbook installation – I played around with some design ideas through sketching.  I had initially thought of using a monogram, but didn’t want to have to paint the door again once we move and the house becomes available to other renters.  I then toyed around with the idea of painting ‘welcome’ on the door – but that just seemed too formal for the farm.  Eventually I landed on a simple springy wreath motif and the more informal ‘hello.’  The sketch was hand drawn until I cleaned it up via the magic of editing software.

This is our BEFORE

It should be noted that our front door is of the flat slab metal variety – very plain Jane and not very common.  In fact, we are basically positive that the detail you see near the bottom of the door was mirrored on the top portion.  At some point that must have been removed/ fallen off.  It just looked really unbalanced and awkward.

Keep in mind that most houses have raised panel doors, so depending on your panel design, this project may or may not work for you. Never fear though- you could find a square of plywood, follow the steps below, and make yourself a pretty piece of artwork for your entry!


These are the items you will need to tackle this project yourself:

* A door!  Or, a piece of wood that will fit your design

* Spray paint in your choice of color.  (at least 1 can per side) We chose this very pretty aqua from Rustoleum.  It has paint and primer in one, which gave great coverage for our metal door.

* Acrylic paint (matte finish) + a fine tipped paint brush

* Protective clear paint fixative (optional).  Just an added layer to protect the finished product.  I like Krylon Matte Finish – it dries quickly and doesn’t leave any residue.

* Wax free tracing paper

* A printer, paper, scissor, pencil & a bit of tape


Here’s what to do:

(Step 1) Remove the door from the hinges and bring outside to sturdy sawhorses (I employed the assistance of my strong and willing husband for this task)

(Step 2) Clean the door thoroughly with mild soap and water.  Allow to dry completely.  Note: if there are any loose or rough patches, scrape and sand them down before cleaning! Confession: Our door did have some damage that once scraped left some pitted spots.  If we were going to be living here long term we would have filled them in and sanded them smooth before completing the next steps, but we figured ‘eh!  good enough!’

(Step 3) Follow directions on the spray paint can and paint your door.  We chose to leave the inside color the existing brown and paint only the exterior portion + sides.

(Step 4) Allow paint to dry, depending on the instructions on the can.  This can be anywhere from 2 to 48 hours!

(Step 5) Add an additional coat of paint if needed.  While the door is drying, you can begin preparing the design.

(Step 6) I resized my design so that it was approximately 20 inches x 20 inches.  I then printed the image on multiple sheets of 8.5 x 11 paper and taped then together to form the entire image.  I could have brought the enlarged file to a print shop and asked them to print it on a single large sheet, but I’m too cheap for that!

(Step 7) Place the wax free tracing paper underneath your design sheet so that the colored side is facing the painted surface.  Working in small sections at a time, trace the design image with a pencil.  It will transfer the design onto the painted surface – so handy!

(Step 8) Using a fine tipped paintbrush, trace over the design with the white paint.  I love the contrast of crisp white on a bold, fun color.

Here I am painting the design on the door – Funny how the time-lapse makes it look like I got this accomplished in under a minute! (Truth: it actually took about 45!)

(Step 9) Allow the white paint to dry, then touch up as needed.  I had a couple of parts that needed a second coat.  Allow all paint to dry completely.

(Step 10: optional) ***If you are painting on a wood surface, now would be the perfect time to take a little fine sandpaper and sand down the brush stroke lines of the white paint.  This isn’t quite so easy over a spray painted metal surface as it tends to leave scratch marks.***

(Step 11) Spray the clear coat fixative over the design.  Allow to dry

(Step 12) Re-install the door, stand back and admire!


I am so pleased with how the finished product turned out that I want to share the love with a free 8×10 printable in 3 different colorways (white, black, and aqua).  Simply click on your color of choice below, print, trim, and pop in a frame.  Enjoy friends!