I’ve been wanting to tackle this project since we moved into the farmhouse nearly 3 years ago – but other things have always taken priority. Tiny matters such as making sure people are fed and have clean clothes for school – BORING!
this weekend I was finally able to bring this idea to life! As I have mentioned before, we are renting the farmhouse we live in. However, we are renting from family members who have given us quite a bit of leeway to do whatever repairs or cosmetic fix ups we deem necessary, which is great because adding personal touches really helps make a house into a home. The front door serves as a gateway from public to private space – and you can’t get more personal than that! We could have added a festive wreath to the door, and that may have done the personalizing trick – but with 5 little ones running around, the chances of a physical wreath surviving for longer than a few hours is basically zero. I turned my sights in a different direction.
If you remember from this Saturday Sketchbook installation – I played around with some design ideas through sketching. I had initially thought of using a monogram, but didn’t want to have to paint the door again once we move and the house becomes available to other renters. I then toyed around with the idea of painting ‘welcome’ on the door – but that just seemed too formal for the farm. Eventually I landed on a simple springy wreath motif and the more informal ‘hello.’ The sketch was hand drawn until I cleaned it up via the magic of editing software.
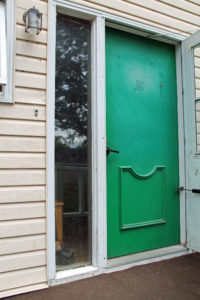
This is our BEFORE
It should be noted that our front door is of the flat slab metal variety – very plain Jane and not very common. In fact, we are basically positive that the detail you see near the bottom of the door was mirrored on the top portion. At some point that must have been removed/ fallen off. It just looked really unbalanced and awkward.
Keep in mind that most houses have raised panel doors, so depending on your panel design, this project may or may not work for you. Never fear though- you could find a square of plywood, follow the steps below, and make yourself a pretty piece of artwork for your entry!
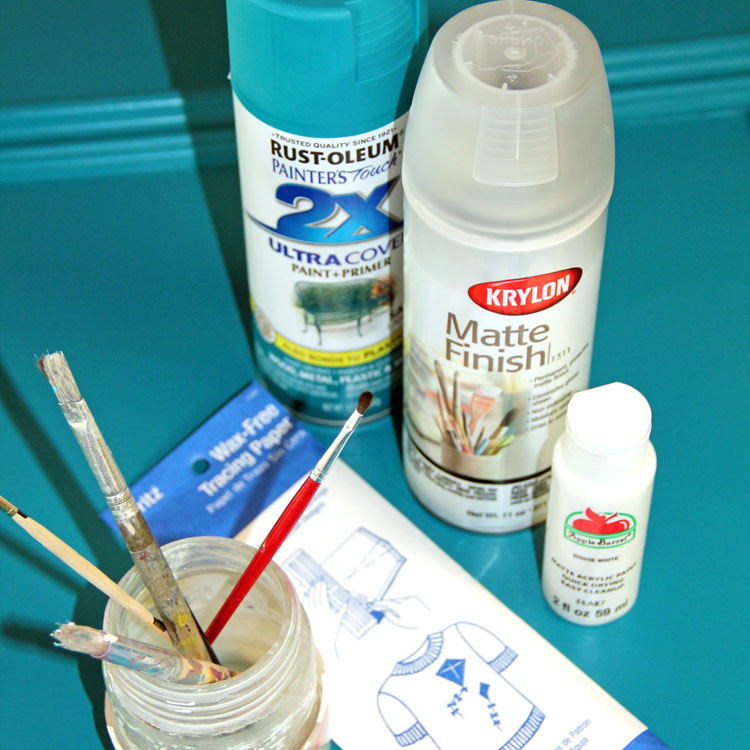
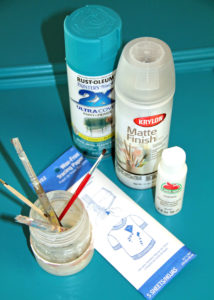
These are the items you will need to tackle this project yourself:
 * A door! Or, a piece of wood that will fit your design
* Spray paint in your choice of color. (at least 1 can per side) We chose this very pretty aqua from Rustoleum. It has paint and primer in one, which gave great coverage for our metal door.
* Acrylic paint (matte finish) + a fine tipped paint brush
* Protective clear paint fixative (optional). Just an added layer to protect the finished product. I like Krylon Matte Finish – it dries quickly and doesn’t leave any residue.
* Wax free tracing paper
* A printer, paper, scissor, pencil & a bit of tape
Here’s what to do:
(Step 1) Remove the door from the hinges and bring outside to sturdy sawhorses (I employed the assistance of my strong and willing husband for this task)
(Step 2) Clean the door thoroughly with mild soap and water. Allow to dry completely. Note: if there are any loose or rough patches, scrape and sand them down before cleaning! Confession: Our door did have some damage that once scraped left some pitted spots. If we were going to be living here long term we would have filled them in and sanded them smooth before completing the next steps, but we figured ‘eh! good enough!’
(Step 3) Follow directions on the spray paint can and paint your door. We chose to leave the inside color the existing brown and paint only the exterior portion + sides.
(Step 4) Allow paint to dry, depending on the instructions on the can. This can be anywhere from 2 to 48 hours!
(Step 5) Add an additional coat of paint if needed. While the door is drying, you can begin preparing the design.
(Step 6) I resized my design so that it was approximately 20 inches x 20 inches. I then printed the image on multiple sheets of 8.5 x 11 paper and taped then together to form the entire image. I could have brought the enlarged file to a print shop and asked them to print it on a single large sheet, but I’m too cheap for that!
(Step 7) Place the wax free tracing paper underneath your design sheet so that the colored side is facing the painted surface. Working in small sections at a time, trace the design image with a pencil. It will transfer the design onto the painted surface – so handy!
(Step 8) Using a fine tipped paintbrush, trace over the design with the white paint. I love the contrast of crisp white on a bold, fun color.
Here I am painting the design on the door – Funny how the time-lapse makes it look like I got this accomplished in under a minute! (Truth: it actually took about 45!)
(Step 9) Allow the white paint to dry, then touch up as needed. I had a couple of parts that needed a second coat. Allow all paint to dry completely.
(Step 10: optional) ***If you are painting on a wood surface, now would be the perfect time to take a little fine sandpaper and sand down the brush stroke lines of the white paint. This isn’t quite so easy over a spray painted metal surface as it tends to leave scratch marks.***
(Step 11) Spray the clear coat fixative over the design. Allow to dry
(Step 12) Re-install the door, stand back and admire!
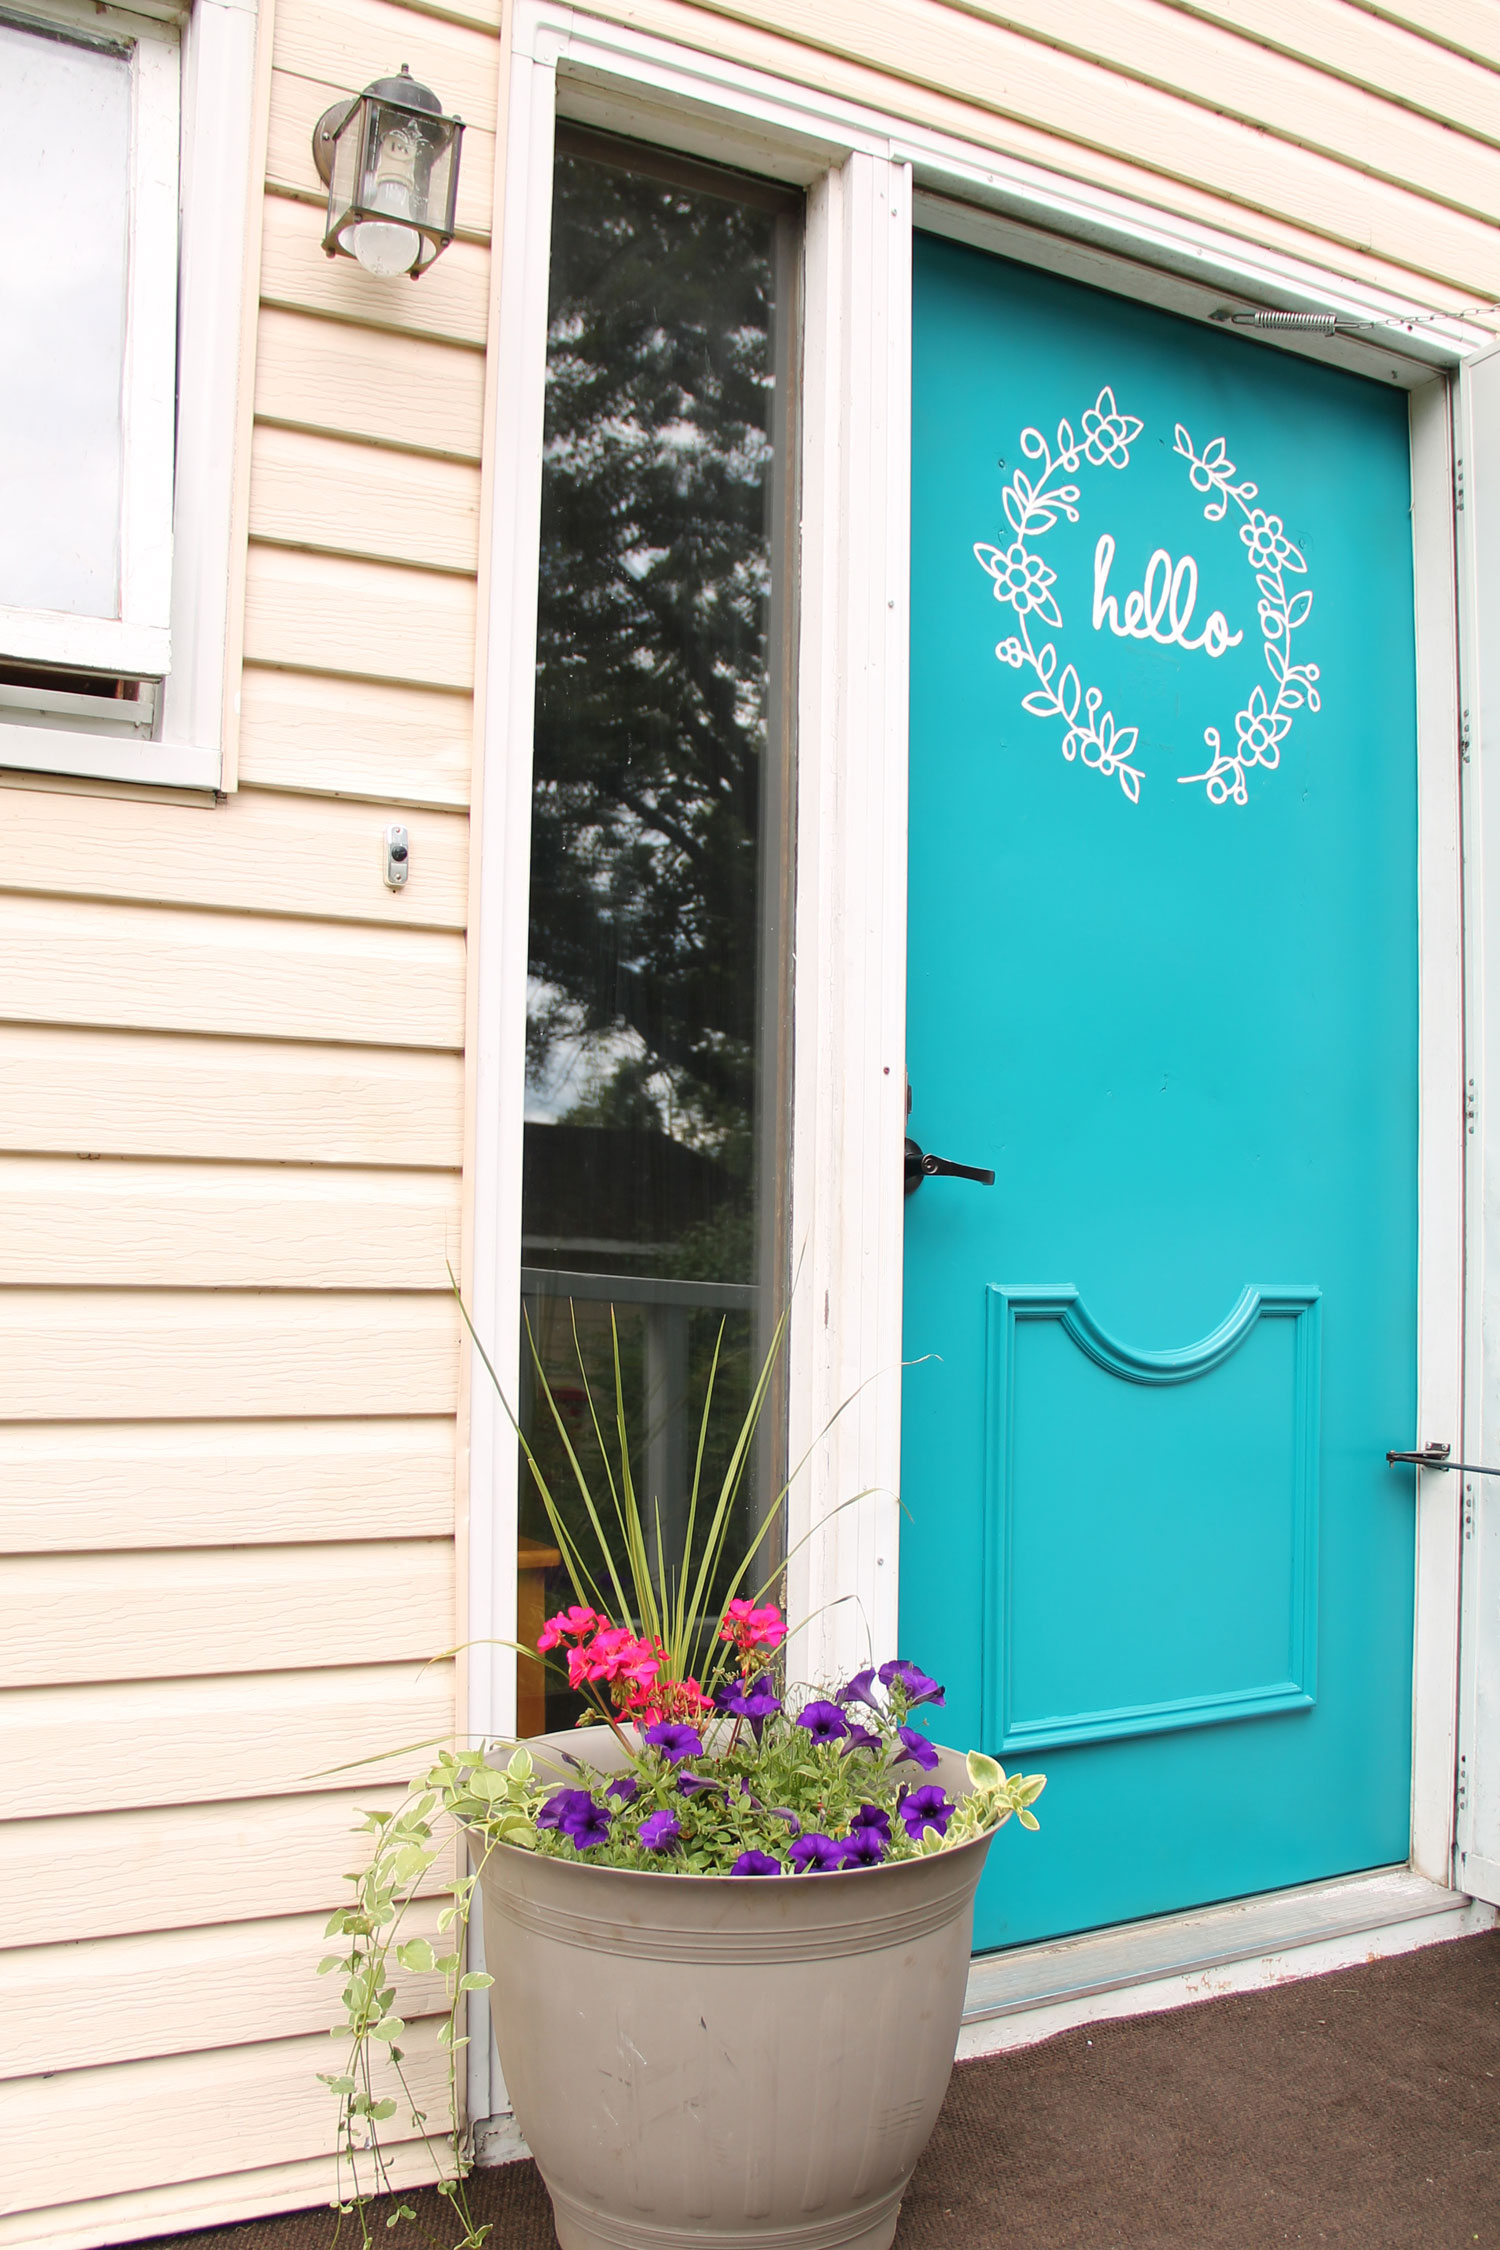
I am so pleased with how the finished product turned out that I want to share the love with a free 8×10 printable in 3 different colorways (white, black, and aqua). Simply click on your color of choice below, print, trim, and pop in a frame. Enjoy friends!


Love it!!! Thank you for sharing and feel free to decorate our doors anytime ?